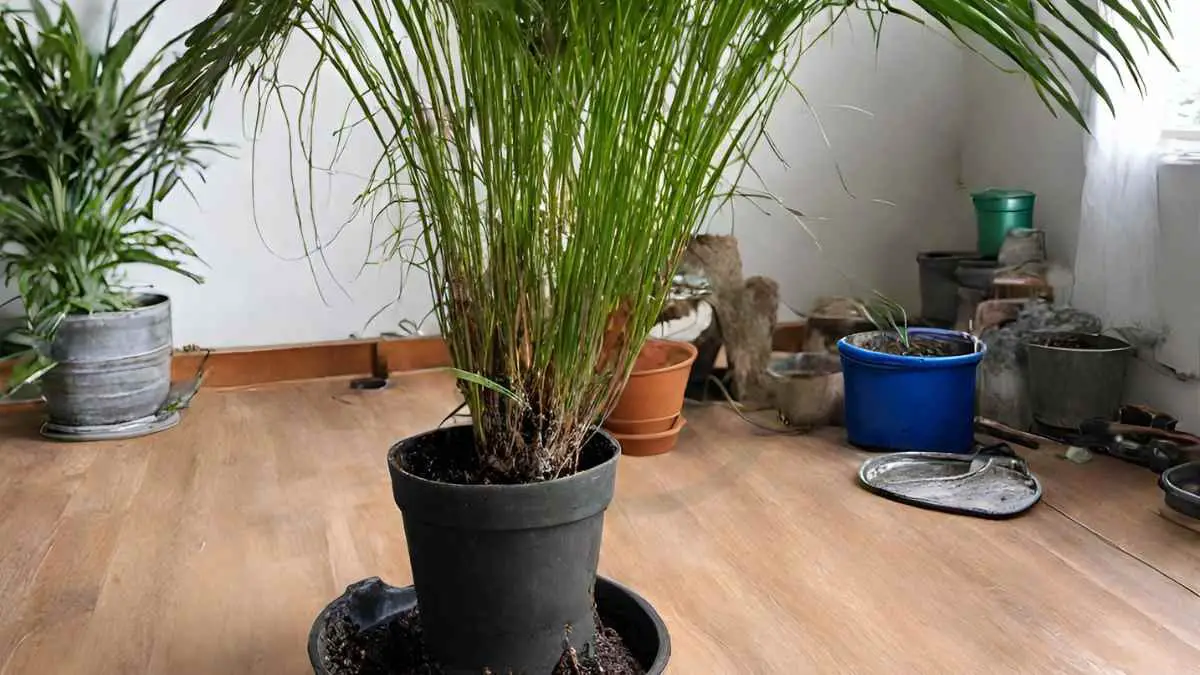
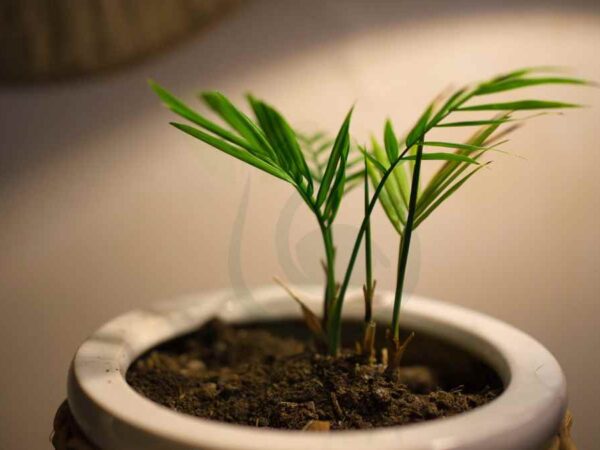
Areca Palm repotting is a crucial aspect of maintaining the health and vitality of your indoor greenery. If you're looking for guidance on how to repot your Areca Palm, you've come to the right place. We're here to provide expert advice and step-by-step instructions to ensure a successful repotting process for your beloved plant.
When it comes to repotting your Areca Palm, timing is key. Aim to repot your plant every two to three years, or when it begins to outgrow its current container. Choose a pot that is one size larger than the current one, with good drainage to prevent waterlogging. Use a well-draining potting mix, and carefully transfer the plant, being mindful not to damage the roots. After repotting, water the plant thoroughly and place it in a location with indirect sunlight. With proper care, your Areca Palm will thrive in its new home.
For further insights on Areca Palm care, including pruning tips and troubleshooting common issues, stay tuned for more valuable information to help you become a confident and successful plant parent.
Key Takeaways
- Regular repotting: Ensure the health of your Areca Palm by repotting it regularly to provide ample space for root growth.
- Proper preparation: Prepare the new pot with fresh soil and ensure drainage holes for optimal growth.
- Gentle repotting: Follow a step-by-step process when repotting to minimize stress on the plant.
- Post-repotting care: Maintain consistent watering and light conditions after repotting to aid in the plant's adjustment.
- Early issue detection: Troubleshoot common problems promptly to prevent them from escalating and affecting the plant's health.
- Longevity focus: Implement propagation techniques and advanced care tips to ensure the long-term health and vitality of your Areca Palm.
Areca Palm Overview

Growth habits
Areca palms develop multiple stems from the base, creating a lush and full appearance. They can reach heights up to 6-7 feet indoors, making them ideal for adding greenery to indoor spaces. These plants thrive in bright, indirect light conditions, making them perfect for areas with filtered sunlight.
Ideal conditions
Areca palms require warm temperatures between 65-75°F to thrive, mimicking their natural tropical habitat. They prefer high humidity levels, so regular misting or placing a humidifier nearby can promote healthy growth. These plants grow best in well-draining soil, preventing waterlogging that can lead to root issues.
Common issues
Areca palms are prone to spider mites and scale insects, which can be controlled with regular monitoring and appropriate treatments. They are also susceptible to yellowing leaves due to overwatering, highlighting the importance of allowing the soil to dry out slightly between watering sessions. These plants are vulnerable to root rot if the soil is too wet, emphasizing the need for proper drainage and moderation in watering practices.
Preparing for Repotting
When to repot
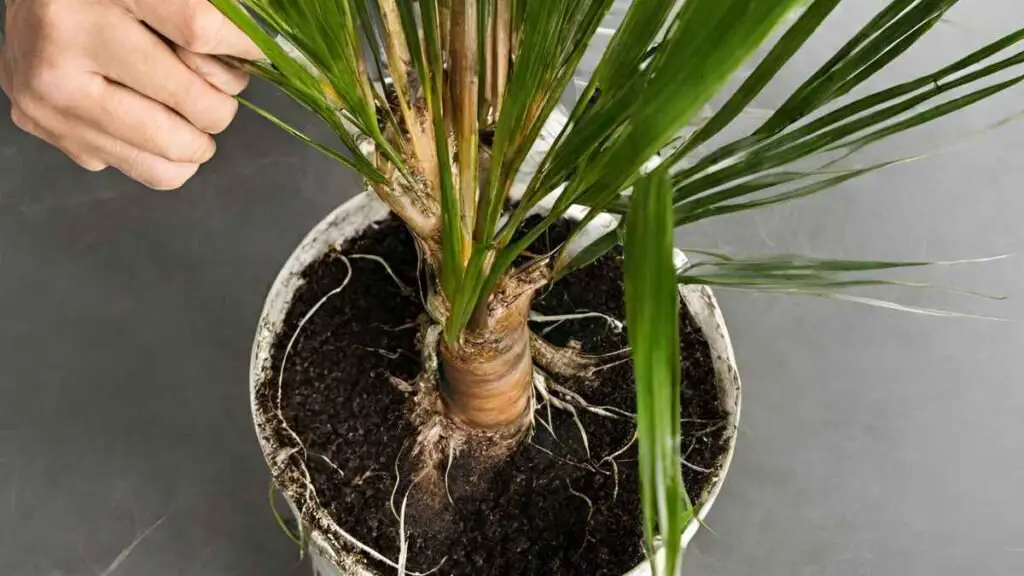
Repot every 2-3 years or when root-bound. Look for roots circling the pot's bottom, indicating a need for repotting. Consider repotting in spring for optimal growth.
Choosing the pot
Select a pot 1-2 inches larger in diameter than the current one. Opt for a pot with drainage holes to prevent waterlogging. Choose a pot that complements the palm's size and allows room for growth.
Soil selection
Use well-draining potting mix to ensure proper drainage and prevent root rot. Consider adding perlite to the soil mix for improved aeration. Avoid heavy soils that retain water, as they can lead to overwatering issues.
Step-by-Step Repotting
Removing the palm
To begin repotting, gently loosen the compacted roots to prevent root binding and encourage healthy growth. Remove old soil, trimming any damaged roots for a clean start.
Loosening roots
Gently loosen compacted roots to prevent root binding in the new pot, promoting healthy root growth.
Cleaning the rootball
Ensure a clean start by removing old soil gently and trimming any damaged or rotting roots. This step sets the foundation for optimal growth in the new pot.
Pot preparation
Before replanting, ensure the new pot is clean by thoroughly washing it. Add a layer of fresh potting mix at the bottom and position the palm in the center.
Planting the palm
When planting, position the palm at the same depth as before to maintain its health. Fill the pot with fresh potting mix, firmly packing it around the roots.
Positioning
Centering the palm in the new pot is crucial for its stability and growth. Avoid burying it too deep or leaving it too exposed above ground level.
Filling with soil
After positioning, fill the pot with fresh potting mix, ensuring that there is enough space for watering. Firmly pack the soil around the roots for stability.
Post-Repotting Care
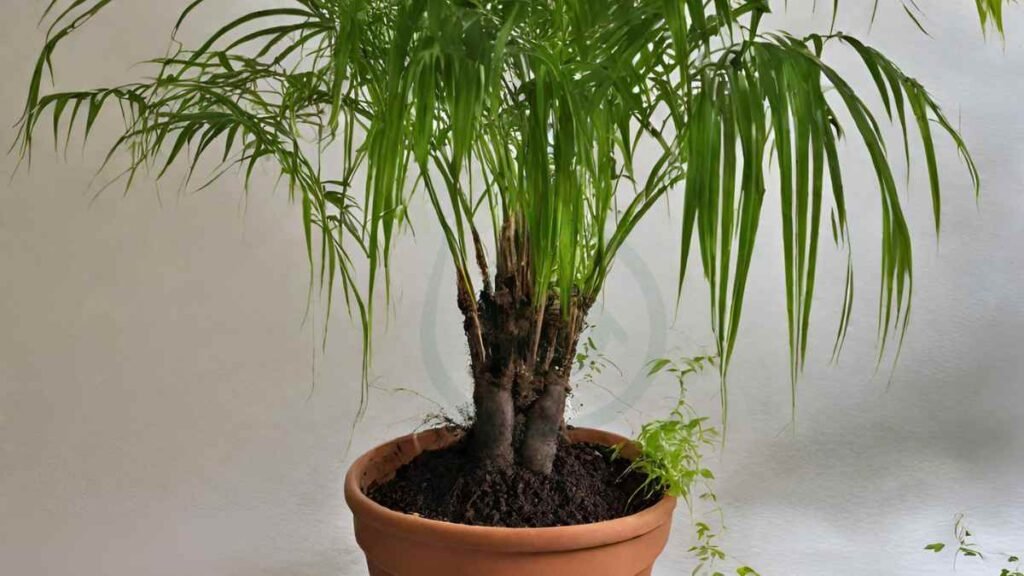
Watering needs
After repotting, ensure to water the areca palm thoroughly to help it establish in its new home. Allow any excess water to drain out of the pot to prevent waterlogging. It's essential to keep the soil moist but not overly wet or soggy.
Light requirements
Areca palms thrive in bright, indirect light, making them ideal for indoor spaces near a window. Avoid placing them in direct sunlight as this can lead to leaf burn. To promote even growth, rotate the palm occasionally so all sides receive adequate light.
Fertilization schedule
For optimal growth, feed your areca palm with a balanced fertilizer every 2-3 months during the growing season. Dilute the fertilizer to half strength to avoid overwhelming the plant with nutrients. Over-fertilizing can cause nutrient burn and harm the palm's health.
Troubleshooting Common Issues
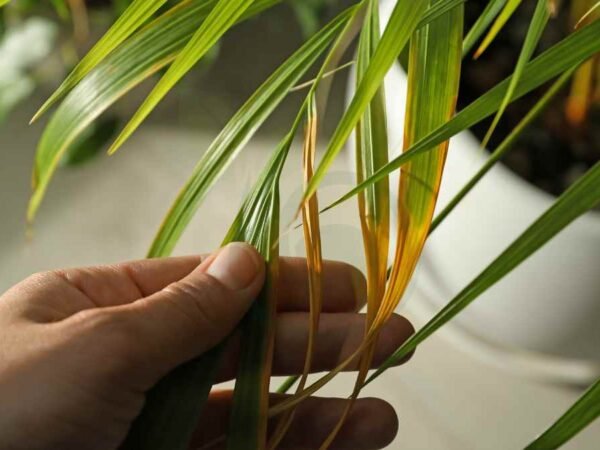
Yellowing leaves
Inspect for overwatering as a common issue leading to yellow leaves. Trim these leaves to encourage new growth. Ensure to adjust the watering frequency based on plant needs.
Stunted growth
Review the light conditions to ensure they are adequate for the areca palm's growth. Check for root-bound conditions, which can hinder development. Repotting can be considered to stimulate healthy growth.
Root rot
Identify root rot by observing mushy, dark roots in the plant. To prevent root rot, enhance drainage around the roots. Trim any affected roots and consider repotting if necessary.
Ensuring Longevity and Health
Routine maintenance
Dust leaves regularly to promote proper light absorption. Monitor for pests like spider mites and scale insects. Treat infestations promptly with neem oil or insecticidal soap. Trim brown tips for aesthetic appeal, ensuring a healthy appearance.
Pest management
Inspect areca palms regularly for signs of spider mites and scale insects. Treat any infestations immediately to prevent further spread. Isolate severely infested palms to contain the issue effectively.
Pruning practices
Trim yellow or brown fronds on the areca palm as needed. Cut close to the trunk without causing damage. Prune sparingly to avoid stressing the palm, maintaining its health and vitality.
Propagation Techniques
Division Method
Divide mature palms carefully to ensure successful propagation. Each division should have roots attached for optimal growth potential. Repot these divisions individually in suitable pots.
Seed Propagation
Collect seeds from mature palms for another propagation method. Plant the seeds in soil that drains well to prevent waterlogging. Maintain consistent moisture in the soil to facilitate seed germination.
Advanced Care Tips
Humidity control
Maintain humidity levels above 50% to ensure the optimal growth of your areca palm. Use a humidifier or pebble tray to increase moisture in the air surrounding the plant. Mist leaves regularly to create a humid environment that mimics its natural habitat.
Temperature adjustments
Avoid exposing your areca palm to sudden temperature changes as it can stress the plant. Protect it from drafts and cold air by placing it away from doors and windows. Provide consistent warmth, ideally between 65-75°F, for the plant's well-being and growth.
Seasonal care variations
During the summer months, increase watering frequency to accommodate the plant's higher water needs due to increased evaporation. In contrast, reduce fertilization during winter when growth slows down. Adjust light exposure based on seasonal changes, ensuring the plant receives adequate sunlight throughout the year.
Avoiding Common Mistakes
Overwatering pitfalls
Overwatering can harm areca palm plants, leading to yellowing leaves. To prevent this, let the soil dry slightly between waterings. Adjust watering based on humidity levels to avoid overhydration.
Incorrect pot size
Choosing a pot slightly larger than the current one allows room for growth without excess moisture retention. Avoid oversized pots as they can lead to root rot. Repot when the palm outgrows its current container.
Neglecting light needs
Adequate bright, indirect light is crucial for areca palms. Rotate the plant regularly to ensure even exposure for balanced growth. Look out for signs of light deficiency such as leggy growth and adjust accordingly.
Closing Thoughts
In caring for your Areca Palm, you've learned the essential steps from repotting to propagation. By following these guidelines and troubleshooting tips, you ensure the longevity and health of your plant. Remember to avoid common mistakes and implement advanced care techniques for optimal growth. Your dedication will be rewarded with a thriving and vibrant Areca Palm in your indoor oasis.
Take action now! Apply these insights, nurture your Areca Palm, and share your newfound knowledge with fellow plant enthusiasts. Your commitment to proper care not only enhances your living space but also contributes to a healthier environment. Keep growing and exploring the world of plant care!
Frequently Asked Questions
How often should I repot my Areca Palm?
It is recommended to repot your Areca Palm every 2-3 years. Look out for signs such as roots growing through the drainage holes or the plant becoming root-bound. Repotting provides fresh nutrients and space for healthy growth.
What soil mix should I use for repotting my Areca Palm?
Opt for a well-draining potting mix rich in organic matter, such as a blend of peat moss, perlite, and sand. This mixture ensures proper drainage while retaining moisture essential for the plant's health.
Can I trim the roots during repotting?
Yes, you can trim any circling or damaged roots during repotting to encourage healthy growth. Use clean and sharp scissors or pruning shears to make precise cuts. Avoid cutting healthy roots excessively to prevent stress on the plant.
How do I troubleshoot yellowing leaves post-repotting?
Yellowing leaves after repotting may indicate shock or stress. Ensure proper watering, adequate sunlight, and maintain a consistent environment to help the plant recover. Monitor closely and adjust care routines accordingly to support leaf rejuvenation.
Is it necessary to fertilize my Areca Palm after repotting?
Avoid fertilizing your Areca Palm immediately after repotting as it can stress the plant further. Wait at least 4-6 weeks before considering light fertilization. Choose a balanced liquid fertilizer diluted to half strength for gradual nutrient replenishment without overwhelming the plant.
Image Source: Paid image from CANVA

