Developing your own seed starting mix is an excellent hands-on method for developing healthy new plants. A high-quality commercial mix will be composed of peat moss, vermiculite and/or perlite, and compost. This mixture gives the perfect moisture retention/drainage ratio.
Using materials sourced from one’s own property can further demystify and simplify the process. For gardeners in Marrakech, adding ingredients such as native soil can enrich the mix while fostering the growth of indigenous plants.
When you make your own mix, you have the power to choose the right ingredients, giving your seeds the best possible start. In this post, we’ll look at easy recipes and tricks to make the perfect seed starting mix.
Are you ready to grow a beautiful garden bursting with life and color!
Key Takeaways
- Homemade seed starting mix is a great way to save money. You can make even larger batches, which means even more savings compared to the store-bought varieties.
- Adjust your mixture based on the types of seeds you are starting. This allows each plant to have the perfect conditions to grow, increasing germination and plant growth vigor.
- From an environmental standpoint, using homemade ingredients helps to address plastic pollution by reducing the number of plastic containers used by commercial products.
- You’re in complete control of the quality of your mix. This will guarantee that it lacks the harmful chemicals lurking in commercial mixes and is finely tuned to your specific gardening objectives.
- Coco coir, perlite, and organic soil amendments are key ingredients in developing the vigorous seedlings you need. They are good for moisture retention and improve the availability of nutrients.
- Follow the best practices below when starting seeds to increase your likelihood of success. Maintain a consistent watering schedule and pay careful attention to the conditions in which they’re growing.
Benefits of Homemade Seed Starting Mix

Creating your own diy seed starting mix not only saves money but also promotes greener gardening practices.
1. Cost-Effectiveness Compared to Store-Bought
Cost Savings Compared to Store-Bought Perhaps the biggest homemade seed starting mix benefit is the savings. You’ll likely find you can whip up a homemade mix for well under half the cost of commercial products.
A store-bought mix runs at least $5 for just 8 quarts. In comparison, you can mix up an equivalent homemade version that makes more than 1 cubic foot for about $8. The more they batch, the less they spend per use, letting all gardeners—including those with limited budgets—get more bang for their buck.
2. Customization for Specific Seed Types
With homemade mixes, gardeners can customize their ingredients to better suit the needs of various seeds. Some larger seeds, like beans, do better with a coarser mix.
Smaller seeds such as lettuce benefit from a finer medium. Changing the ingredient ratios, or even adding specific ingredients like worm castings for nutritional benefits, can set up a variety of plants for success.
3. Environmental Sustainability
By using renewable resources such as coconut coir and compost, you’re making a proactive choice to reduce plastic waste. As a result, you won’t have to buy bags from a store.
When you source your ingredients locally, you’re taking carbon footprints off the equation, creating a much more sustainable gardening practice.
4. Enhanced Control Over Ingredients
Lastly, creating your own mixture allows you to be certain that it does not contain any synthetic additives and harmful chemicals. You can select high-quality organic amendments and even monitor pH levels.
This creates an ideal environment for germination tailored to your gardening goals.
Essential Ingredients for Seed Starting Mix
Making a good seed starting mix means choosing the proper ingredients that will promote robust seedling development. To create the perfect seed starting potting mix, you usually want a mixture of ingredients that include coco coir or peat, perlite and vermiculite.
Here are the reasons why each ingredient is so important, and how they work together to provide the perfect conditions for seedlings.
1. Key Components and Their Functions
Together, coco coir and peat moss account for about 60% of the mix. They are excellent at retaining moisture, soaking up to 26 times their weight in water. This ability to retain moisture provides a buffer that helps maintain a consistent environment for young seedlings.
Perlite increases aeration, and vermiculite increases drainage, helping to prevent waterlogging which can cause root rot. A simple recipe might be 4 parts peat moss, 2 parts compost, 1 part perlite, 1 part vermiculite. For an even easier recipe, go with equal parts peat moss, perlite, and vermiculite.
2. Balancing Soil-less Ingredients for Optimal Growth
Finding the perfect combination to strike that balance in your mix is key. You want the mix to be light and fluffy so that roots can grow without restrictions.
It takes a little experimentation with different ratios to achieve the best results for your particular seeds.
3. The Role of Organic Amendments and Microbial Activity
Organic amendments, such as worm castings, can help to optimize nutrient availability and improve soil structure in your seed starter mix. Beneficial microbes thrive in a living soil ecosystem, which is crucial for nurturing robust seedlings.
Step-by-Step Recipe for Seed Starting Mix
Creating a DIY seed starting mix is straightforward with a few basic soil ingredients. This homemade seed starter mix ensures moisture retention, drainage, and aeration, which are essential for nurturing robust seedlings.
1. Gather Your Ingredients
Start by compiling a checklist of the following ingredients:
- 4 parts compost
- 2 parts peat moss (or coconut coir)
- 1 part vermiculite
- 1 part perlite
You may want to pre-measure these ingredients to help speed up your mixing process. Your local garden center usually stocks these materials, and online wholesalers are a good bet too.
For sustainability, recycle your old containers to mix in.
2. Mixing Instructions for a Quality Blend
Mix ingredients together in a large tub. Use a hand trowel or shovel, employing vigorous motions to ensure complete blending, particularly for big batches.
This is an important step because achieving uniformity in texture will help achieve consistent moisture throughout the mix.
Texture: The mix should feel light and crumbly, with plenty of room for aeration.
3. Testing Moisture Retention and Drainage
To assess moisture retention, use these methods:
- Shape a fistful of mix into a ball. Once formed, it should maintain its shape and not leak any water.
- Pour water on top of the mix and see how fast it soaks in.
Evaluating drainage is equally important. Check that water can easily move through the mix and does not just sit on top.
Tweak your mix as necessary to help regulate moisture retention to keep moisture levels even, which is the key to happy germination.
Differences Between Seed Starting Mix and Potting Soil
Understanding the differences between seed starter mix and potting mix is crucial for successful gardening. Although they may appear alike, each serves distinct purposes and possesses unique properties that cater to various stages of plant growth, especially when starting seeds indoors.
1. Composition Variations Explained
Seed starting mix often includes materials such as sphagnum moss, vermiculite, and perlite. These components combine to form a very light, airy texture that provides excellent seed germination.
In contrast, potting soil is full of organic matter such as compost and an abundance of nutrients to nourish mature plants. The table below summarizes the key differences:
|
Ingredient |
Seed Starting Mix |
Potting Soil |
|---|---|---|
|
Sphagnum Moss |
High |
Moderate |
|
Perlite |
High |
Lower |
|
Nutrients |
Minimal |
Rich |
|
Organic Matter |
Low |
High |
The composition has a direct effect on performance. Seedlings do exceptionally well in the lightweight seed starting mix, as it promotes root growth without bombarding them with nutrients.
We can help established plants by using a rich potting soil to give them the abundant nutrition they need to thrive.
2. When to Use Each Type of Mix
Moving from seed starting mix to potting soil is essential after seeds sprout and get established. Transitioning to a potting soil becomes necessary at this stage.
Providing an ideal space for germination is essential to successful seed starting. This is where seed starting mix comes in.
As seedlings continue to develop, they will need larger amounts of nutrients, so potting soil should be used when transplanting seedlings into larger containers. Understanding these stages of growth makes it easier to choose the right product at the right time for healthy plants all year long.
Common Misconceptions About Seed Starting Mix
Getting the dirt on seed starting mixes is key to growing a successful garden from the ground up. Understanding the right seed starter mix can help dispel common myths about their necessity, reuse, and expiration that can trip up even the most seasoned of gardeners.
1. Is Seed Starting Mix Necessary?
You may be tempted to believe that any soil will work, but there are clear benefits to using seed starting mix. It’s lighter and sterilized, so there’s less risk of disease.
Using dense garden soil will cause a lack of drainage and poor germination. Using a specific mix can make a world of difference to germination rates, particularly for finer seeds such as those from tomatoes or peppers.
When selecting a mix, take into account what you’re looking to accomplish in your garden—some plants will do better with a specially formulated mix.
2. Can You Reuse Seed Starting Mix?
Reusing seed starting mix is a big risk for the new seeds, sometimes carrying over diseases or pests. If you have mix left over, use it to pot up plants, not for seed starting.
If you must reuse it, try to refresh any old mix with organic amendments, such as compost, to improve its quality and viability. Beginning with a fresh mix usually results in stronger seedlings.
3. Do Seed Starting Mixes Expire?
Homemade seed starting mixes should last at least a year when stored in an airtight container in a cool, dry place, though commercial mixes may last longer.
Signs of a compromised mix would be a rancid smell or excess moisture. To maximize longevity, store mixes in a cool dry location.
Check your stored mixes often to make sure they are still good enough to plant!
Cost Comparison: Homemade vs Store-Bought Options
When comparing seed starting mixes, understanding the cost variations can help you make the right gardening decisions. Typically, a basic DIY seedling mix is usually a more cost-effective option than store-bought seed starter mixes. Here’s a small version of our cost comparison table to illustrate this point.
|
Mix Type |
Cost per Batch |
Key Ingredients |
|---|---|---|
|
Store-Bought |
$10 - $25 |
Peat, perlite, fertilizers |
|
Homemade |
$2 - $5 |
Peat, compost, vermiculite |
1. Analyzing the Financial Benefits
If buying commercial seed starting mixes, the cost can really add up. Even though the cost is about $15 per batch, doesn’t sound too bad, right?
In comparison, making your own mix can cost as little as $3 per batch. This up-front cost in ingredients, such as peat and compost, pays off in huge savings over time. It makes budgeting for gardening supplies a breeze when you see just how cost effective it is to make your own mixes.
2. Long-Term Savings with Homemade Mix
Long-term savings with homemade mix Spending less during your gardening season can be a definite advantage to making your own mix.
With practice, you will achieve better yields with stronger, more resilient plants. The self-sufficiency you’ll achieve saves you money, but it deepens your gardening experience in countless ways.
Keeping track of these expenditures will help you see your savings add up over time, giving you the encouragement needed to stick with this change.
Tips for Effective Seed Starting
All in all, starting seeds at home is an exciting and fulfilling undertaking, especially with a good seed starter and the right knowledge of conditions and practices. By using a quality seed starter mix, you can raise robust seedlings that will thrive. Here are our top tips to set you up for seed starting success.
1. Choosing the Right Containers
Choosing the right containers is one of the most important parts of seed starting. If you’d like to go the more eco-friendly route, consider using biodegradable pots, which you can place directly in the ground.
If you’re looking for something more durable, choose the old-school black plastic trays. Or, for a more eco-friendly method, use items you already have around the house, such as egg cartons or yogurt cups.
Just make sure these containers have drainage holes. Root rot is a common plight for novice gardeners.
2. Ideal Conditions for Germination
There are a few ideal conditions required for seed germination. Try to keep them at a temperature of 65-75°F and give them 12-16 hours of bright light each day.
Keeping consistent moisture is key to germination, and a seedling heat mat is a great tool to ensure warm temperatures. Consistently monitoring these environmental variables will help you achieve successful germination.
3. Adjusting pH and Nutrient Levels
Testing your seed starting mix’s pH is essential for healthy seedlings. The pH should ideally be 6.0 to 7.0.
Incorporating organic amendments such as compost into the soil will provide additional nutrients, helping your plants grow up strong and healthy.
By regularly monitoring your nutrient levels, you can be sure your seedlings are getting what they need to grow strong.
Best Practices for Using Seed Starting Mix
Using a quality seed starter mix properly can make all the difference to your successful gardening endeavors. Here are a few best practices to keep in mind for seed starting success.
- Use Fresh Mix: Always opt for a fresh seed starting mix to ensure high germination rates.
- Proper Container Size: Choose containers that allow for adequate root development, avoiding overcrowding.
- Warmth and Light: Provide warmth and proper light conditions for optimal seedling growth.
1. Timing Your Planting
Timing is important when growing seeds indoors. As a rule of thumb, start 6-8 weeks prior to your area’s last frost date.
For high germination and plant growth, synchronize your seeding schedule with the climate in your area. Using a planting calendar will keep your planting schedule organized and on track.
One of the biggest benefits of staggered planting, especially when grown outdoors, is the benefit of regular harvests, giving you more fresh produce for a longer time.
2. Watering Techniques for Success
Proper watering is key to successful young seedlings, especially when using a good seed starter mix.
- Bottom Watering: This method keeps moisture consistent without disturbing fragile seeds.
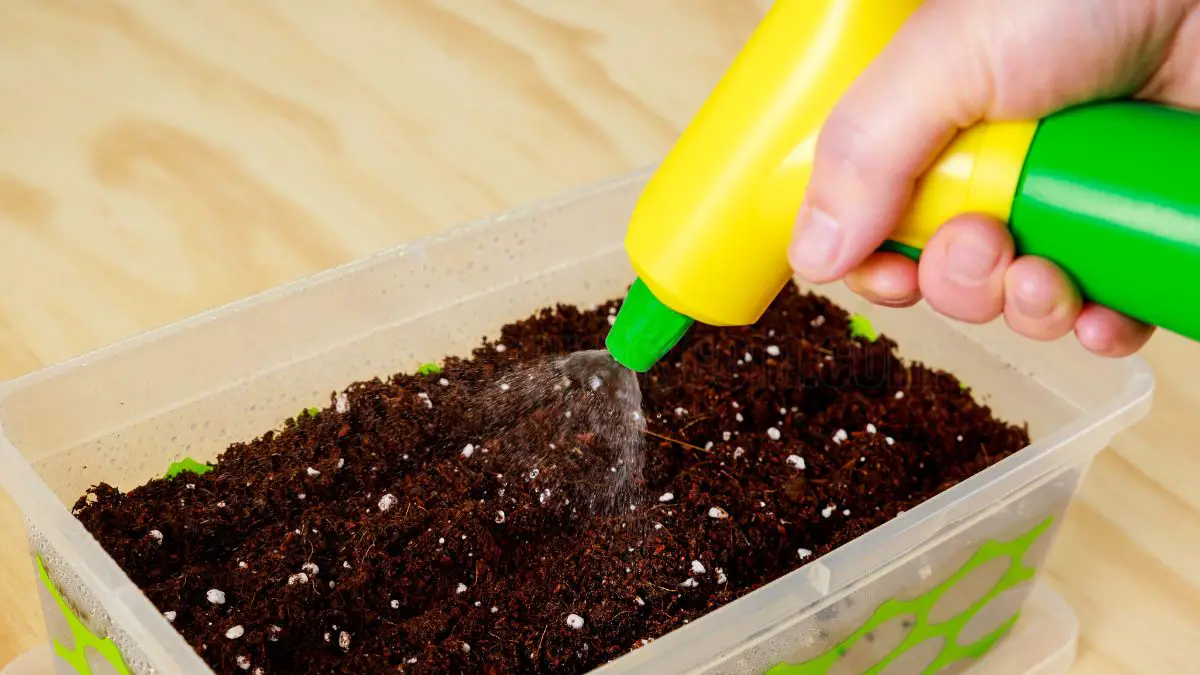
- Misting: Use a spray bottle for gentle moisture application.
- Monitor Soil: Regularly check soil moisture to avoid over or under-watering.
3. Monitoring Growth and Adjusting Care
Daily observation of seedlings goes a long way. Look for growth patterns to make necessary adjustments.
Thinning seedlings encourages stronger, more vibrant plants by eliminating competition for resources.
As seedlings mature, moving them to larger containers helps them continue to thrive. Keep monitoring plants for light, moisture, and nutrient needs to ensure continued healthy growth.
Conclusion
Making your own seed starting mix gives you control and savings. You have total control over what goes in, so your seeds will get the best start possible. Familiar organic ingredients such as peat moss and vermiculite make their own magic. By following the guidance above, you’ll be able to create a mix that meets your plants’ needs exactly. Many are led to believe that store-bought is the only way to go, but homemade can be just as effective, if not more so.
With a little bit of practice, you’ll have a garden that can flourish from the very start. So be sure to play around and tweak your mix to see what works best for your specific plants. Get started making your own seed starting mix today, and see how happy your garden will be!
Frequently Asked Questions
What is a seed starting mix?
A seed starting mix typically comprises materials like peat moss, vermiculite, and perlite, ensuring excellent drainage and aeration for robust seedlings.
Why should I use a homemade seed starting mix?
One advantage of a good seed starter mix is that it can be more cost-effective and customizable. Plus, by using a DIY seed starting mix, you’ll know you’ve selected the right soil ingredients for your plants, helping them grow and thrive.
How do I store leftover seed starting mix?
To store leftover seed starting mix, keep it in a cool, dry place within an airtight container. This method preserves moisture and prevents mold, ensuring your quality seed starter remains effective for future use.
Can I use garden soil instead of seed starting mix?
Using garden soil instead of a quality seed starter mix is often not advisable, as it can be too heavy and may harbor pests or diseases that hinder germinating seeds.
How often should I water seeds in the mix?
Only water seeds lightly and ensure the seed starter mix is always moist but not wet. Give it a little stir, check daily, especially in hotter areas such as Marrakech.
When should I transplant seedlings from the mix?
When should I transplant seedlings from the seed starter mix? This typically takes place about 2-4 weeks after the seed has germinated.
Is it worth making my own seed starting mix?
Yes, creating a DIY seed starting mix can save money and allow you to tailor it to your specific plants, enhancing your gardening success.
Image Source: Paid image from CANVA


