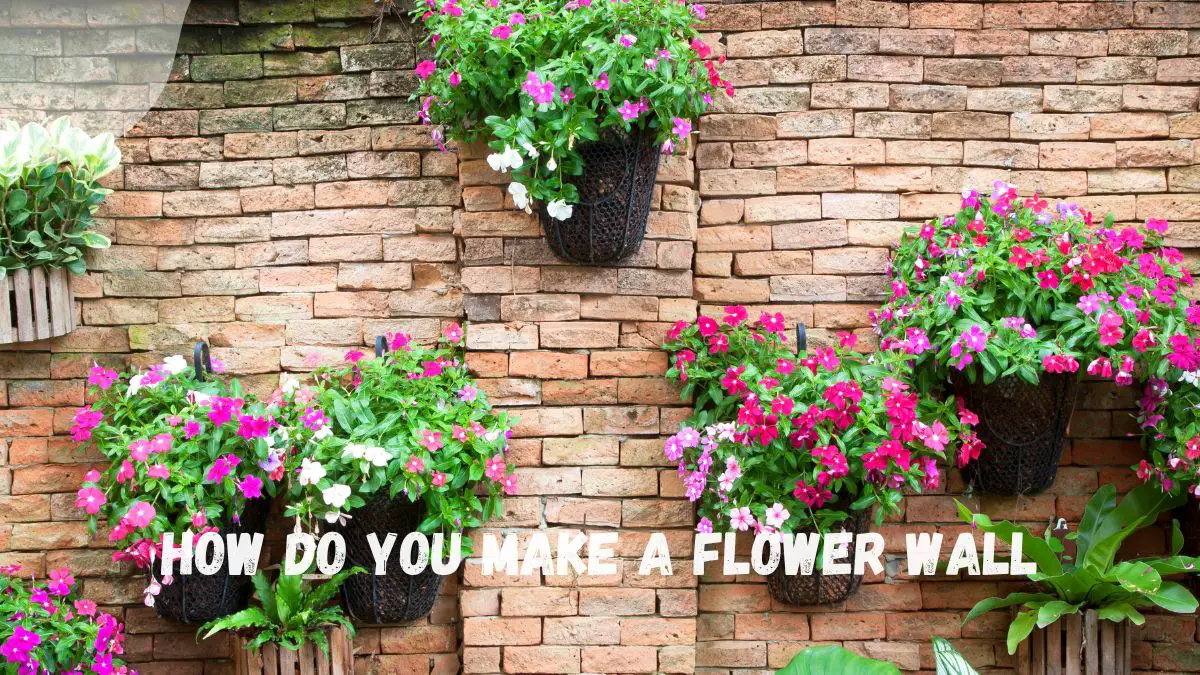
Want to add a touch of elegance and charm to your space with floral embellishments, decors, florals, and floral swags? Creating a stunning flower wall might be just what you need. Whether for a wedding, special event, or to enhance your home decor, mastering the art of making a flower wall can elevate any setting. From choosing the right blooms to arranging them in a visually appealing manner, crafting a flower wall allows you to unleash your creativity and bring nature indoors.
Embrace the beauty of blossoms and learn how to make a captivating flower wall that will leave everyone in awe. Get ready to transform any space into a floral paradise with this step-by-step guide on creating your very own enchanting flower wall.
Key Takeaways
- Plan Your Design Carefully: Before creating a flower wall, take time to plan the design layout to ensure a visually appealing result.
- Select Quality Supplies: Choose high-quality flowers and materials for a durable and attractive flower wall.
- Follow Step-by-Step Instructions: From setting up the backdrop to assembling the flower panels, follow each step carefully for a successful outcome.
- Consider Portability: If creating a portable flower wall, incorporate tips like lightweight materials and easy assembly for convenience.
- Regular Maintenance is Key: To keep your flower wall looking fresh, remember to perform regular maintenance and care routines.
- Visualize the Transformation: Reflect on the before and after photos to appreciate the impact of your flower wall creation.
Choosing Your Supplies
Select Flowers
Choose a variety of flowers to create a visually appealing flower wall. Opt for filler flowers to enhance the overall texture and volume. Consider adding dry flowers for a unique and long-lasting touch.
Pick Backing Material
Select a sturdy backing material such as cardboard or foam board to provide stability. A white sheet can offer a clean backdrop, highlighting the flowers. Opt for lightweight materials to ensure easy hanging and handling.
Gather Tools
Ensure you have sharp scissors on hand for precise cutting of the flowers and stems. Consider using floral shears for more efficient trimming, especially with delicate blooms. Have gaffer tape ready to secure the flowers in place on the backing material.
Planning Your Design
Wall Size
- Measure the wall space accurately for precise flower placement.
- Start with a smaller wall initially to practice your flower wall creation skills.
- Opt for a larger wall if you aim for a more striking and grandiose effect.
Color Scheme
- Choose a color scheme that complements your existing space decor.
- Consider using a monochromatic color palette for a harmonious and unified appearance.
- Opt for contrasting colors to create a lively and eye-catching flower wall display.
Flower Arrangement
- Arrange flowers in a random pattern to achieve a natural and organic look.
- Consider creating a gradient effect by blending different shades of flower colors seamlessly.
- Opt for a symmetrical arrangement to achieve a balanced and visually appealing design.
Setting Up the Backdrop
Prepare the Frame
Creating a frame for your floral backdrop is crucial in achieving a well-organized flower wall. Start by using tape to outline where each flower will go, ensuring an even distribution. This step acts as a guide for precise flower placement and helps maintain a balanced look throughout the backdrop. When outlining the shape of your flower wall, consider the overall design you want to achieve, whether it's a heart shape, geometric pattern, or a cascading effect. Opting for a simple frame design not only simplifies the setup process but also allows for easy removal once the event is over.
Attach Backing
To ensure stability and durability, securely attach the backing material to the wall before adding any flowers. The backing serves as the foundation for your floral masterpiece, so it's essential to fix it firmly in place. Consider using adhesive hooks strategically placed along the edges of the backing for easy attachment and removal. Opting for double-sided tape to affix the backing offers a seamless finish, preventing any visible gaps or uneven edges that may detract from the overall aesthetic of the finished floral backdrop.
Creating the Flower Panels
Layout Flowers
Lay out the flowers on a flat surface to easily visualize and access them. Arrange them by size and color for a harmonious blend. Consider creating small clusters of flowers to add visual interest and depth.
Secure Flowers
Tape the flowers securely onto the wall to prevent any drooping or falling off. Make sure to maintain proper spacing between each flower to achieve a balanced and aesthetically pleasing look. For heavier flowers, opt for using multiple pieces of tape to ensure strong adhesion.
Assembling the Flower Wall
Panel Attachment
To create a stunning flower wall, start by attaching flower panels together meticulously. Overlapping flowers can enhance the seamless appearance of the wall. Opting for a modular panel system simplifies the installation process, making it more efficient.
Final Adjustments
After assembling the panels, take a step back to evaluate the flower wall's overall look. Check for any visible gaps that need attention. Make final adjustments to ensure an even distribution of flowers across the entire wall. Consider rearranging flowers strategically to achieve a more cohesive and visually appealing design.
Portable Flower Wall Tips
Lightweight Options
When creating a portable flower wall backdrop, opt for lightweight materials to ensure easy handling. Consider using faux flowers as they are much lighter than real blooms, making the wall easier to transport. For a delicate and airy aesthetic, choose paper flowers, which are not only lightweight but also add a whimsical touch to the setup. Another option is to go for silk flowers, providing a realistic look while remaining lightweight for portability.
Easy Transport Setup
To simplify the transportation of your portable wall, consider creating smaller flower panels that can be easily assembled and disassembled. This approach allows you to transport the wall in sections, making it more manageable, especially for solo setups. When setting up the wall temporarily, use removable adhesive to avoid damaging surfaces while ensuring easy removal post-event. Opt for a collapsible frame design for your flower wall stand, enhancing portability by allowing you to fold and store it compactly when not in use.
Before and After Showcase
Planning Photos
Planning photos is crucial to showcase your flower wall effectively. Consider natural light for optimal photo quality. Opt for close-up shots to highlight intricate flower details.
- Plan photo angles thoughtfully
- Utilize natural light for better quality
- Capture close-up shots for intricate details
Completed Project
After completing your flower wall, step back and admire your beautiful creation. Share your project on social media for inspiration. Add decorative elements like fairy lights for a magical touch.
- Admire your creation from a distance
- Share on social media for inspiration
- Enhance with decorative elements like fairy lights
Maintenance and Care
Cleaning Tips
- Gently dust the flower wall periodically to maintain its freshness.
- Use a hairdryer on a cool setting to remove dust effectively.
- Spot cleaning with a damp cloth is ideal for stubborn stains.
Longevity Tricks
- Consider using faux flowers for a long-lasting flower wall.
- Opt for silk flowers for a durable and realistic look.
- Choose a dry flower arrangement for a timeless aesthetic.
Closing Thoughts
You've learned the ins and outs of creating a stunning flower wall. From selecting your supplies to assembling the final masterpiece, each step contributes to a beautiful end result. Remember, attention to detail is key in bringing your vision to life. Regular maintenance will ensure your flower wall stays vibrant and fresh for a long time.
Now it's your turn! Roll up your sleeves, gather your materials, and start crafting your very own flower wall masterpiece. Your creativity knows no bounds, so let it shine through this DIY project. Share your creations with us and inspire others to embark on their floral journey too.
Frequently Asked Questions
How do I choose the right supplies for creating a flower wall?
To create a stunning flower wall, select high-quality silk flowers in various sizes and colors. Ensure you have a sturdy backdrop frame, floral foam, wire cutters, and hot glue gun for assembly.
How can I efficiently plan the design of my flower wall?
Plan your flower wall design by sketching it out first to visualize placement. Consider color schemes, flower types, and arrangement patterns to achieve your desired look before starting the assembly process.
What is the best way to set up the backdrop for a flower wall?
Ensure your backdrop is stable and secure before attaching any flowers. Use hooks or nails to hang the backdrop securely, ensuring it can support the weight of the flowers without sagging or falling.
How do I create the flower panels for my flower wall?
Cut floral foam into panels that fit your backdrop grid. Insert silk flowers into the foam, securing them with hot glue if needed. Cover the entire panel with flowers, ensuring no foam is visible.
What are some tips for assembling a flower wall efficiently?
Start by assembling smaller sections of flowers before attaching them to the backdrop. Work from bottom to top, filling in gaps as you go. Step back periodically to ensure even coverage and adjust as needed.
How can I make my flower wall portable for events or photo shoots?
Consider using lightweight materials for your flower wall construction for easy transport. Use detachable panels or sections that can be assembled on-site quickly. Opt for a freestanding backdrop frame that can be easily disassembled and reassembled as needed.
How should I maintain and care for my flower wall to keep it looking fresh?
Regularly dust off your flower wall using a gentle duster or hairdryer on cool setting. Avoid direct sunlight exposure to prevent fading. Replace any wilted or damaged flowers promptly to maintain the overall aesthetic appeal.
Image Source: Paid image from CANVA


