Are you struggling to keep your hibiscus plants thriving in pots, growing flower buds and flowers? Don't fret! We've got you covered with expert tips on nurturing your potted plants of hibiscuses right at home. From proper watering techniques to ideal sunlight exposure, we'll guide you through the dos and don'ts of caring for hibiscus plants in pots.
Key Takeaways
- Choose a pot that provides enough room for root growth and has drainage holes to prevent waterlogging.
- Use a well-draining soil mix rich in organic matter to ensure proper aeration and moisture retention for your hibiscus plant in the garden.
- Plant your hibiscus in the garden at the correct depth and position to promote healthy growth and development.
- Place your potted hibiscus in a location with ample sunlight and maintain consistent temperatures above 60°F (15°C).
- Water your hibiscus plant deeply but infrequently, allowing the soil to dry out slightly between waterings.
- Follow a fertilization schedule using a balanced fertilizer to support blooming and overall plant health.
Choosing the Right Pot
Size Matters
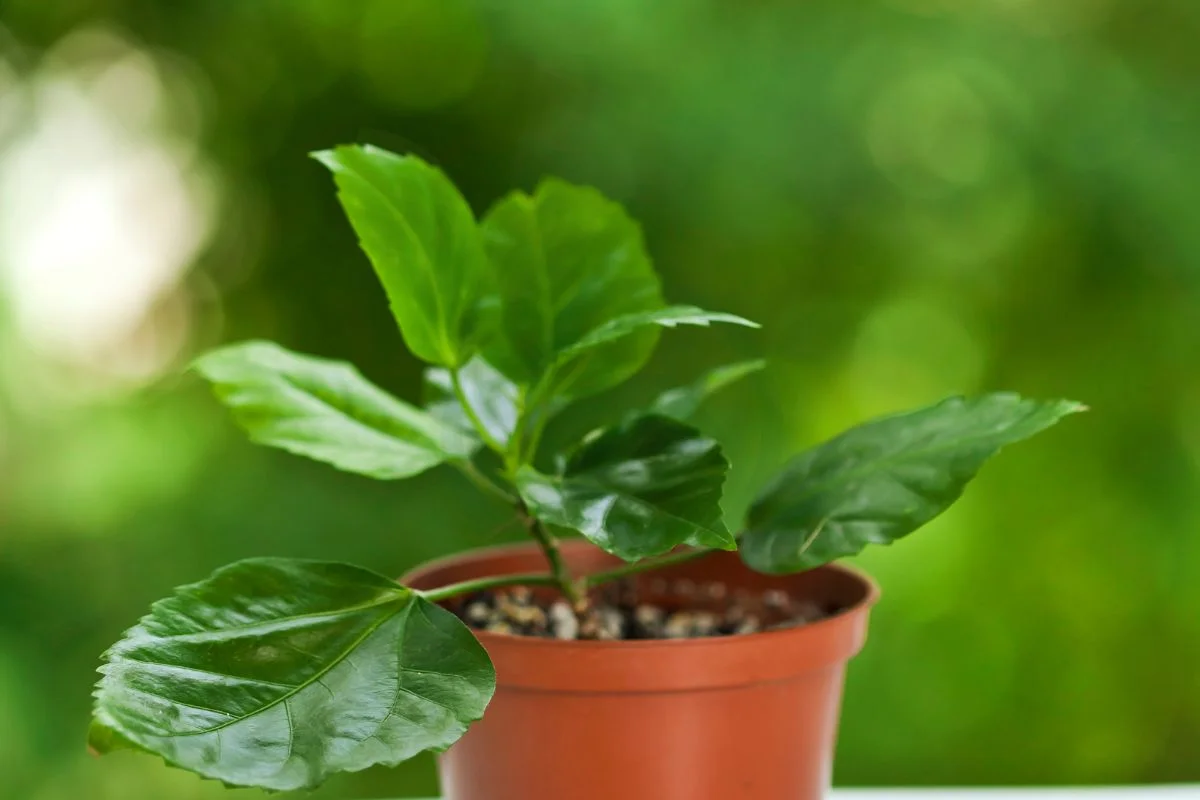
When selecting a container for your hibiscus plant, ensure it is 2 inches larger than the current root ball. This allows ample space for root growth. The pot should also have drainage holes to prevent waterlogging, promoting healthy roots. Consider the mature size of the hibiscus plant to choose an appropriate pot size.
Material Benefits
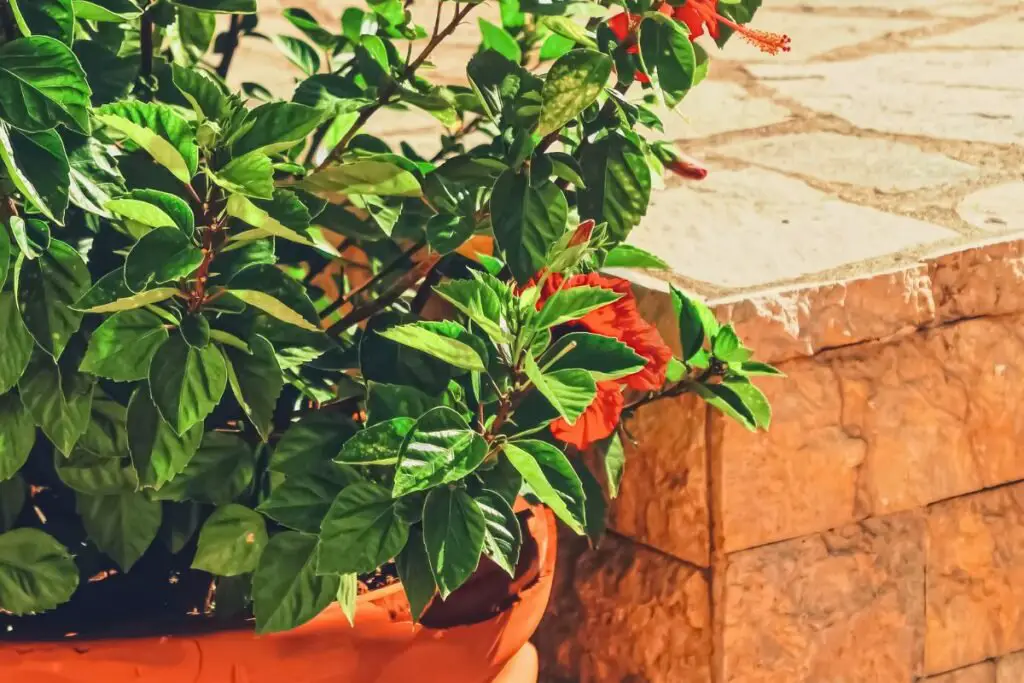
Opt for lightweight pots like plastic or fiberglass with a hole at the base for perfect drainage, ideal for moving around your garden or home. Ceramic pots provide stability and insulation against temperature fluctuations, ensuring consistent soil temperatures. Terracotta pots are porous, aiding in soil aeration and moisture regulation, promoting optimal root health.
Drainage Importance
Proper drainage is crucial to prevent water accumulation and root rot in hibiscus plants. Use potting mix containing perlite or sand to enhance drainage capacity, allowing excess water to flow out efficiently. Elevating pots on feet further improves airflow and drainage, maintaining a well-aerated root system.
Ideal Soil Mix
Soil Composition
Use well-draining soil mixes containing a blend of peat moss and perlite for optimal hibiscus growth. These components promote proper drainage, preventing waterlogging that can harm the plants. Avoid heavy garden soil as it tends to hold excess water, leading to root rot issues. To enhance soil fertility, consider incorporating compost, providing essential organic nutrients vital for healthy plant development.
pH Levels
Maintain the ideal slightly acidic soil environment for hibiscus plants by aiming for a pH range of 6.0 to 6.5. Regularly monitor the soil's acidity using a pH meter to ensure it stays within the preferred range. If necessary, adjust the pH levels accordingly by utilizing amendments such as sulfur to lower acidity or lime to increase it, ensuring an optimal growing environment for your hibiscus.
Nutrient Requirements
Supply your hibiscus with a balanced fertilizer formulation, emphasizing higher potassium content during flowering stages to support robust bloom production. Opt for slow-release fertilizers that provide sustained nourishment over time, promoting steady plant growth and vitality. Consider supplementing with micronutrients like iron and magnesium to address specific nutrient deficiencies and enhance overall plant health.
Proper Planting Techniques

Root Handling
When planting hibiscus in a pot, it's crucial to handle the roots properly. Gently loosen the roots during transplanting to avoid root-bound plants. Trim any damaged or circling roots before placing them in the new pot. Spread the roots outward to encourage healthy growth.
Plant Depth
To ensure the optimal growth of your hibiscus, plant it at the same depth as in the nursery pot. Avoid burying the stem too deep as it can lead to rotting issues. Maintain a small gap between the soil surface and the pot rim to facilitate proper watering and drainage.
Watering After Planting
After planting your hibiscus, water it generously until excess water drains out from the bottom of the pot. It is essential to monitor the soil moisture daily to establish a consistent watering routine. Adjust the frequency of watering based on weather conditions; for instance, water more during hot and dry periods.
Sunlight and Temperature
Daily Sunlight
- Place hibiscus pots in a sunny spot receiving at least 6 hours of direct sunlight daily.
- Rotate pots weekly to ensure all sides of the plant get equal exposure to sunlight.
- Utilize reflective mulch around the pots to enhance the absorption of sunlight.
Ideal Temperatures
- Maintain hibiscus plants in pots at temperatures above 60°F (15°C) for optimal growth.
- Shield plants from frost by bringing them indoors during cold spells to prevent damage.
- Prevent stress by avoiding sudden temperature fluctuations that can harm the plants.
Seasonal Adjustments
- During hot summer months, increase the frequency of watering in the garden to keep the soil moist.
- In winter, reduce watering to prevent waterlogging and potential root rot issues.
- Protect your hibiscus plants from strong winds in spring to prevent dehydration.
Watering Essentials
Frequency
Water your hibiscus plants in pots every 1 to 2 days during the growing season. This regular watering schedule ensures that the plants receive adequate hydration for optimal growth and blooming. fertilize monthly when the plant is actively growing to provide essential nutrients for healthy development. Pruning lightly throughout the year helps maintain the desired shape of the plant and promotes bushier growth.
Quantity
Ensure thorough watering for your hibiscus plants until water drains from the bottom of the pot. This method helps prevent waterlogging and ensures that the roots receive sufficient moisture. When applying fertilizer, follow the instructions on the package carefully to avoid overfeeding, which can harm the plant. Prune sparingly to encourage new growth without causing undue stress to the plant, promoting a lush appearance.
Signs of Overwatering
Be vigilant for signs of overwatering in your hibiscus plants, such as yellowing leaves and wilting. These symptoms indicate that the plant is receiving too much water and may be suffering from root rot. Check the soil for excessive moisture by feeling its texture and smelling for any foul odors, which could signal waterlogged conditions. Promptly adjust your watering practices to prevent further damage to the roots and overall health of the plant.
Fertilization Schedule
Type of Fertilizer
- Choose a balanced water-soluble fertilizer to nourish hibiscus plants in pots effectively.
- Opt for slow-release fertilizers to provide a steady stream of nutrients over time.
- Prioritize fertilizers with higher phosphorus content to promote blooming in your hibiscus plants.
Application Timing
- Fertilize your potted hibiscus during the growing season to support their development.
- Apply fertilizer in the morning, allowing the plants to absorb nutrients throughout the day.
- Avoid fertilizing during extreme heat as it can lead to root damage and nutrient loss.
Over-fertilization Risks
- Be vigilant for signs of fertilizer burn, such as leaf scorching and stunted growth in your hibiscus.
- To address excess salts, leach the soil by flushing it with water thoroughly.
- Monitor your plant's response and adjust fertilizer amounts accordingly to prevent nutrient imbalances.
The previous section discussed "Watering Essentials," emphasizing the importance of proper watering techniques for healthy hibiscus plants. When caring for hibiscus in pots, ensuring a well-balanced fertilization schedule is equally crucial. By providing the right type of fertilizer at the correct times and being mindful of potential risks associated with over-fertilization, you can support optimal growth and vibrant blooms in your potted hibiscus plants.
Pruning and Maintenance
Pruning Time
Prune hibiscus in pots during late winter or early spring to encourage healthy growth. Remove any dead or diseased branches that may hinder the plant's vitality. Lightly shaping the plants helps maintain a compact and bushy appearance, enhancing their overall aesthetics.
Pruning Technique
Utilize sharp and clean pruning shears for precise cuts when trimming hibiscus plants. Trim branches just above a leaf node to stimulate new growth effectively. Remember to disinfect your tools between cuts to prevent the spread of diseases among your plants.
Pest Control
Regularly inspect your hibiscus plants for common pests such as aphids and spider mites. Combat these nuisances with insecticidal soap or neem oil, opting for organic pest control methods. Consider introducing beneficial insects like ladybugs to naturally address pest infestations without harmful chemicals.
Winter Care Strategies
Temperature Management
Shield hibiscus from extreme temperatures by moving pots indoors. Use frost cloth during cold snaps to protect plants. Avoid drafty areas to prevent temperature stress.
Rotate pots regularly for uniform light exposure on all sides. Gradually acclimate hibiscus to increased sunlight to prevent sunburn. Provide light shade during intense midday sun to prevent leaf scorch.
Light Adjustment
Decrease watering frequency in winter when plant growth slows. Allow the top inch of soil to dry out between waterings. Adjust watering based on plant response to prevent water stress.
Repotting Guidelines
When to Repot
Repot hibiscus plants when their roots outgrow the current container, especially if you notice roots emerging from the drainage holes. This indicates that the plant is root-bound and needs more space. To minimize transplant shock and aid recovery, it's best to repot in spring when the plant is entering its active growth phase.
Choosing a New Pot
When selecting a new pot for your hibiscus, opt for one that is approximately 2 inches larger in diameter than the current pot. Ensure that the new pot has adequate drainage holes to prevent waterlogging, which can lead to root rot. Lightweight materials are preferred for easy handling and mobility, especially if you plan on moving the plant around frequently.
Transplanting Steps
To successfully transplant your hibiscus, carefully remove it from the old pot without causing damage to the roots. Once removed, gently loosen the roots and trim any circling or damaged roots to encourage healthy growth. When planting in the new pot, ensure that the hibiscus is positioned at the same depth as before and water thoroughly to help it establish in its new environment.
Troubleshooting Common Issues
Yellow Leaves
Yellowing leaves on hibiscus plants may indicate overwatering or nutrient deficiencies. To address this, check soil moisture levels regularly and adjust your watering practices accordingly. Consider adjusting the application of fertilizer to tackle any nutrient deficiencies that may be causing the issue.
Dropping Buds
When hibiscus plants experience bud drop, it can be due to temperature stress or inconsistent watering. To prevent this, ensure that your plants are exposed to stable temperatures and receive adequate moisture consistently. Adjusting both watering and light conditions can help support healthy bud development.
Pest Infestations
To combat pest infestations on hibiscus plants, start by identifying common pests like whiteflies or scale by inspecting the undersides of leaves. Once identified, treat these infestations promptly with appropriate insecticides. For a more organic approach, consider introducing natural predators like lacewings to help control pest populations naturally.
Summary
In caring for your hibiscus plants in a pot, you've learned about selecting the right pot, using the ideal soil mix, proper planting techniques, sunlight requirements, watering needs, fertilization schedules, pruning methods, winter care strategies, repotting guidelines, and troubleshooting common issues. By following these steps diligently, you can ensure your hibiscus thrives and blooms vibrantly. Remember to give your plant the attention it needs according to each season and watch it flourish.
Now that you have all the tools to care for your potted hibiscus successfully, take action and apply these tips to see your plant thrive. Share this knowledge with fellow plant enthusiasts and continue to nurture your green thumb. Your dedication will be rewarded with a stunning display of colorful hibiscus flowers in your indoor or outdoor garden space.
Frequently Asked Questions
How do I choose the right pot for my hibiscus plant?
Select a pot that is 2-4 inches larger in diameter than the current one. Ensure it has drainage holes to prevent waterlogging and allows for proper root aeration. Opt for a sturdy material like terracotta or plastic.
[Special requests]
- Prioritize functionality over aesthetics.
- Consider the weight of the pot for easy movement.
- Check for any cracks or damage before purchasing.
What is the ideal soil mix for hibiscus plants in pots?
Use well-draining, slightly acidic soil with a pH of 6.0-7.0. A mix of potting soil, perlite, and peat moss works well. Avoid heavy clay soils that can lead to water accumulation and root rot.
[Special requests]
- Regularly check the soil pH to ensure optimal conditions.
- Consider adding organic matter like compost for nutrients.
- Monitor moisture levels to prevent overwatering.
How often should I fertilize my hibiscus plant in a pot?
Fertilize every 2-4 weeks during the growing season with a balanced fertilizer high in potassium and phosphorus. Use a water-soluble fertilizer diluted to half strength to avoid nutrient burn.
[Special requests]
- Adjust fertilization frequency based on plant growth and health.
- Avoid fertilizing during dormancy periods.
- Flush out excess salts from fertilizers periodically.
When should I repot my hibiscus plant?
Repot your hibiscus every 2-3 years or when roots outgrow the pot. Signs such as roots circling at the bottom or emerging from drainage holes indicate the need for repotting. Spring is an ideal time for this task.
[Special requests]
- Choose a slightly larger pot when repotting to accommodate growth.
- Gently loosen compacted roots before transferring to a new pot.
- Provide appropriate care post-repotting to reduce stress on the plant.
How can I troubleshoot common issues with my hibiscus plant in a pot?
Yellowing leaves may indicate overwatering, while drooping leaves could signal underwatering. Pest infestations like aphids and spider mites are common; treat with neem oil or insecticidal soap. Ensure proper sunlight, watering, and humidity levels for overall plant health.
[Special requests]
- Monitor closely for early signs of problems.
- Keep an eye out for leaf discoloration or abnormal growth patterns in the garden.
- Research specific symptoms to accurately diagnose issues.
Image Source: Paid image from CANVA


