Ever wondered how to capture the delicate beauty of an orchid on paper? Whether you're a seasoned artist or just starting, mastering the art of drawing an orchid can be both challenging and rewarding. In this guide, we'll delve into simple yet effective techniques that will help you bring out the intricate details and elegance of this exquisite flower.
From understanding the basic structure of an orchid to creating depth and dimension in your artwork, we've got you covered. We'll explore tips for sketching realistic petals, capturing the graceful curves of stems, and infusing your drawing with lifelike vibrancy. Get ready to unleash your creativity as we contrast traditional methods with modern approaches to create stunning renditions of these enchanting blooms.
Key Takeaways
-
Understanding the anatomy of an orchid is crucial for accurately capturing its unique features in a drawing.
-
Use high-quality materials like sketching pencils, erasers, and paper to ensure the best results in your orchid drawing.
-
Start by sketching the basic shape of the orchid, focusing on proportions and positioning.
-
When drawing the petals, pay attention to their intricate details and varying shapes to capture the natural beauty of the flower.
-
Define the stem and leaves with precision, ensuring that they complement the overall structure of the orchid.
-
Enhance your orchid drawing by adding depth and dimension through shading and highlighting techniques.
Understanding Orchid Anatomy
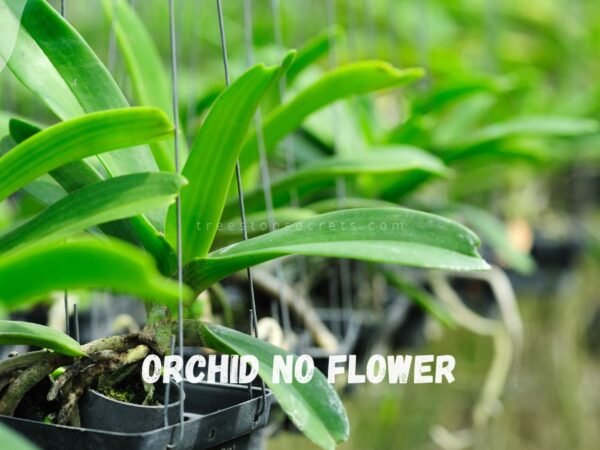
Orchids are fascinating flowers with intricate structures that make them a beautiful subject for drawing.They exhibit symmetry and come in diverse shapes and sizes, depending on the orchid species. For instance, some orchids have rounded, overlapping petals, while others may have elongated or frilly ones. Understanding these variations is crucial for accurately depicting different types of orchids in drawings.
Furthermore, the arrangement of orchid petals can differ significantly among various species. Some may have a single large petal at the bottom with two smaller ones at the top resembling butterfly wings, while others might have evenly spaced and symmetrical petals encircling their center. Recognizing these differences allows artists to capture the unique characteristics of each type of orchid accurately.
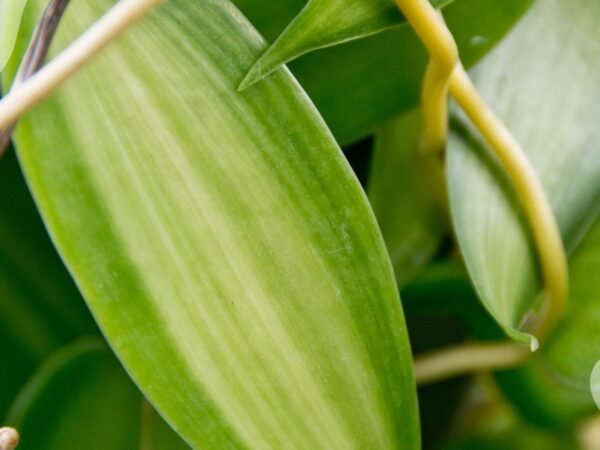
Moving on to the stem and leaves, orchids present a wide range of diversity in their physical attributes. Their stems can be tall and slender or short and compact, varying in thickness as well. Similarly, their leaves typically exhibit broadness but also come in lance-shaped or elliptical forms with prominent veins running through them. Paying attention to these details helps ensure that an artist captures not only the beauty but also the realism of an orchid's stem and leaves in their artwork.
Moreover, it's essential to understand how orchid roots grow as they often develop above ground with a distinct silvery appearance. The root system plays a pivotal role in an orchid's overall growth and health; therefore, capturing its intricate details adds depth to any depiction of an orchid plant.
Materials Needed for Drawing
Paper Selection
When drawing an orchid, the paper you choose plays a crucial role in achieving the desired effects. Smooth paper is perfect for detailed drawings, while textured paper can add depth and dimension to your artwork. The color of the paper also impacts the overall look of your orchid drawing. For instance, a light-colored paper may be ideal for highlighting delicate petals, while a darker paper could create a dramatic contrast.
Using smooth or textured paper depends on what you want to achieve in your orchid drawing. If you aim for intricate details and precise lines, smooth paper is preferable. On the other hand, if you want to add texture and depth to your orchid illustration, textured paper might be more suitable.
Pencil Types
Selecting the right pencil type is essential when drawing an orchid. Different pencils like graphite, charcoal, or colored pencils offer varying levels of control and shading options. Each type can bring its unique characteristics to your artwork.
Experimenting with different pencil types allows you to explore various artistic possibilities in rendering an orchid's delicate features such as its petals and stem. Choosing the appropriate pencil hardness enables artists to capture fine details effectively in their orchid drawings.
For example: Using colored pencils can help depict the vibrant hues of an exotic species like Vanda coerulea (blue vanda), while graphite pencils are excellent for capturing subtle tonal variations in a white Phalaenopsis (moth) orchid.
Erasers and Shading Tools
Incorporating quality erasers into your toolkit is vital when creating an accurate representation of an orchid plant on paper. They serve not only as tools for correcting mistakes but also as instruments for refining highlights within your artwork.
Moreover, employing various shading tools such as blending stumps or tortillons helps artists achieve seamless transitions between light and shadow areas in their floral illustrations. These tools are especially useful when depicting complex structures like multiple layers of petals or intricate patterns found on certain types of Orchids.
By carefully selecting these materials based on specific requirements—such as texture preferences or level of detail—an artist can significantly enhance the visual impact and overall quality of their finished orchid drawing.
Sketching the Basic Shape
When drawing an orchid, it's crucial to start by establishing the silhouette of the flower. The silhouette sets the foundation for capturing the overall shape and form of the orchid. Pay attention to negative spaces within the silhouette to ensure accurate proportions in your drawing. By doing this, you can ensure that your orchid looks realistic and true to its actual shape.
The silhouette also serves as a guide for placing subsequent details in your orchid drawing. It helps you understand where each element of the flower should be positioned, making it easier to add more intricate features later on. For example, if you're using colored pencils or paints, understanding the basic silhouette will help you plan out where different colors will go before adding any detail.
Lightly sketching guidelines is another essential step when learning how to draw an orchid. These guidelines help in positioning key elements such as petals, stem, and leaves accurately on your paper or canvas. By having these guidelines present from early on in your drawing process, you'll find it easier to maintain proper proportions and alignment throughout.
Clear guidelines contribute significantly towards achieving a well-balanced composition in your final artwork. They act as a roadmap for where each part of the flower should be placed while ensuring that everything is symmetrical and proportional.
Drawing the Petals
When drawing an orchid, outlining each petal is crucial. This step helps define the individual shapes within the overall composition. By emphasizing any unique characteristics or irregularities present in orchid petals through precise outlining, you create a framework for adding intricate details later in the drawing process.
adding subtle curves, ridges, or veins to the petals enhances realism in depicting orchid petal textures. Focusing on light and shadow to create depth and dimension within each petal structure is essential. Incorporating these delicate details brings life to the orchid petals in your drawing.
Drawing an orchid involves paying close attention to detail when outlining each petal. By focusing on emphasizing any unique characteristics or irregularities present in orchid petals through precise outlining, you can provide a framework for adding intricate details later in the drawing process.
Adding subtle curves, ridges, or veins enhances realism when depicting orchid petal textures. By focusing on light and shadow to create depth and dimension within each petal structure while incorporating delicate details brings life to your artwork.
Defining the Stem and Leaves
When drawing an orchid, capturing the variations in stem thickness, curvature, and surface texture is crucial. By highlighting any nodes or aerial roots along the stem, you can add authenticity to your orchid depiction. These details contribute to elevating the visual interest of your orchid drawing.
Depicting distinct leaf textures such as smooth surfaces or pronounced veins adds visual richness to orchid leaves. Utilizing shading techniques allows you to convey depth effectively, enhancing the overall appearance of the leaves. Paying attention to the direction of light source when rendering leaf textures is essential for achieving a natural look.
To illustrate variations in stem shape, consider using different line weights and styles to convey changes in thickness and curvature accurately. For instance, a thicker line may represent a more robust part of the stem while a thinner line could depict delicacy or young growth. Moreover, adding subtle curves and bends will imbue your stems with organic realism.
Think about utilizing cross-hatching or stippling techniques for creating smooth surfaces or pronounced veins respectively. By varying your pressure on the pencil or pen strokes based on where shadows fall due to the light source's direction, you can achieve convincing depth and dimension within your leaves.
Orchid Picture Enhancement
Shading Techniques
Shading techniques are crucial for drawing an orchid realistically. Employing hatching, cross-hatching, or stippling methods can create tonal values that define form and volume within the drawing. For instance, using hatching lines close together can indicate darker areas on the petals or leaves of the orchid. Mastering blending techniques is also essential as they ensure seamless transitions between light and shadow areas on various elements of an orchid. By skillfully applying shading techniques, you can enhance realism and three-dimensionality in your orchid drawings.
For example, when drawing an orchid petal, using cross-hatching to create shadows will give it a more lifelike appearance by adding depth and texture to the surface. Blending these shaded areas with a blending stump or tortillon will further smoothen out any harsh lines and create a realistic gradient effect.
Depth and Dimension
Creating depth within your orchid drawing involves establishing contrast between foreground and background elements to convey a sense of distance. Utilizing perspective techniques accurately portrays spatial relationships between different parts of an orchid plant in your artwork. You could achieve this by ensuring that closer elements are drawn with more detail than those in the background.
In addition to this technique, incorporating atmospheric perspective into your drawing enhances dimensionality by simulating distance within the artwork. This means that objects placed farther away from the viewer appear lighter in color and less detailed compared to those up close.
Coloring Techniques
Choosing Colors
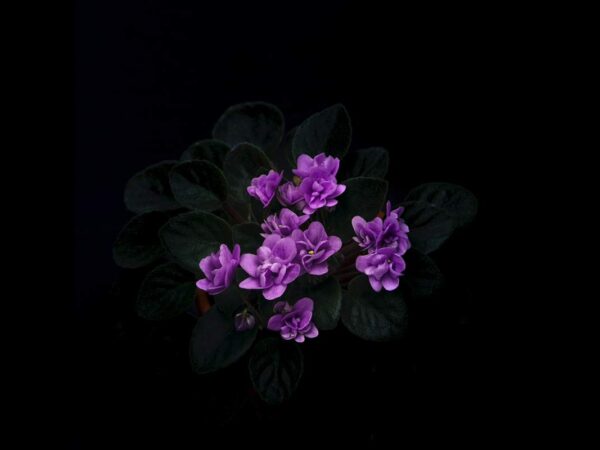
Consider the natural hues of an orchid flower. Orchids come in a variety of colors such as pink, purple, white, and yellow. You can also find orchids with intricate patterns and spots. To make your drawing look realistic, observe real-life orchids or reference images to understand the color variations.
Start by selecting the main color for the petals based on the type of orchid you want to draw. For example, if you're drawing a pink Phalaenopsis orchid, choose shades of pink that closely resemble its natural color. Next, pick lighter and darker tones within the same color family to add depth and dimension to your drawing. Remember that color selection is crucial in capturing the essence of an orchid's delicate beauty.
Consider using colored pencils or watercolor paints for your coloring technique as they allow layering and blending different shades seamlessly. Begin by lightly applying the base color onto each petal before gradually adding layers to create shadows and highlights. This method helps achieve a more lifelike appearance in your drawing.
Color Application
Start by gently applying light strokes with your chosen medium on one side of each petal where light hits them directly while leaving some areas untouched for highlights later on. Then gradually build up layers of darker colors towards the center or creases of each petal where shadows naturally form.
For instance, if you are using colored pencils, apply gentle pressure at first then increase it as you add more layers to deepen certain areas according to how light falls on them realistically. If working with watercolors, use a wet-on-wet technique by applying a wash over each petal before dropping in darker pigments while still wet; this creates soft transitions between different shades. Remember not to rush through this process; take time observing how light interacts with real flowers so that you can replicate those effects accurately in your artwork.
Retracing and Finalizing the Drawing
Reinforcing Lines
Now that you have added color to your orchid drawing, it's time to reinforce the lines. This step involves going over the initial sketch with a darker pencil or pen to make the outline more defined. Reinforcing lines gives your drawing a polished look and ensures that all details are clearly visible. For instance, if you drew petals with light, delicate strokes in the initial sketch, reinforcing these lines will make them stand out.
When reinforcing lines on your orchid drawing, pay attention to areas where different parts of the flower overlap. By making these overlapping sections distinct through reinforced lines, you can create depth and dimension in your drawing. Consider using a slightly thicker line for certain parts of the orchid to emphasize their importance or prominence within the composition.
Remember not to rush this step; take your time as you go over each part of the orchid with reinforced lines. This process allows you to refine any uneven edges or shapes from your initial sketch and create a cohesive final image.
Clean-up Edges
After reinforcing all necessary lines in your orchid drawing, it's essential to clean up any rough edges or stray marks left behind from previous steps. Clean-up edges involve erasing any unnecessary guidelines that may still be visible after coloring and reinforcing lines. Use an eraser gently but firmly along with smooth strokes to remove these unwanted marks without smudging other parts of your artwork.
In addition to erasing stray marks, focus on refining specific areas where colors may have overlapped onto outlines during coloring. This meticulous clean-up ensures that no distracting smudges detract from the overall appearance of your finished orchid drawing.
Once all rough edges are cleaned up thoroughly across every part of your artwork, stand back and assess whether there are any final adjustments needed before considering it complete.
Troubleshooting Common Issues
Symmetry Problems
When drawing an orchid, one common issue is achieving symmetry. This can be challenging because orchids have intricate and delicate features that need to be balanced on both sides of the flower. One way to address this is by using basic shapes as guidelines. Start with a simple oval or circle for the overall shape of the flower, then add smaller circles for individual petals. By ensuring that these initial shapes are symmetrical, it becomes easier to maintain symmetry throughout the drawing.
Another approach to tackle symmetry problems is by using a reference image or object. Observing real orchids or high-quality images can provide valuable insights into their natural symmetry and help replicate it in your artwork. Dividing your drawing paper into quadrants with light lines can guide you in maintaining proper proportions and balance while sketching each section of the orchid.
Proportion Adjustments
Adjusting proportions is crucial when learning how to draw an orchid accurately. Sometimes, petals may appear too large or small compared to other parts of the flower, resulting in a disproportionate representation. To address this issue, start by lightly sketching out the main components of the orchid without focusing on details initially.
Once you have a rough outline, step back and assess if any elements look out of place in terms of size or position relative to one another. If needed, make gentle adjustments by erasing and redrawing specific areas until you achieve harmonious proportions within your artwork.
To further refine proportion adjustments effectively, consider utilizing shading techniques such as hatching and cross-hatching to create depth and volume within different sections of the orchid. These shading methods can help enhance three-dimensional aspects while also aiding in correcting any proportion discrepancies that may still persist after initial sketches.
Final Remarks
You've made it through the entire process of drawing an orchid, from understanding its anatomy to enhancing the final picture. Now, it's time to put your newfound skills into practice. Grab your materials and start sketching! Don't be discouraged by any initial challenges; troubleshooting is part of the learning journey. Remember, practice makes perfect, so keep at it and don't give up. Share your beautiful orchid drawings with friends and family, and who knows, you might even inspire them to pick up a pencil and join in on the fun!
Frequently Asked Questions
How important is understanding orchid anatomy for drawing?
Understanding orchid anatomy is crucial as it helps you capture the intricate details accurately. Just like knowing the human body's structure aids in drawing a lifelike figure, comprehending an orchid's anatomy allows you to portray its unique features with precision.
What are some common troubleshooting issues when drawing an orchid?
Common issues include proportions being off, petals lacking natural flow, and difficulties capturing the delicate nature of the flower. These can be addressed by practicing basic shapes and observing real-life orchids closely to understand their nuances.
Why is retracing and finalizing the drawing essential?
Retracing and finalizing your drawing provides an opportunity to refine details, correct any inaccuracies, and enhance overall aesthetics. It’s akin to adding finishing touches to a masterpiece – it brings out the true beauty of your work.
How do coloring techniques contribute to bringing an orchid drawing to life?
Coloring techniques play a vital role in adding depth, dimension, and vibrancy to your artwork. With skillful shading and blending, you can evoke a sense of realism that makes your orchid illustration captivating and visually appealing.
What materials are essential for drawing an orchid?
Key materials include quality pencils for sketching, erasers for corrections, fine liners for detailing, paper suitable for various mediums (such as watercolor or colored pencils), reference images of real orchids for inspiration, and optional digital tools if creating digitally.
Image Source: Paid image from CANVA