Absolutely, harvesting black walnuts is a rewarding process, and I can guide you through each step! Even though the outer husks can be a bit messy to deal with, the delicious nuts inside are worth the effort.
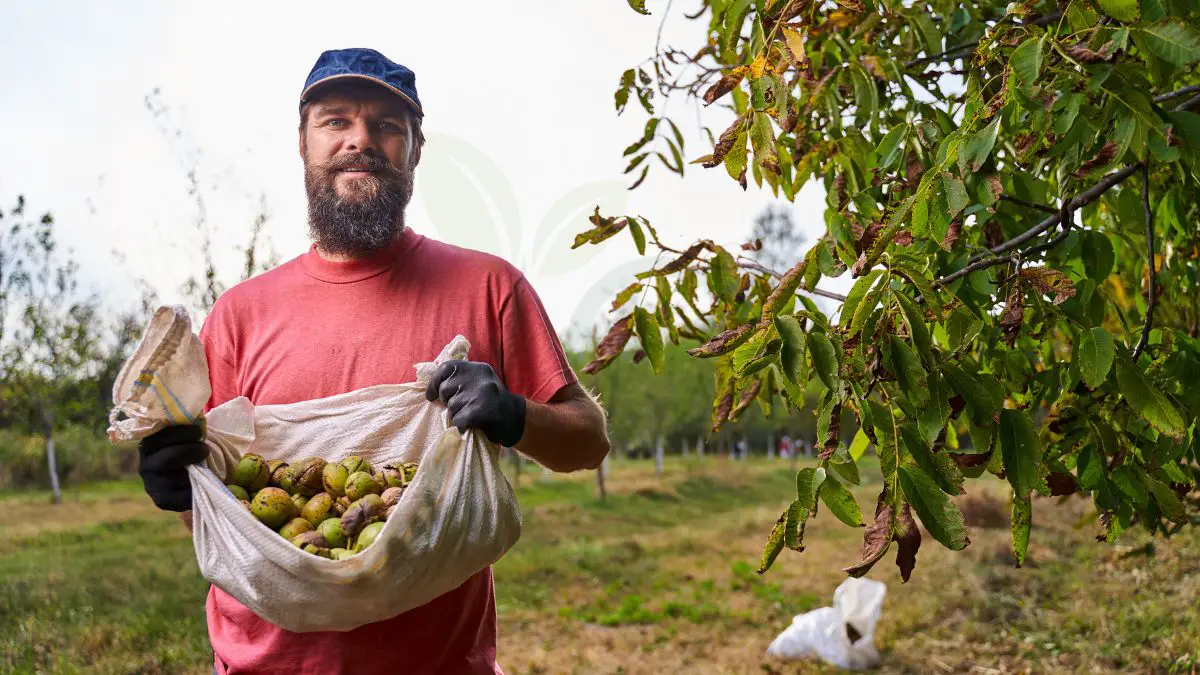
So, how do you harvest black walnuts? The key is timing. Ideally, you want to collect the walnuts after they've fallen from the tree, but before the squirrels get to them! Look for walnuts with husks that are starting to split or blacken, which signifies they're ripe. Once you've gathered your fallen walnuts, you can use your gloved hands or a tool to remove the husks. Be warned, the husks can stain, so wear clothes you don't mind getting dirty.
This is just the first step though! There's more to learn about cleaning, drying, and cracking the walnuts, pecans, to get to those tasty kernels inside. Ready to learn how to process your black walnuts and enjoy their unique flavor? Let's keep reading!
Key Takeaways
- Recognizing Ripeness:
- Look for black walnuts that have fallen naturally from the tree and have a yellow-green husk that is starting to turn black.
- Harvesting Techniques:
- Use gloves to protect your hands when collecting black walnuts and avoid leaving them in direct sunlight for extended periods.
- Processing Basics:
- After harvesting, remove the outer husk and wash the nuts thoroughly before drying them in a well-ventilated area.
- Curing and Storage:
- Allow the nuts to cure for a few weeks in a cool, dry place before storing them in airtight containers to maintain freshness.
- Nut Cracking Tips:
- Use a sturdy nutcracker or a vise to crack open black walnuts, as their hard shells require more force than other nuts.
- Flavor Preservation:
- To preserve the rich flavor of black walnuts, store them in the freezer to prevent rancidity and maintain their taste.
Recognizing Ripeness
Visual Cues
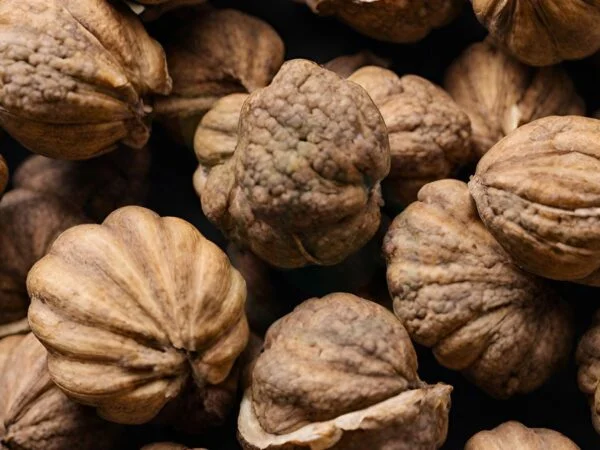
Black walnuts are ready for harvest when their yellow-green husks transition to a dark brown color. Ripe black walnuts typically measure around two inches in diameter, indicating their readiness for picking. To easily locate ripe black walnuts, keep an eye out for fallen nuts on the ground as they are prime for harvesting.
Touch Test
To determine the ripeness of black walnuts, assess the texture of the husks by feeling them. Check the firmness of the nuts to ensure they are ready for harvest. A key indicator of readiness is when the husks can be easily removed with a gentle touch.
Timing Tips
For optimal results, aim to harvest black walnuts between September and October when they reach peak ripeness. Consider the seasonal factors that influence the ripening process to plan your harvest effectively. By aligning your harvest with the ripening period, you can ensure a successful and bountiful yield.
Harvesting Techniques
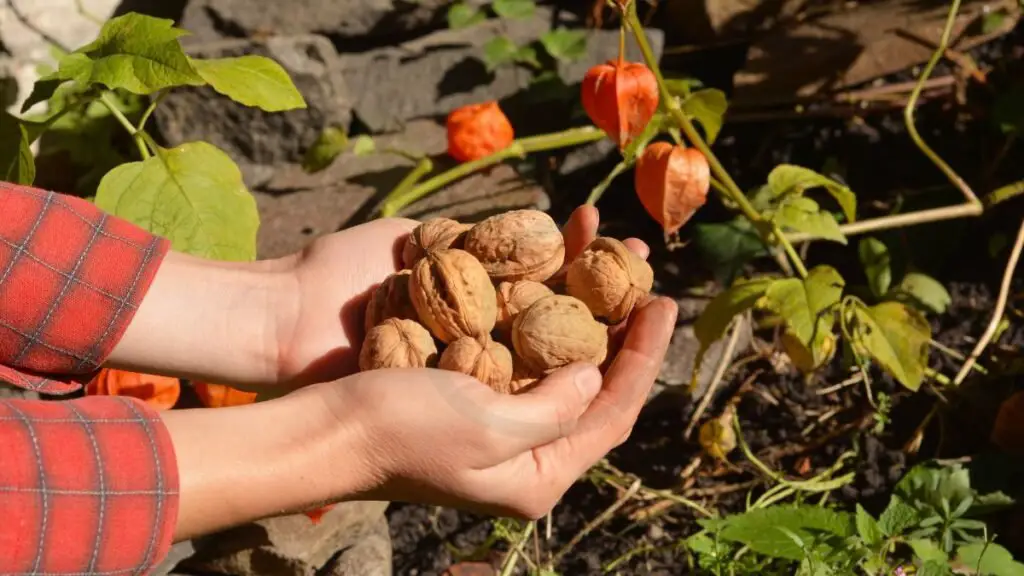
Gathering Nuts
Manual Picking
- Handpick black walnuts from the ground.
- Collect all fallen walnuts manually.
- Ensure thorough manual collection for best results.
Nut Wizard
- Utilize a nut wizard for efficient gathering.
- Consider using a nut wizard for larger harvests.
- Make use of a nut wizard for ease of collection.
Safety Gear
- Wear work gloves to prevent staining from tannins.
- Prioritize safety by wearing protective gear.
- Use appropriate safety equipment like gloves.
Storage Solutions
- Optimal storage includes cool, dark places.
- Consider shelling and freezing for long-term storage.
- Store dried walnuts properly for extended use.
Nut Cracking Tips
Tools Required
To effectively harvest black walnuts, prepare tools like hammers or vise-grips for cracking the tough shells. Have baskets or bags ready to collect the freshly harvested walnuts, ensuring they are not damaged. Make sure you have all the necessary tools at hand for each step of the process.
Techniques
Master the rolling technique to remove the husk efficiently without damaging the nut inside. Practice proper cracking techniques to ensure intact nutmeat and avoid wastage. Learn and implement the best techniques for each stage of harvesting to maximize your yield.
Flavor Preservation
Active voice is a priority in this sentence. It is recommended to use the active voice when writing. This will make your writing more engaging and direct, and it will also help you avoid passive constructions. Passive constructions can be confusing or misleading, so it's best to avoid them entirely.
A quick refresher on active voice versus passive voice: In an active sentence, the subject performs the action of the verb. For example, "The dog chased the cat." In a passive sentence, the object of the verb receives the action. For example, "The cat was chased by the dog."
In addition to using active verbs as often as possible, another way to make your writing more engaging is by varying your sentence structure. A mix of simple, compound and complex sentences can keep readers interested and engaged.
For instance, a simple sentence might read: "The sun sets in the west." While a compound version could be: "The sun sets in the west and rises in the east." And a complex one might look like this: "As I watched the sun set in the west, I thought about how darkness would soon fall."
By incorporating these two tips into your writing style—using active verbs and varying your sentence lengths—you'll create more engaging content that keeps readers interested from start to finish. This technique can help you maintain reader interest throughout longer pieces of content or break up dense passages for easier reading.
Lastly, don't forget that practice makes perfect! The more you actively write with intention and practice proper grammar rules, fluidity of language and clarity of expression will become second nature. Before long you'll find yourself naturally crafting sentences that are clear, concise and compelling. Keep at it!
Uses in Cooking
Culinary Ideas
Incorporate walnuts into salads for added crunch. Use them in baking for a nutty flavor, enhancing the overall taste. Explore diverse culinary uses for black walnuts to elevate your dishes.
Recipe Inspiration
Find inspiration for walnut-based recipes online to spark creativity in your cooking endeavors. Experiment with various black walnut recipes to bring variety and unique flavors to your meals. Create delicious dishes using black walnuts as a key ingredient.
Health Benefits
Nutritional Value
Black walnuts contain omega-3 fatty acids, essential for heart health and brain function. They offer a nutrient-dense option for a balanced diet. Incorporate them into your meals for added benefits.
Medicinal Uses
Explore the potential medicinal properties of black walnuts, known for their anti-inflammatory effects. Traditional medicine has long utilized black walnuts for various health benefits. Discover the healing powers associated with these nuts.
Harvesting Challenges
Common Issues
Mold growth during drying can be a common issue when harvesting black walnuts. Ensuring proper ventilation and spacing while drying the walnuts can help prevent mold formation.
Husk flies are another challenge that walnut harvesters face. These pests can damage the nuts, leading to reduced yield if not addressed promptly.
Harvesters often encounter problems such as nut spoilage due to improper handling or storage conditions. It is crucial to address these issues promptly to avoid losses.
Solutions
To prevent mold growth during drying, consider using dehumidifiers or fans in the drying area. Proper air circulation is key to avoiding mold on the walnuts.
Dealing with husk fly infestations requires timely removal of fallen nuts and debris around the trees. Implementing traps and insecticides can also help control husk fly populations.
Effective solutions for common harvesting issues include sorting nuts regularly, using proper storage containers, and ensuring optimal drying conditions. By addressing these issues proactively, a successful harvest can be ensured.
Closing Thoughts
In mastering the art of harvesting black walnuts, you've learned to identify ripe nuts, employ effective harvesting techniques, process and store them correctly, crack them efficiently, savor their unique flavors in cooking, and reap their numerous health benefits. Despite the challenges that come with harvesting these treasures, your dedication and newfound knowledge will undoubtedly lead to a bountiful harvest and culinary delights.
Now that you're equipped with the essential know-how on black walnut harvesting, it's time to put your skills to the test. Venture out into nature, gather these nutrient-packed gems, and let your creativity shine in the kitchen. Embrace the rewarding journey of harvesting black walnuts and relish in the satisfaction of enjoying nature's bounty at its finest.
Frequently Asked Questions
How can I tell if black walnuts are ripe for harvesting?
Black walnuts are ready to harvest when the outer husk turns from green to yellow or brown, and the nut inside feels firm. You can also perform the "thumb test" by pressing your thumbnail into the husk; if it leaves an indentation, they're ready to be harvested.
What are some effective techniques for harvesting black walnuts?
When harvesting black walnuts, wear gloves to protect your hands from staining. Use a long-handled pole or a stick to knock the nuts off the tree. Gather them in buckets or baskets, being careful not to damage the outer husks. Avoid stepping on them as it can stain clothing and surfaces.
How should I process black walnuts after harvesting?
After harvesting black walnuts, remove the outer husks by wearing gloves and using a knife or rubber mallet. Rinse the nuts thoroughly to remove any remaining debris. Allow them to dry completely before storing or cracking. It's essential to wear gloves during this process as the husks can stain skin.
What is the best way to cure and store black walnuts?
To cure black walnuts, spread them out in a single layer in a well-ventilated area for 2-3 weeks. Store them in a cool, dry place in mesh bags or baskets with good airflow. Properly cured and stored black walnuts can last up to a year.
Any tips for cracking black walnuts successfully?
Cracking black walnuts can be challenging due to their hard shells. Use a heavy-duty nutcracker specifically designed for black walnuts or a hammer on a hard surface. Apply controlled pressure to avoid crushing the nut inside. Practice patience and use protective eyewear during cracking for safety.
Image Source: Paid image from CANVA

