Curious about propagating your aloe vera plant in water? Wondering if it's possible to root an aloe vera plant this way? Aloe vera, known for its various beneficial properties, can indeed be rooted in water, offering a simple and effective method to expand your plant collection. By understanding the process and requirements, you can successfully nurture new aloe vera plants from cuttings without soil. Stay tuned as we explore the steps and tips needed to root an aloe vera plant in water using the propagation method.
Key Takeaways
- Propagating aloe vera in water can be a successful method: By understanding the process and following the right steps, you can easily root aloe vera cuttings in water before transitioning them to soil.
- Start with healthy cuttings: Ensure that you use healthy aloe vera cuttings with no signs of damage or disease for successful propagation.
- Monitor the water level and cleanliness: Regularly check the water level to ensure it covers the roots and change it if it becomes cloudy to prevent rotting.
- Patience is key: Aloe vera propagation takes time, so be patient and consistent with caring for the cuttings until they develop roots.
- Utilize the advantages of water propagation: Water propagation allows you to observe root growth and adjust conditions easily before planting the aloe vera cuttings in soil.
- Address common issues promptly: If you encounter any problems during the propagation process, such as rotting or wilting, take immediate action to salvage the cuttings.
Understanding Aloe Propagation
Propagation Overview
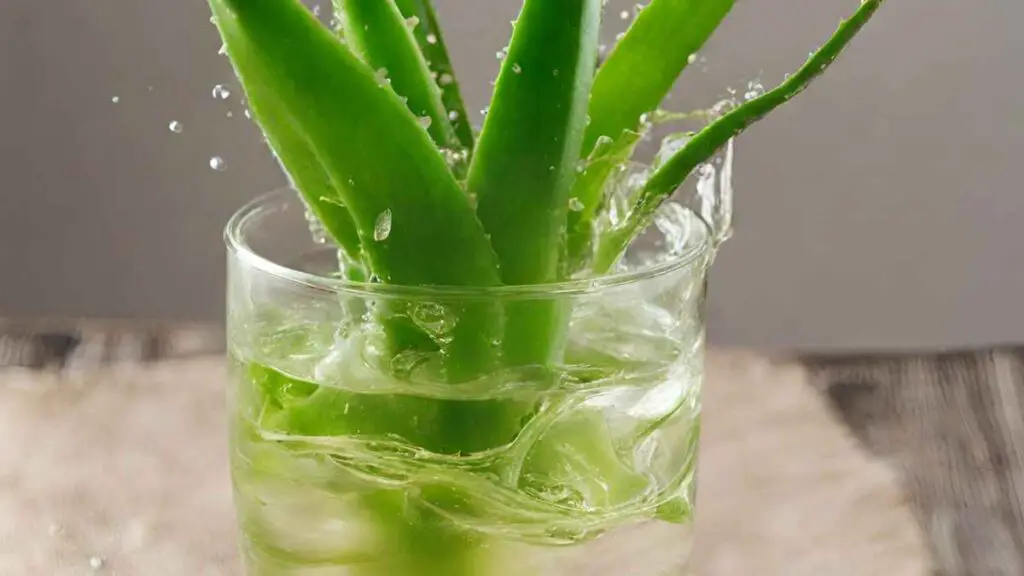
Aloe vera plants can be propagated through leaf cuttings or offsets, commonly known as "pups." To propagate using leaf cuttings, select a healthy mature leaf from the plant. Cut the stem at an angle to prevent rotting and allow the wound to callous for a few days. Place the cutting in water or a well-draining soil mix. For offsets, gently remove them from the main plant and let them dry before planting.
Propagation is a simple process that allows you to create new aloe plants from existing ones. It's an effective way to expand your collection or share the benefits of aloe with others. With proper care and attention, these newly propagated plants can thrive and grow into mature specimens.
Best Times for Propagation
The best time to propagate aloe vera is during its active growing season in spring or early summer. During this period, the plant is actively producing new growth, making it more receptive to propagation methods like leaf cuttings or offset removal. By choosing the right time for propagation, you increase the chances of success and ensure that the new plants establish themselves quickly.
Propagation during the plant's dormant phase in winter may result in slower growth and lower success rates. It's essential to consider the natural growth cycle of aloe vera when planning propagation activities. By aligning your efforts with the plant's biological rhythms, you set yourself up for successful propagation outcomes.
Tools Needed
When propagating aloe vera plants in water, you will need sharp scissors or pruning shears to take clean cuttings from the parent plant. Having a clear glass jar or container filled with water is essential for rooting the cuttings. Ensure that the container allows light to penetrate while providing stability for the cuttings as they develop roots.
Using tools like sharp scissors helps ensure that your cuttings are clean and healthy, reducing the risk of infections or rotting during the propagation process. The choice of container plays a crucial role in supporting root development by providing adequate space and stability for the growing plants.
Rooting Aloe in Water
Step-by-Step Process
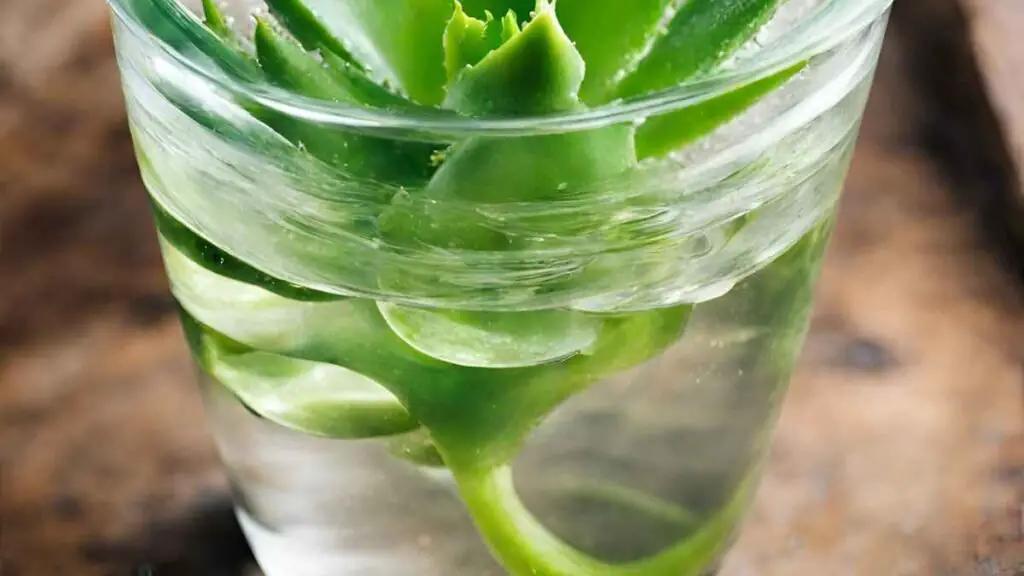
To root an aloe vera plant in water, start by selecting a healthy leaf from the plant. Cut it cleanly near the base, ensuring at least 2 inches of length. Place the leaf in a warm, dry area for a few days to allow the cut end to callus.
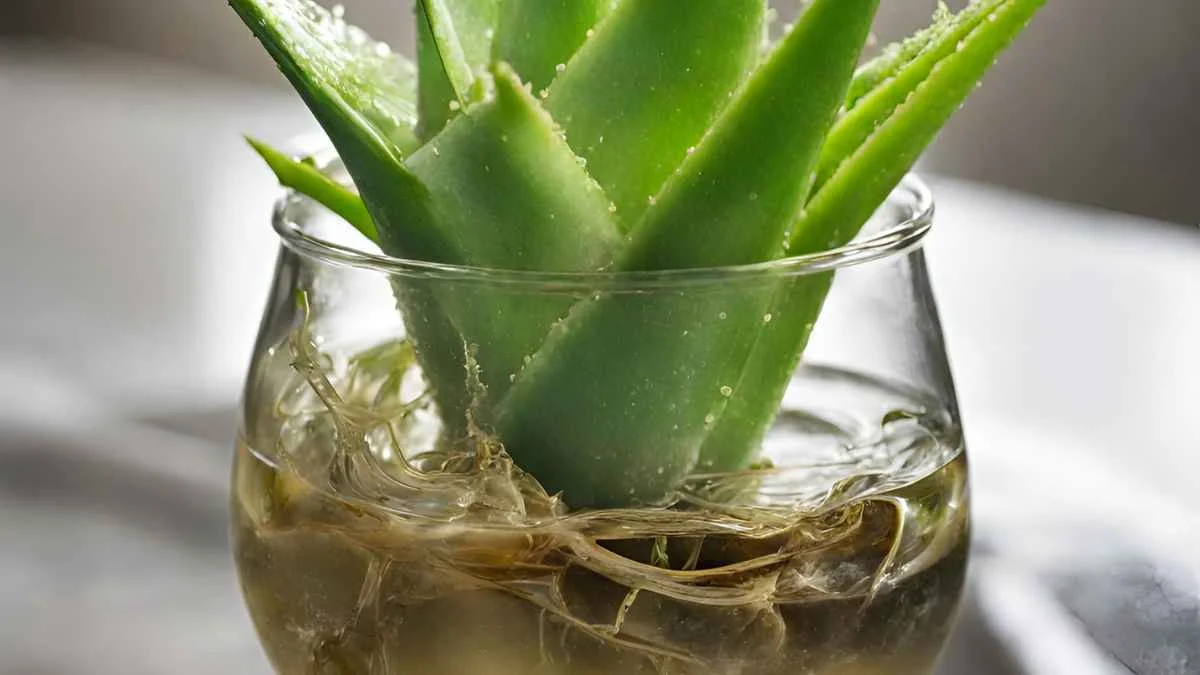
Once callused, fill a small container with water and insert the cut end of the leaf into it. Ensure that only the cut end is submerged in water and keep it in a bright location without direct sunlight.
Check the water level regularly and replace it if it becomes cloudy. Observe new roots growing from the base of the leaf over several weeks. Wait until these roots are a few inches long before transplanting them into soil.
Required Conditions
For successful rooting, ensure that the water used is room temperature, as extreme temperatures can harm the cutting. Avoid using chlorinated or fluoridated water, as these chemicals can inhibit root growth.
Maintain a consistent light source for the cutting, but prevent direct sunlight exposure to avoid burning or drying out the leaf. Keep humidity levels moderate to encourage root development without causing rot.
Choose a container with proper drainage to prevent overwatering and root rot. Ensure that the cutting is placed in an area with good air circulation to prevent mold or fungal growth.
Time for Rooting
The rooting process for an aloe vera plant typically takes around 4 to 6 weeks. However, this timeline can vary depending on factors such as temperature, light exposure, and humidity levels.
Monitor the progress of root growth regularly to determine when it is suitable for transplanting into soil. Once the new roots are well-established and several inches long, carefully remove the cutting from water and plant it in well-draining soil.
Propagating from Pups
Choose Large Pups
When propagating aloe vera plants, opt for large pups as they have a higher chance of successful growth. Large pups usually have well-developed root systems, making them more resilient during the propagation process.
Selecting large pups ensures that the new plant will have a strong foundation to thrive and grow healthily. These pups are typically more mature and better equipped to adapt to the transition from water rooting to soil planting.
Separate Pups
To propagate aloe vera plants effectively, gently separate the chosen pups from the main plant using a sharp, clean knife. Make sure to cut as close to the mother plant as possible without causing damage to either the pups or the parent plant.
Separating pups correctly is crucial for their survival and successful growth. Carefully handling this process helps minimize stress on both the parent plant and the newly separated pups, increasing their chances of thriving post-propagation.
Potting Up Pups
After separating the pups, it's essential to pot them up in suitable containers with well-draining soil. Use pots with drainage holes to prevent waterlogging, which can lead to root rot and other issues that may hinder the growth of the propagated pups.
Potting up the separated pups allows them to establish themselves in their new environment and start developing their root systems. Providing proper care, including adequate sunlight and watering, will support their growth and ensure they flourish into healthy aloe vera plants.
Stem Cuttings Propagation
Harvesting Cuttings
Harvest aloe vera cuttings from the base of the plant using a sharp, clean knife. Select healthy leaves that are at least 8 inches long for optimal results.
To ensure successful propagation, choose leaves that are mature and free from any damage or disease. Look for vibrant green leaves with no signs of discoloration or pests.
Preparing Cuttings
Trim the aloe vera cutting to your desired length using a sterile blade. Allow the cutting to dry for a few days in a warm, dry location to form a callus on the cut end.
Create an optimal environment by ensuring the cutting is exposed to indirect sunlight during this drying period. This step is crucial for preventing rotting when you move on to rooting the cutting.
Rooting Cuttings in Water
Fill a clear glass or jar with distilled water and place the dried aloe vera cutting into it. Ensure that only the bottom inch of the cutting is submerged in water.
Change the water every few days to prevent stagnation and bacterial growth. Within a few weeks, you should notice roots beginning to develop from the base of the cutting.
Growing from Seeds
Harvest Seeds
To propagate aloe vera from seeds, wait for the flowers to bloom and then harvest the seeds. Aloe vera plants typically flower in late winter or early spring. Once the flowers have dried, collect the seeds by gently shaking them out of the pods.
Plant Seeds
After harvesting, plant the aloe vera seeds in a well-draining soil mix. Create small holes in the soil and place a few seeds in each hole. Cover them lightly with soil and mist the top layer with water to keep it moist. Place the pots in a warm area with indirect sunlight.
- Pros: Allows you to grow aloe vera from scratch, providing a sense of accomplishment.
- Cons: Takes longer compared to other propagation methods like stem cuttings.
Light and Water Care
Provide adequate sunlight for your newly planted aloe vera seeds. They thrive in bright, indirect light, so placing them near a sunny window is ideal. Water the seeds sparingly to avoid waterlogging, as excessive moisture can lead to rotting.
- Ensure that the soil is dry before watering again.
- Overwatering can harm young seedlings, so be cautious with watering frequency.
Caring for Aloe Cuttings
Light, Water, Temperature
Light: Place aloe vera cuttings in bright indirect sunlight to thrive. Direct sunlight can cause burning.
For watering, ensure the soil is dry before re-watering to prevent root rot. Aloe prefers well-draining soil.
Maintain temperatures between 60-75°F (15-24°C) for optimal growth and avoid extreme cold or heat.
Fertilizing Correctly
Use a balanced fertilizer diluted to half-strength during the growing season, usually spring and summer.
Apply fertilizer every 4-6 weeks to provide essential nutrients without overwhelming the plant.
Avoid over-fertilizing as it can harm the aloe plant, leading to nutrient imbalances and potential damage.
Callusing Before Planting
Allow the cut end of the aloe cutting to dry and form a callus for a few days before planting.
This callusing process helps prevent rotting when the cutting is placed in soil or water for propagation.
Ensure the callused end is fully dried before introducing it to a new growing medium for successful rooting.
Troubleshooting Common Issues
Root Rot Prevention
Root rot in aloe vera plants is often caused by overwatering. To prevent root rot, ensure the soil is well-draining and only water the plant when the top inch of soil is dry. Avoid letting the plant sit in excess water, as this can lead to root rot.
Signs of root rot include mushy leaves and a foul smell emanating from the soil. If you notice these symptoms, take immediate action to save your aloe plant. Remove it from the wet soil, trim any affected roots, and repot it in fresh, well-draining soil.
Slow Growth Solutions
If your aloe vera plant is experiencing slow growth, consider factors such as sunlight exposure and temperature. Aloe vera plants thrive in bright, indirect light and temperatures between 60-75°F (15-24°C). Ensure your plant receives adequate sunlight and warmth for optimal growth.
Boost growth by fertilizing your aloe vera plant every 3-4 weeks during the growing season with a balanced fertilizer diluted to half strength. Ensure your plant is potted in well-draining soil to prevent waterlogged conditions that can stunt growth.
Leaf Discoloration Fixes
Yellow or brown leaves on your aloe vera plant can indicate issues such as sunburn or nutrient deficiencies. To fix yellow leaves, move your plant to a location with less direct sunlight and adjust watering habits to prevent further stress on the plant.
Brown tips on aloe vera leaves may be due to underwatering or low humidity levels. Increase humidity around your plant by misting it regularly or placing a tray of water near the plant to provide moisture in the air. Ensure you water your aloe vera thoroughly but allow the soil to dry out between waterings to prevent overwatering.
Advantages of Water Propagation
Faster Root Growth
Aloe vera plants root faster in water due to the direct access to moisture and nutrients. The roots develop swiftly, promoting quicker overall plant growth.
Moreover, observing root development through the transparent water allows you to track progress easily. It's a fascinating process for plant enthusiasts.
Easier Monitoring
Water propagation simplifies monitoring as you can clearly see root growth without disturbing the plant. This method offers a visual insight into the plant's health and progress.
you can easily detect any issues such as rot or inadequate root development early on, allowing for timely intervention.
Reduced Disease Risk
By propagating aloe vera in water, you minimize the risk of soil-borne diseases that may affect traditional potting methods. Water propagation provides a clean environment for root development.
Furthermore, the absence of soil reduces the chances of pests attacking the plant, ensuring a healthier start for your aloe vera.
Transitioning to Soil
When to Transplant
Transplant your aloe vera plant once it has developed a healthy root system in water, usually after 2-3 weeks.
Ensure the plant has at least 2 inches of roots before moving it to soil for successful transplantation.
Soil Preparation
Choose a well-draining soil mix for your aloe vera plant, such as cactus or succulent soil blend.
Mix in perlite or sand to enhance drainage and prevent waterlogging, crucial for aloe vera's health.
Acclimatization Tips
Gradually introduce your aloe vera plant to its new soil environment by acclimatizing it.
Start by placing the plant in partial sunlight and gradually increase exposure over a few days.
Avoid overwatering during this period to prevent root rot and shock from sudden changes.
Closing Thoughts
You've learned various methods to propagate aloe vera successfully, from water rooting to caring for cuttings. Now, armed with this knowledge, you can confidently expand your aloe plant collection or share the beauty of these succulents with friends and family. Remember to troubleshoot any issues promptly and enjoy watching your aloe plants thrive in their new environment.
Take the next step by putting your newfound propagation skills into practice. Experiment with different techniques, monitor your plants' progress, and don't hesitate to seek further advice if needed. By actively engaging in aloe vera propagation, you not only enhance your gardening skills but also contribute to the greenery around you. Keep nurturing those aloe plants and witness the rewarding journey of growth and propagation unfold before your eyes.
Frequently Asked Questions
Can you propagate aloe vera plant in water?
Yes, you can propagate an aloe vera plant in water. It is one of the methods for rooting aloe vera cuttings before transitioning them to soil for further growth.
How do you root aloe vera in water?
To root aloe vera in water, simply place the cut end of the aloe leaf or stem into a container filled with water. Change the water regularly to prevent stagnation and monitor the roots' growth.
What are the advantages of water propagation for aloe plants?
Water propagation allows you to easily observe root development, making it ideal for beginners. It also helps prevent overwatering issues and promotes healthy root growth before transplanting into soil.
When should you transition rooted aloe cuttings from water to soil?
Once your aloe vera cutting has developed strong roots in water, typically around 2-3 inches long, it's time to transition it to well-draining soil. This ensures the plant can establish itself and continue growing successfully.
What care do aloe cuttings need after transitioning to soil?
After transitioning aloe cuttings to soil, place them in indirect sunlight and water sparingly until they establish themselves. Avoid overwatering and ensure the soil dries out between watering sessions to prevent root rot.
Image Source: Paid image from CANVA

