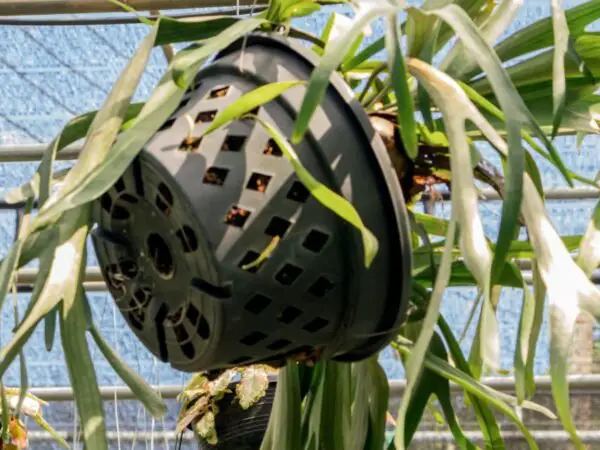
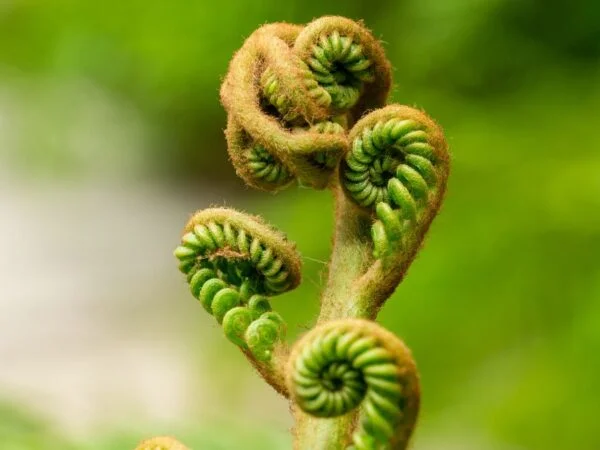
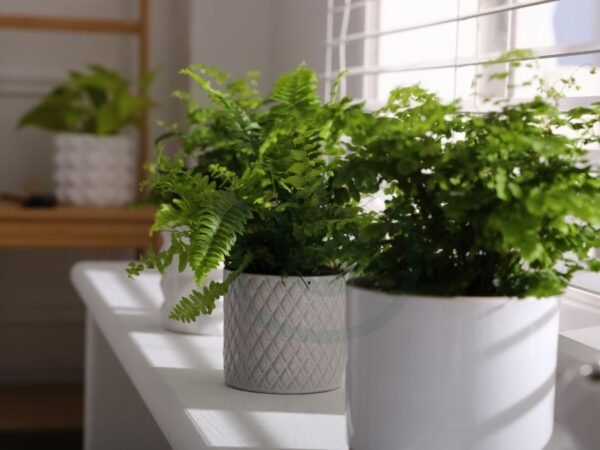
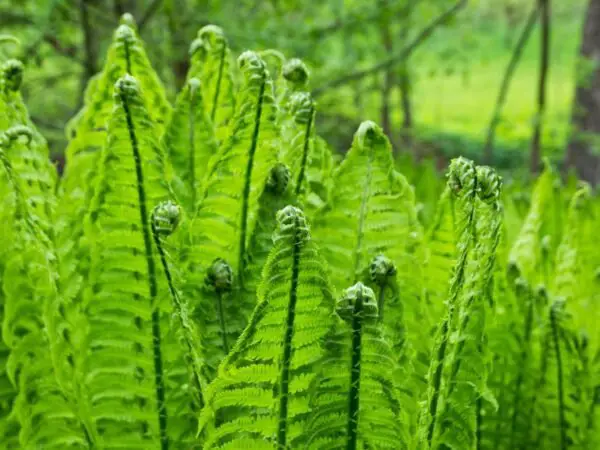
Are you wondering how to dry ferns? Don't worry, I've got you covered with easy steps and tips to preserve these delicate plants' foliage, leaves, seed pods, and water.
To dry ferns, start by selecting fresh fern fronds and foliage, and gently removing any dirt or debris. Next, arrange the fronds in a single layer on a paper towel, making sure they're not overlapping. Then, place another paper towel on top and press gently to absorb excess moisture. Once the fronds are dry, hang them upside down in a cool, dark, and well-ventilated area for about two weeks. Alternatively, you can use a desiccant like silica gel to speed up the process. After drying, plant materials like ferns can be used for various crafts, decorations, or simply displayed as natural décor.
If you're eager to learn more about preserving plants, foliage, leaves, or want creative ideas for using dried ferns, desiccant, I have plenty more tips and techniques to share. Whether you're a beginner or a seasoned enthusiast, there's always something new to discover in the world of botanical preservation.
Key Takeaways
- Understanding Fern Drying
- Learn the basics of fern drying to ensure successful preservation.
- Preparing Ferns for Drying
- Properly prepare ferns by cleaning and trimming them before the drying process.
- Step-by-Step Drying Guide
- Follow a detailed drying guide using silica gel to maintain the ferns' color, shape, and leaves during the drying process.
- Tips for Effective Drying
- Implement tips like using a dehumidifier or silica gel to speed up and improve the drying results.
- Preserving Dried Ferns
- Preserve dried ferns by storing them in airtight containers away from direct sunlight and moisture.
- Framing Dried Ferns
- Display dried ferns creatively by framing them in shadow boxes or floating frames for an elegant touch.
Understanding Fern Drying
Basic Techniques
To dry ferns, cut them at the base to prepare for the drying process. Then, carefully place the ferns inside a telephone book for pressing. Avoid using paper towel or tissue as they may not provide enough pressure for effective drying.
Preserving Color
For vibrant dried ferns, harvest them before the edges start turning brown. Opt for maidenhair, sprengeri, or leatherleaf ferns as they are known for their color retention properties. Ensure that the ferns, flowers are not exposed to excessive sunlight to preserve their color over time.
Maintaining Shape
To maintain the shape of dried ferns, it is essential to cut them before the edges begin to curl. Utilize pressing equipment to retain the ferns' original shape effectively. Properly storing the dried ferns will also help prevent any deformation that may occur over time.
Preparing Ferns for Drying

Selection Process
When preparing ferns for drying, opt for maidenhair, sprengeri, or leatherleaf ferns as they dry well. Choose ferns that are not browning at the edges to ensure a successful drying process. Consider the specific type of fern you are working with for optimal results.
Cleaning Steps
Clean the ferns thoroughly before drying to eliminate any dirt or debris that may be present. Prior to starting the drying process, check for pests or insects that could affect the quality of the dried ferns. It is essential to ensure that the ferns are free from any contaminants for successful drying.
Preparation Tips
To prepare the ferns for drying, make sure to cut them at the right time to preserve their freshness. Gather all necessary materials such as a telephone book, which can be used in the drying process effectively. Following proper preparation steps is crucial to guarantee successful and efficient drying of the ferns.
Step-by-Step Drying Guide
Air Drying Method
Hanging Technique
- Hang ferns in a cool, dry place for drying.
- Use hooks or strings to securely hang ferns.
- Avoid direct sunlight when hanging ferns for drying.
Flat Surface Approach
- Lay ferns flat on a surface for drying.
- Use a clean, flat surface to dry ferns effectively.
- Ensure ferns are spread out evenly for optimal drying.
Pressing Method
Using Heavy Books
- Place heavy books on top of ferns for pressing.
- Use heavy books to apply pressure evenly on the ferns.
- Check the progress of drying when using heavy books.
Pressing Equipment
- Utilize pressing equipment for drying ferns.
- Press ferns between equipment to remove excess moisture.
- Choose appropriate pressing equipment for different types of ferns.
Tips for Effective Drying
Ideal Conditions
Maintain an ideal temperature of around 70°F to 90°F for drying ferns, ensuring a humidity level of around 40% to 60%. Proper ventilation is crucial during the drying process to prevent mold growth. Consistent conditions are key for optimal drying results.
Time Duration
Allow ferns to dry by pressing for approximately a week, but monitor the progress regularly. Adjust the drying time based on the moisture content of the ferns to achieve the desired dryness.
Checking Progress
Regularly check the ferns for dryness during the process by conducting a touch test. Look for signs of mold or discoloration, indicating that further drying is required.
Preserving Dried Ferns
Storage Solutions
Store dried ferns in airtight containers to maintain quality. Use silica gel packets to prevent moisture in storage. Keep dried ferns away from direct sunlight for long-term storage.
Handling Techniques
Handle dried ferns gently to avoid breakage. Use soft brushes to clean dried ferns if needed. Wear gloves when handling dried ferns to prevent damage.
Framing Dried Ferns
Choosing Frames
When framing dried ferns, select frames that enhance the beauty of the ferns without overshadowing them. Consider the size and style of frames to ensure they complement the delicate nature of dried ferns. Opt for frames with protective glass to shield the ferns from dust and damage over time.
Arrangement Ideas
Arrange dried ferns in a symmetrical pattern within the frames to create a visually appealing display. Experiment with different types of dried ferns to craft unique arrangements that showcase the diversity of these botanical treasures. Try out various layouts to discover the most aesthetically pleasing arrangement that highlights the intricate details of each fern.
Creative Decor Ideas
Wall Art Inspirations
Dried ferns can be utilized for creating captivating botanical wall art. Incorporate them with other elements like twigs or flowers for unique displays. Experiment with various framing styles to enhance the aesthetic appeal of your wall art.
Table Decorations
Enhance your table settings by integrating dried ferns into centerpieces. Pair them with candles or other decor items to create visually appealing arrangements. For seasonal themes, consider using dried ferns to craft beautiful and festive table decorations.
Gift Crafting
Personalize gifts by incorporating dried ferns into handmade crafts. Utilize dried ferns creatively to add a natural and rustic touch to gift wrapping. These unique gifting ideas are perfect for adding a special touch to any occasion.
Advanced Techniques
Enhancing Color Retention
Apply color-enhancing techniques to maintain the vibrancy of dried ferns. Utilize color-preserving sprays or treatments for long-lasting color retention. Avoid exposure to harsh chemicals that may affect the color of dried ferns.
Shape Preservation Tips
Follow proper drying techniques to preserve the shape of ferns. Use pressing methods to retain the original shape of dried ferns. Store dried ferns carefully to prevent deformation over time.
Common Mistakes to Avoid
Overexposure to Sunlight
Placing dried ferns in direct sunlight causes fading and damage due to UV rays. Opt for storage away from sunlight or windows. Preventing fading is essential for preserving the fern's natural color and texture.
Choose a location that provides shade and minimal exposure to harmful sunlight rays. Extended exposure can lead to discoloration and deterioration of the fern's delicate structure. Protecting dried ferns from sunlight maintains their aesthetic appeal and longevity.
Incorrect Storage
Storing dried ferns in humid or damp areas encourages mold growth, leading to decay. Ensure the environment is dry to prevent moisture-related issues. Proper storage containers shield dried ferns from external elements, preserving their quality over time.
Prevent damage by keeping dried ferns in a well-ventilated space with low humidity levels. Humidity can cause wilting and deterioration of the fern's fronds, impacting their visual appeal. Using appropriate containers safeguards the ferns from environmental factors that could compromise their integrity.
Summary
You've learned the ins and outs of drying ferns, from understanding the process to preserving and displaying your dried creations. By following the step-by-step guide and implementing the tips provided, you can ensure your dried ferns turn out beautifully. Remember to avoid common mistakes that could hinder your drying efforts and explore advanced techniques for a more intricate finish. Whether you choose to frame your dried ferns or incorporate them into creative decor ideas, the possibilities are endless. Now it's time to put your newfound knowledge into practice and start drying those ferns!
Frequently Asked Questions
How long does it take to dry ferns properly?
Drying ferns typically takes around 1-2 weeks, depending on the size and thickness of the fronds. Ensure they are completely dry before moving on to the next steps in the preservation process.
Can I use a microwave to dry ferns quickly?
While it's possible to use a microwave for quick drying, it may cause the ferns to lose their color and texture. Air-drying is recommended for better preservation results.
What is the best way to preserve dried ferns?
To preserve dried ferns effectively, store them in a cool, dry place away from direct sunlight and humidity. Using a sealable container or shadow box can help protect them from dust and damage.
Are there any specific tips for framing dried ferns?
When framing dried ferns, ensure they are fully dried and flat. Use acid-free materials to prevent discoloration over time. Arrange them aesthetically within the frame for an appealing display.
How can I avoid common mistakes when drying ferns?
Avoid common mistakes like not properly cleaning the ferns before drying, using high heat sources for drying, or storing them in damp areas post-drying. These errors can lead to mold growth or deterioration of the ferns.
Image Source: Paid image from CANVA