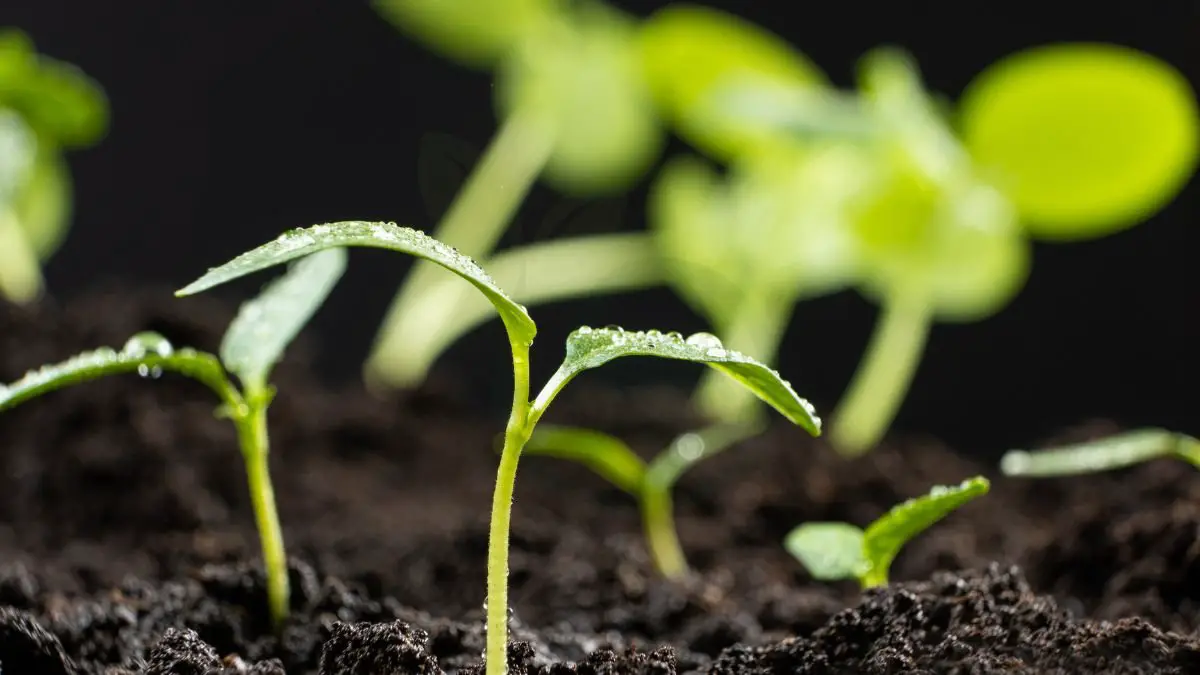
Discover the fascinating journey of growing peppers from seeds, a rewarding and fulfilling experience that allows you to nurture and harvest your own vibrant produce. Unleash your green thumb as we delve into the simple yet satisfying process of cultivating peppers right from the very beginning with young plants sprouting under grow lights.
Embark on this horticultural adventure with us as we explore the historical context, germination process, and practical steps required to successfully grow peppers from seed in pots. From selecting the right seeds to providing optimal growing conditions, this guide will equip you with the knowledge and skills needed to kickstart your pepper-growing endeavor. Get ready to witness the magic of nature unfold before your eyes as you cultivate your very own pepper plants from seed to harvest, sprout in pots.
Key Takeaways
- Choose the right time to plant: Start your pepper seeds indoors 8-10 weeks before the last frost date for a successful growing season.
- Select peppers for beginners: Opt for easy-to-grow varieties like bell peppers or jalapeños to build confidence in your gardening skills.
- Prepare for germination: Use a high-quality seed starting mix and provide consistent moisture and warmth to kickstart seed growth.
- Understand germination: Be patient and maintain a consistent temperature around 70-80°F for optimal germination rates.
- Utilize sowing techniques: Plant seeds at the recommended depth, cover lightly with soil, and keep them moist but not waterlogged.
- Nurture seedlings: Provide adequate light, water, and nutrients to young seedlings to ensure healthy growth and development.
Choosing the Right Time to Plant
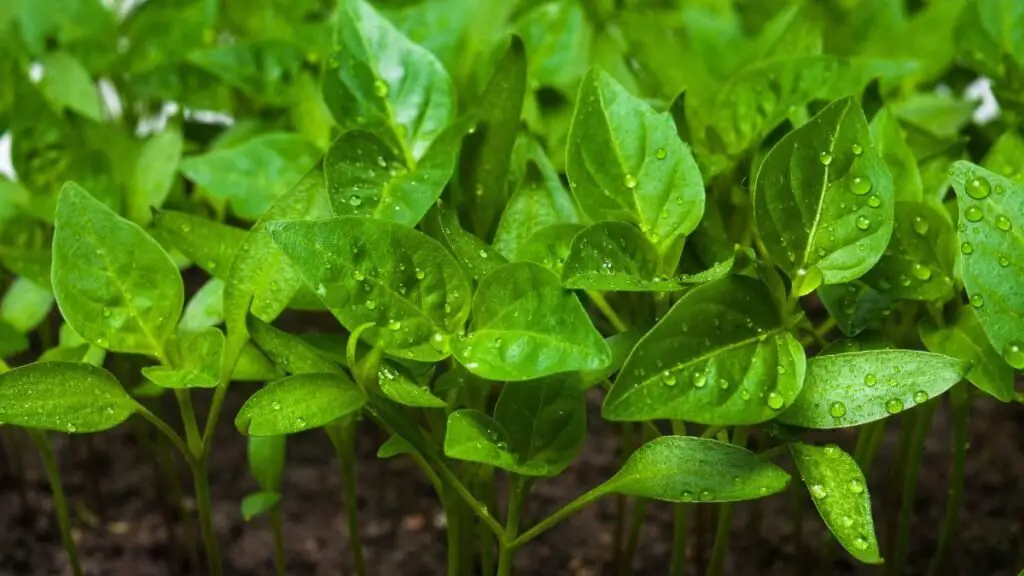
Best planting months
Plant peppers based on your area's last frost date. Start indoors before transplanting outdoors. Plant when soil hits 70˚ F.
Understanding climate impact
Temperature and sunlight affect pepper growth. Utilize garden microclimates for optimal cultivation. Protect plants from frost damage.
Indoor vs outdoor sowing
Begin seeds indoors for an early growing season start. Directly sow seeds outdoors post-last frost date. Indoor sowing ensures better germination control.
Selecting Peppers for Beginners
Easiest varieties
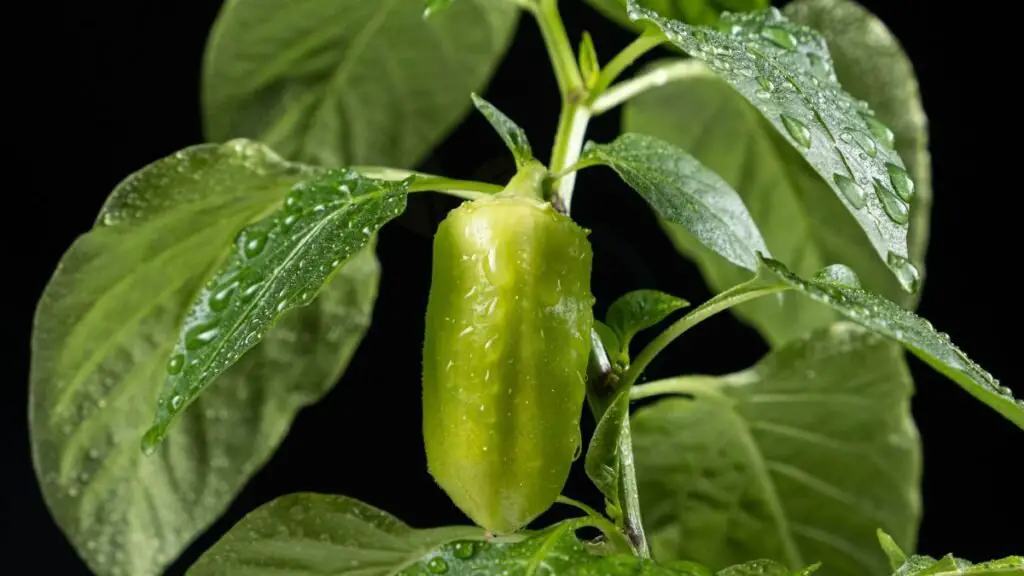
- Choose beginner-friendly pepper varieties like bell peppers or banana peppers. They are simple to grow and maintain.
- Opt for compact pepper plants that thrive well in limited spaces, such as patio containers or small gardens.
- Consider disease-resistant pepper varieties to increase the likelihood of a successful harvest.
Flavor profiles
- Explore different pepper varieties to enjoy a spectrum of flavors ranging from sweet to spicy.
- When selecting peppers, consider the Scoville scale, which measures the heat level of peppers.
- Experiment with unique flavors like those with smoky or fruity notes for diverse culinary experiences.
Disease resistance
- Select pepper varieties known for their resistance to common diseases, such as bacterial spot or powdery mildew.
- To prevent soil-borne diseases, rotate your pepper crops annually to maintain soil health.
- Utilize organic fungicides or pesticides to control any potential diseases affecting your pepper plants.
Preparing for Germination
Soil preparation
Pepper plants thrive in well-draining soil with abundant organic matter, crucial for their growth. Test soil pH levels to ensure they are optimal for seed germination and plant health. Enhance the soil by adding compost or aged manure before planting peppers.
Seed quality
Select high-quality pepper seeds from reputable suppliers to increase the chances of successful germination. Before planting, conduct a simple germination test to check seed viability. Store any leftover seeds in a cool, dry place for future use.
Moisture and temperature
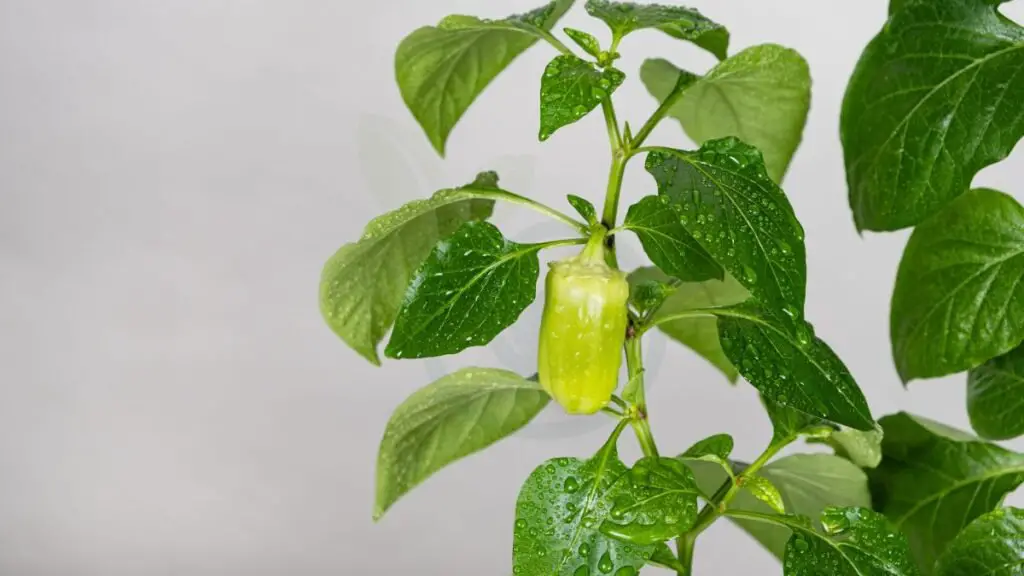
Consistent moisture levels are essential to prevent pepper plants from drying out during germination. Monitor soil temperature regularly to keep it within the ideal range for pepper growth. Be cautious not to overwater the plants as it can lead to root rot and other detrimental issues.
Understanding Germination
Timeline Overview
Starting from seed planting to harvest, track pepper plant growth stages for successful cultivation. Adjust planting dates based on your specific climate and growing zone. Plan ahead for transplanting and hardening off pepper plants before outdoor planting.
- Monitor the germination process which typically takes 7-14 days.
- Seedlings will emerge within 2-3 weeks after planting seeds.
- Transplant seedlings outdoors after the last frost date in your area.
Signs of Success
Observe healthy green leaves and sturdy stems as indicators of successful pepper growth. Keep an eye out for the appearance of flowers, signaling pepper plant maturity. Healthy pepper plants will exhibit steady growth and vibrant foliage.
- Flowers turning into small peppers signify successful pollination.
- Regularly water plants to maintain healthy growth.
- Prune any damaged or diseased parts to promote overall plant health.
Common Issues
Be vigilant for signs of nutrient deficiencies such as yellowing leaves or stunted growth. Address pest infestations promptly to prevent damage to pepper plants. Be prepared to tackle issues like blossom end rot or sunscald during the growing season.
- Nutrient Deficiencies:
- Provide appropriate fertilization based on plant needs.
- Use organic matter like compost to enrich soil nutrients.
- Pest Infestations:
- Employ natural predators like ladybugs to control pests.
- Neem oil can be used as a natural insecticide against common pests.
- Blossom End Rot & Sunscald:
- Maintain consistent watering practices to prevent blossom end rot.
- Shield plants from excessive sun exposure to avoid sunscald issues.
Sowing Techniques
Direct ground planting
- Prepare the site by clearing weeds and loosening soil for optimal pepper growth.
- Utilize raised beds to enhance drainage and soil quality for thriving peppers.
- Ensure adequate spacing between plants to promote healthy development and air circulation.
Starting indoors
- Offer sufficient light and warmth for indoor pepper seedlings to thrive.
- Opt for seed starting trays with drainage holes to prevent water accumulation.
- Transplant indoor-started seedlings with care to avoid root damage.
Container gardening
- Select large containers with proper drainage for successful container pepper growth.
- Use a well-draining potting mix tailored for container gardening to support plant health.
- Position container-grown peppers in sunny spots, rotating them periodically for balanced growth.
Nurturing Seedlings
Light requirements
Pepper plants need 6-8 hours of sunlight daily for optimal growth. Supplement with grow lights indoors. Avoid shading.
Watering practices
Water deeply but infrequently to encourage deep root growth. Mulch retains moisture, preventing evaporation. Water in the morning.
Transplanting tips
Harden off seedlings gradually before transplanting outdoors. Choose a cloudy day for transplanting to reduce shock. Thoroughly water newly transplanted plants.
Boosting Growth
Soil Enrichment
Amend soil with organic matter such as compost or aged manure to provide essential nutrients for pepper growth. Consider using organic fertilizers like fish emulsion or bone meal to enhance soil fertility and support healthy plant development. Test the nutrient levels in the soil regularly to ensure optimal conditions for pepper plants.
Fertilization Strategies
Apply a balanced fertilizer containing equal parts of nitrogen, phosphorus, and potassium to promote robust growth in pepper plants. During the growing season, side-dress the plants with compost or organic fertilizers to sustain their nutrient requirements. Avoid excessive fertilization, as it can result in vigorous foliage growth at the expense of fruit formation.
Pruning and Support
Prune pepper plants by removing any diseased or damaged branches to improve air circulation around the plant. To prevent bending or breakage, provide support such as stakes or cages for taller pepper varieties. Encourage upward growth and enhance fruit production by pinching off lateral shoots from the plant.
Pest and Disease Management
Preventive measures
Practicing crop rotation is essential to prevent soil-borne diseases in pepper plants. This technique helps maintain soil health and reduces the risk of disease outbreaks. Using row covers or netting can effectively shield pepper plants from common pests like aphids or caterpillars. Regularly monitoring plants for early signs of diseases or pest infestations is crucial for timely intervention.
Identifying symptoms
Learning to recognize symptoms of common pepper plant diseases such as powdery mildew or bacterial spot is key to early detection and effective management. Nutrient deficiencies in pepper plants can be identified through visual cues like yellowing leaves, indicating a lack of essential nutrients. Signs of pest damage, including holes in leaves or chewed stems on pepper plants, should be promptly addressed to prevent further infestation.
Treatment options
Treating fungal diseases in pepper plants can be done using organic fungicides like neem oil or copper spray, which are effective and environmentally friendly options. For controlling common pests such as aphids or spider mites, insecticidal soap or horticultural oil can be used with success. Natural remedies like companion planting or introducing beneficial insects into the garden are sustainable approaches for pest management.
Harvesting and Storage
Recognizing ripeness
Check pepper color to determine ripeness, with some varieties changing from green to red or yellow. Gently squeeze peppers to assess firmness, indicating readiness for harvest. Harvest peppers regularly to encourage continuous fruit production throughout the season.
Harvest techniques
Use clean, sharp scissors or pruners to harvest peppers without damaging the plant. Cut peppers with a small portion of stem attached to prolong shelf life after harvest. Handle harvested peppers carefully to avoid bruising or damaging the delicate skin.
Storing peppers
Store harvested peppers in a cool, dry place away from direct sunlight to prolong shelf life. Consider freezing excess peppers for long-term storage and use in cooking. Use dehydrating or pickling methods to preserve peppers for later consumption.
Closing Thoughts
In your journey to grow peppers from seed, you've learned crucial steps from choosing the right time to harvest and store your peppers. By selecting the right varieties, mastering germination techniques, and nurturing your seedlings, you're well on your way to a bountiful pepper harvest. Remember to keep pests at bay and provide optimal growing conditions for your plants. Your commitment and care will yield flavorful peppers that you can enjoy in various dishes.
Now that you have the knowledge to grow peppers successfully, it's time to put it into action. Get your hands dirty, follow the steps you've learned, and watch your pepper plants thrive. Share your experiences with other aspiring gardeners and continue to expand your gardening skills. Happy planting!
Frequently Asked Questions
How do I choose the right time to plant peppers from seeds?
Plant pepper seeds indoors 8-10 weeks before the last frost date in your area. Ensure the soil temperature is around 70-80°F for optimal germination.
What are some tips for nurturing pepper seedlings successfully?
Keep seedlings in a warm, sunny location and water them regularly. Transplant them into larger containers once they have developed a few sets of leaves.
How can I boost the growth of my pepper plants?
Fertilize pepper plants with a balanced fertilizer every 2-3 weeks to encourage healthy growth. Provide adequate sunlight, water, and space for optimal development.
What are some common pests and diseases that affect pepper plants?
Watch out for aphids, spider mites, and fungal diseases like powdery mildew. Use natural remedies or organic pesticides to control infestations and maintain plant health.
When is the best time to harvest peppers, and how should I store them?
Harvest peppers when they reach full size and color. Cut them off the plant using shears or scissors. Store harvested peppers in a cool, dry place or refrigerate them for longer shelf life.
Image Source: Paid image from CANVA

