Did you know that tulips, with their colorful blooms, can be grown in containers, bringing vibrant colors to even the smallest spaces? Planting tulip bulbs in containers is a simple and rewarding way to enjoy these beautiful flowers without needing a garden. With the right guidance, you can plant a stunning display of tulips in pots right on your balcony or patio. In this guide, we will walk you through the steps to successfully plant tulip bulbs in containers, from selecting the right tulips bulbs for pots to caring for your blooming flowers. Get ready to add a pop of color and elegance to your outdoor space with this easy and enjoyable gardening project.
Key Takeaways
- Choose the right container: Opt for a container that provides good drainage to prevent waterlogging.
- Prepare the soil: Use well-draining soil mixed with compost for nutrients.
- Select tulip bulbs: Pick healthy bulbs without signs of damage or decay.
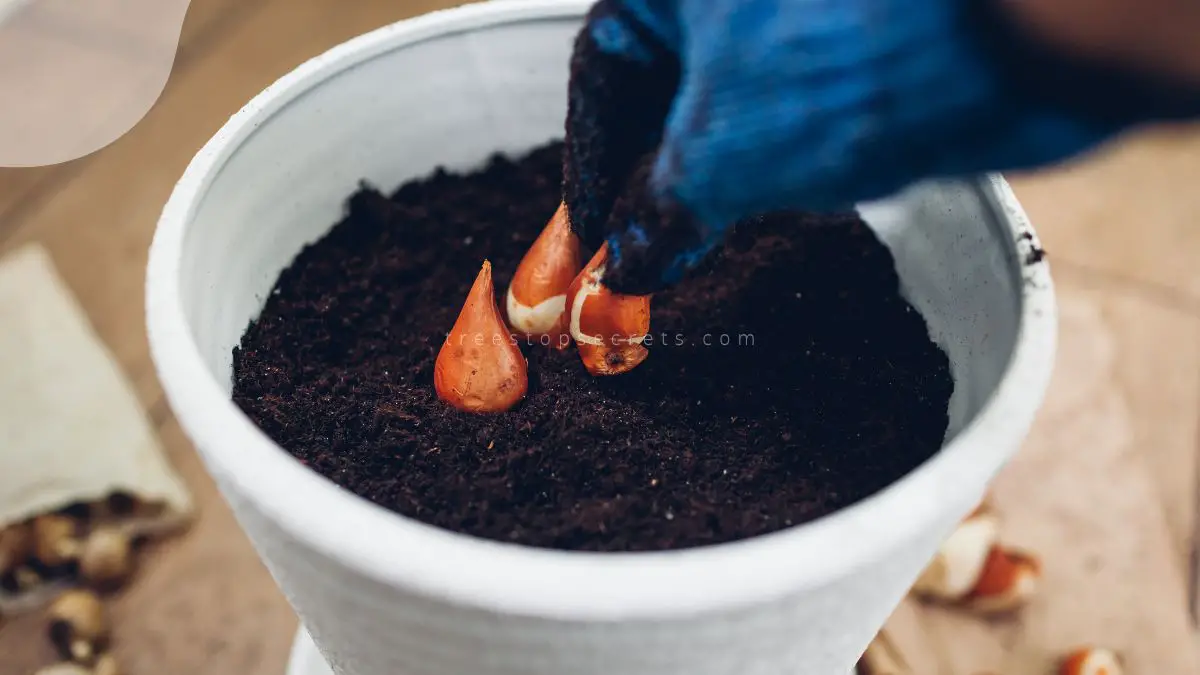
- Plant tulip bulbs: Place bulbs pointed side up at the appropriate depth for optimal growth.
- Care for tulips post-planting: Water regularly but avoid overwatering to prevent rot.
- Protect tulips: Shield bulbs from extreme weather conditions and pests to ensure healthy growth.
Choosing the Right Container
Selecting Size and Material
When planting tulip bulbs in containers, choose pots that are at least 12 inches deep to allow ample space for the tulips to grow. Opt for lightweight containers made of plastic or resin as they are easy to move around, especially if you need to adjust sunlight exposure for your tulips. Consider the visual aspect too; pick a container that complements the vibrant colors of tulip blooms for an attractive display.
Drainage Importance
Ensure that your pots for tulips have drainage holes at the bottom to prevent water from accumulating and causing root rot, which can be detrimental to the health of your tulip bulbs. Elevate the containers slightly using pot feet or bricks to ensure proper airflow underneath, aiding in drainage and preventing waterlogging. Using a well-draining potting mix is crucial to maintain optimal soil moisture levels and prevent water stagnation around the roots of the tulip bulbs.
Preparing the Soil
Soil Mix Selection
When planting tulip bulbs in containers, select a well-draining potting mix containing perlite or sand. This ensures optimal growth conditions for the tulips. Avoid using heavy garden soil as it can compact, restricting root development. To enhance nutrient availability and soil structure, consider mixing in compost.
Adding Nutrients
To provide sustained nutrients for the tulip bulbs, incorporate slow-release fertilizer pellets into the soil mix. This helps in maintaining a steady nutrient supply throughout the growth period. Enrich the soil by adding organic matter such as compost, which supports bulb development. For essential root growth, consider including bone meal in the soil mix for its phosphorus content.
Selecting Tulip Bulbs
Bulb Quality
- Opt for firm, plump bulbs to ensure healthy growth without mold or soft spots.
- Choose bulbs of the appropriate size according to the tulip variety for robust blooms.
- Avoid bulbs that feel lightweight or dried out, as they may not thrive in containers.
Variety Choices
- Explore diverse tulip types like single early, double late, or fringed tulips for a varied display.
- Consider color combinations and bloom sizes to create visual interest in your container garden.
- Experiment with unique varieties such as parrot tulips or lily-flowered tulips for a striking and distinctive appearance.
Planting Tulip Bulbs
Correct Depth
Plant tulip bulbs at a depth of 8 inches to ensure proper anchoring and insulation. Measure from the base of the bulb to the soil surface for accuracy. Depending on bulb size and container height, adjust planting depth for adequate coverage.
Spacing Tips
Space tulip bulbs at least 3 inches apart to prevent overcrowding and competition for nutrients. Opt for a triangular arrangement within the container for a balanced and full display. Consider the mature size of the tulip variety when determining spacing requirements.
Caring for Tulips Post-Planting
Watering Needs
- Water your newly planted tulip bulbs thoroughly to settle the soil and kickstart root growth.
- Ensure soil moisture levels are regularly monitored, maintaining consistent moisture without waterlogging.
- Adjust watering frequency according to weather conditions to prevent dehydration or overhydration.
Feeding Schedule
- When shoots emerge, apply a balanced liquid fertilizer to promote early growth and flowering.
- During blooming, supplement with a high-potassium fertilizer for vibrant flower colors.
- Avoid over-fertilizing to prevent nutrient imbalances and potential damage to the bulbs.
Protecting Tulips
Pests and Diseases
Aphids or slugs are common pests that may harm tulip foliage or flowers, so be vigilant. Provide adequate air circulation to prevent fungal diseases. Avoid overhead watering to keep the plants healthy. Treat pest infestations promptly with neem oil or insecticidal soap.
Winter Shelter
To shield container-grown tulips from freezing temperatures, relocate them to a sheltered spot. Insulate bulbs and roots by mulching the soil surface. Enhance winter protection by wrapping containers with burlap or bubble wrap.
Enjoying Blooms
Cutting for Indoors
Harvest tulips early in the morning to ensure vibrant blooms in indoor arrangements. Make angled cuts with sharp scissors for better water absorption. Remove submerged foliage to prevent bacterial growth and prolong vase life.
Continuous Displays
Plant early, mid, and late-season tulip bulbs in one container for a varied blooming schedule. Stagger planting depths to enjoy blooms at different times. Refresh the container by replacing spent tulips with new bulbs for a constantly changing display.
Post-Blooming Care
Deadheading
- Remove faded flowers promptly to redirect energy back into the bulb for future growth.
- Pinch off spent blooms just below the flower head to encourage new bud development.
- Deadhead consistently throughout the blooming season to prolong flowering and enhance overall plant health.
Bulb Storage
- Allow tulip foliage to wither naturally before lifting bulbs for storage.
- Cure bulbs in a dry, well-ventilated area for a few weeks to promote dormancy.
- Store tulip bulbs in a cool, dark place with good air circulation until the next planting season.
Closing Thoughts
In this guide, you learned the essential steps for planting tulip bulbs in containers. By choosing the right container, preparing the soil correctly, selecting quality bulbs, and providing proper care, you are on your way to enjoying a vibrant tulip display. Remember to protect your tulips from pests and harsh weather conditions, and once they bloom, bask in their beauty. Post-blooming care ensures healthy bulbs for the next season. Now, armed with this knowledge, go ahead and create your stunning tulip container garden!
Frequently Asked Questions
How important is choosing the right container for planting tulip bulbs?
Selecting a suitable container is crucial for successful tulip growth. Opt for containers with drainage holes to prevent waterlogging, ensuring proper soil aeration and moisture control.
What type of soil should be used when preparing for planting tulip bulbs in containers?
Use well-draining soil with a mix of potting soil and perlite or sand. This blend provides adequate drainage and prevents water accumulation, reducing the risk of bulb rot.
Can I plant different types of tulip bulbs together in the same container?
It's best to avoid mixing different varieties of tulip bulbs in one container. Different types may have varying growth requirements like depth and spacing, affecting their overall health and blooming.
How deep should tulip bulbs be planted in containers?
Plant tulip bulbs at a depth of about 8 inches (20 cm) in containers. This depth allows for proper root development and stability while providing insulation against extreme temperatures.
Do tulips require any special care after blooming in containers?
After blooming, allow the foliage to wither naturally to replenish the bulb for the next season. You can remove faded flowers but avoid cutting back the leaves until they turn yellow to support bulb growth.
Image Source: Paid image from CANVA


