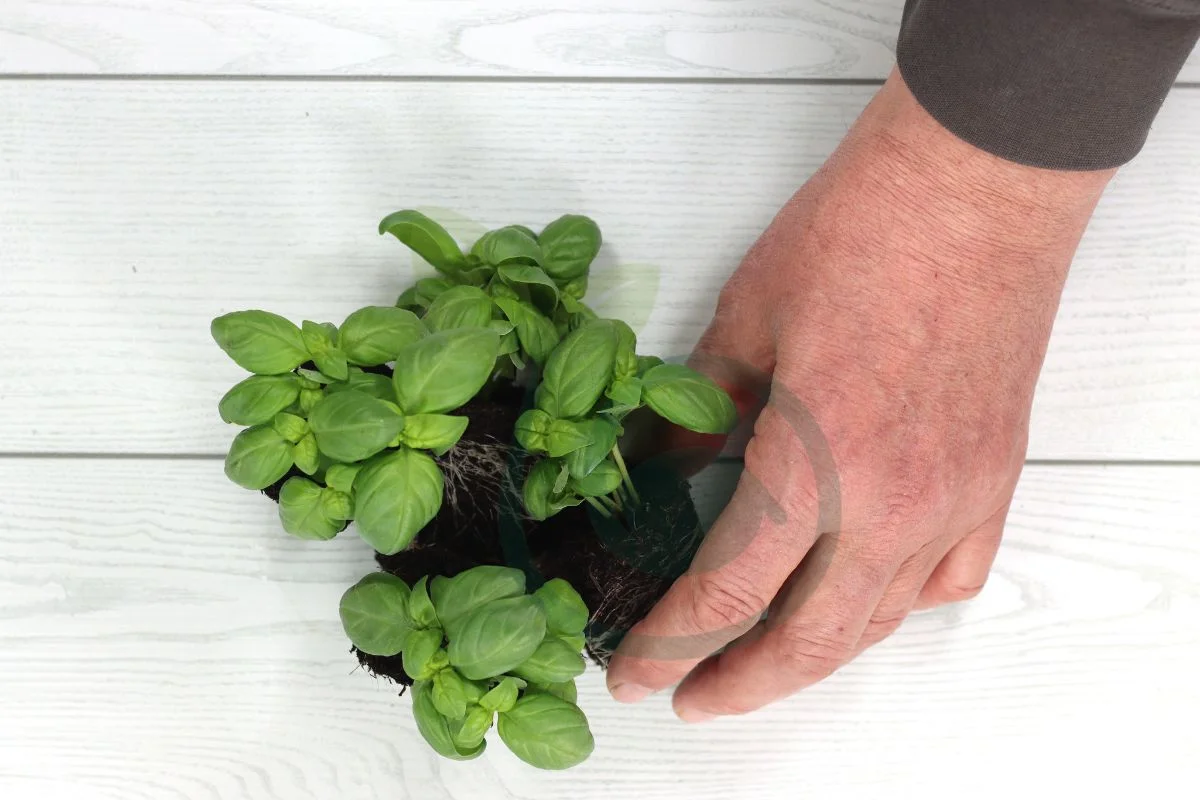
Transplanting basil is a crucial skill for any herb enthusiast. Whether you're a novice gardener or have a green thumb, mastering the art of transplanting basil ensures a bountiful harvest and robust plants. In this guide, we'll delve into the step-by-step process of how to successfully transplant basil, from selecting the right soil to providing optimal growing conditions.
Basil has been cherished for centuries not only for its culinary uses but also for its medicinal properties. Its rich history dates back to ancient civilizations like Egypt and Greece, where it was revered as a symbol of love and protection. By understanding the historical significance of this aromatic herb, we can better appreciate the cultural importance of cultivating and caring for it today.
Key Takeaways
- Properly prepare the soil and containers before transplanting basil to ensure successful growth.
- When transplanting basil seedlings, handle them gently to avoid damaging the delicate roots.
- Consider container gardening for basil to control its environment and ensure optimal growth conditions.
- Regularly water and provide adequate sunlight to transplanted basil to promote healthy growth.
- Propagate basil from cuttings to expand your basil garden and ensure a continuous supply of fresh herbs.
- Address common concerns such as pests, diseases, and environmental stress to maintain the health of transplanted basil plants.
Understanding Basil Transplanting
Best Time to Transplant
Transplanting basil should be done after the last frost date in spring. Avoid transplanting during extreme heat or cold, as this can stress the plants. It's crucial to wait until seedlings have at least two sets of true leaves before transplanting them into a garden or larger containers.
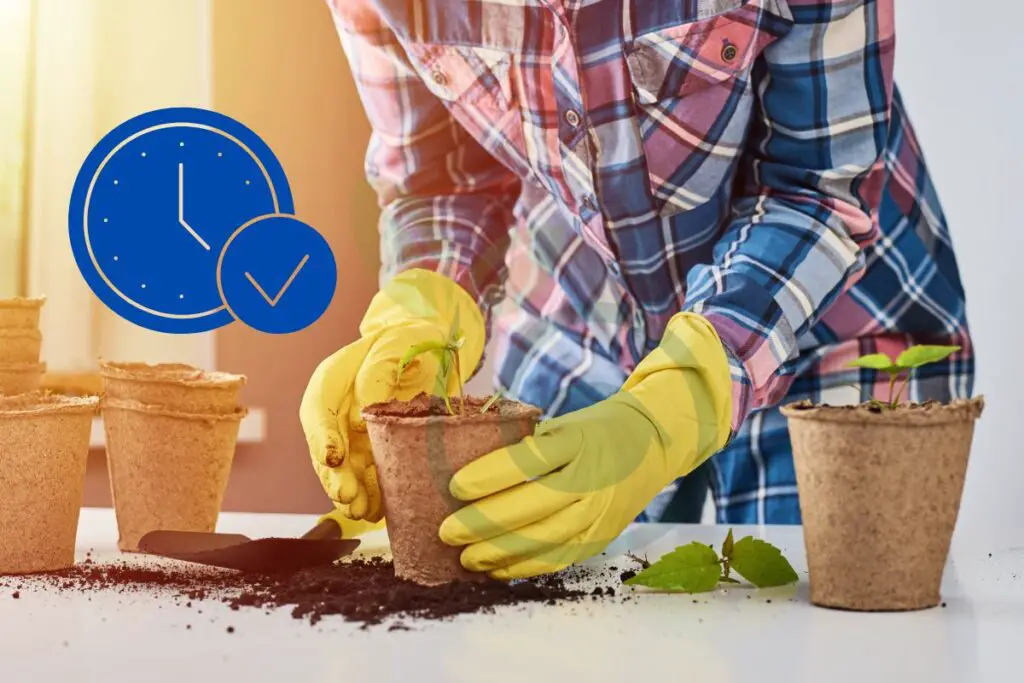
The best time for transplanting is when the seedlings are strong and established, typically around 6-8 weeks after sowing. This gives them enough time to develop a robust root system and sturdy growth before being moved.
Signs of Readiness
When considering whether basil seedlings are ready for transplant, look for sturdy stems and healthy green leaves. Seedlings should be around 3-4 inches tall, indicating that they have developed sufficiently to thrive in their new environment.
Avoid transplanting leggy or weak seedlings as they may struggle to adapt and establish themselves in their new location. Leggy seedlings with elongated stems often indicate inadequate light conditions during germination.
Selecting the Right Location
Choosing an optimal location is vital for successful basil transplantation. Opt for a sunny spot with well-draining soil to ensure that the plants receive adequate sunlight while avoiding waterlogged roots which can lead to rotting.
Consider selecting a location that offers protection from strong winds as excessive wind can damage delicate young plants. Proximity to a water source is also important; having easy access will make it convenient for regular watering without causing undue stress on the newly transplanted basil.
Preparing for Transplantation
Container vs. Garden
| Aspect | Container | Garden |
|---|---|---|
| Soil | Well-draining | Rich, well-draining |
| Space | Limited | Unlimited |
| Watering | More frequent | Less frequent |
| Sunlight | Easily movable | Fixed location |
| Maintenance | Easier | More labor-intensive |
Gathering Supplies
Before transplanting basil, it's crucial to gather all the necessary supplies. You'll need pots, a garden trowel, a watering can, and organic fertilizer. Have mulch, compost, and a hand shovel ready for use. It's also helpful to gather plant markers or labels for identifying different basil varieties.
Once you've gathered your supplies, prepare the pots by filling them with nutrient-rich soil. Ensure that each pot has proper drainage holes at the bottom to prevent waterlogging.
Soil Preparation
Soil preparation is an essential step in successfully transplanting basil. Start by amending the soil with compost to improve its drainage and fertility. This ensures that the newly transplanted seedlings have access to vital nutrients and moisture.
It's also important to test the soil pH using a simple testing kit available at gardening stores. The optimal pH range for basil is between 6.0 and 7.5; adjust the soil accordingly if needed.
After testing and adjusting the pH level of the soil, remove any debris or weeds from the planting area using a hand shovel or garden trowel. Clearing away debris helps create an ideal environment for healthy growth once you transplant your basil seedlings.
Watering Before Transplant
Properly hydrating your basil seedlings before transplanting is crucial for their successful transition into new pots or garden beds. Water them thoroughly a few hours before transplanting but avoid overwatering as it can lead to waterlogged soil which may harm delicate roots. Moist soil makes it easier to remove seedlings without damaging their roots during transplantation.
Container Gardening with Basil
Choosing Containers
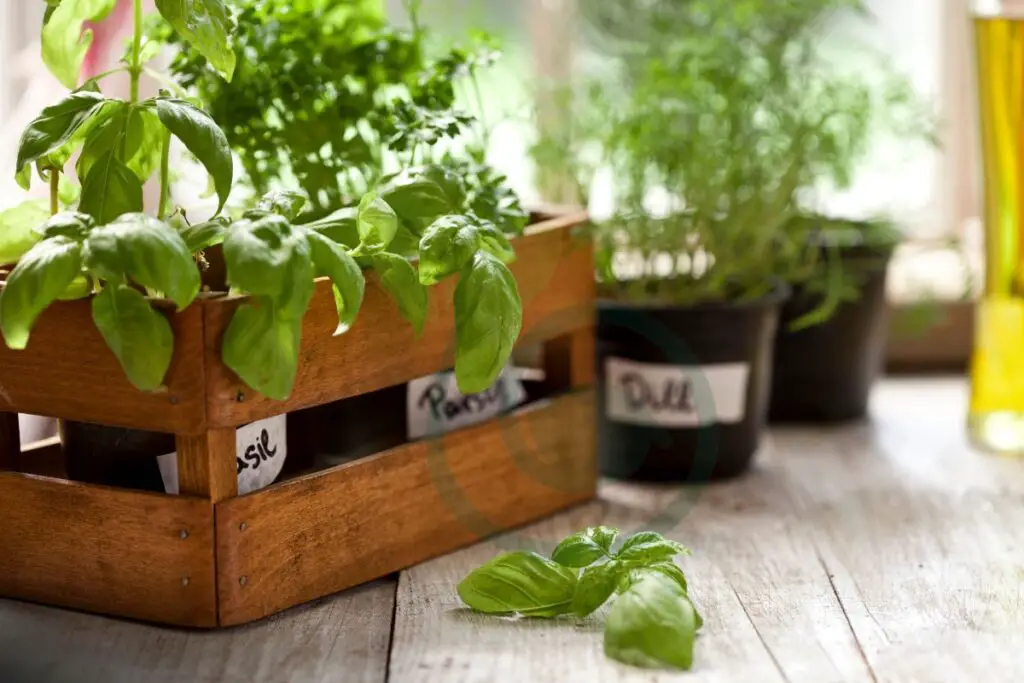
When transplanting basil, it's crucial to choose the right containers. Opt for pots with drainage holes to prevent waterlogging, which can lead to root rot. Consider using biodegradable pots, as they make the transplant process into the ground much easier when your basil outgrows its current container. Ensure that the chosen containers are large enough to accommodate mature basil plants comfortably.
For instance:
- Biodegradable pots allow for seamless transplantation into the soil.
- Proper drainage prevents water accumulation and potential root damage.
Potting Mix Essentials
The type of potting mix you use plays a significant role in the successful transplantation of basil. It's essential to select a well-draining potting mix that is rich in organic matter. Consider adding materials like perlite or vermiculite to enhance aeration within the soil and promote healthy root development. Avoid using heavy garden soil as it tends to compact in containers, leading to poor drainage and potential issues for your basil plant.
For example:
- Perlite or vermiculite improves soil aeration, benefiting root growth.
- Well-draining potting mix prevents waterlogging and promotes healthy roots.
Container Placement
Once you have prepared your containers and potted your basil, it's vital to consider where you place them. Select an area that receives at least 6 hours of sunlight daily; this is crucial for robust growth and flavorful leaves. However, be mindful of harsh afternoon sun exposure, which can be detrimental to basil plants—consider providing partial shade if needed. During extreme weather conditions such as storms or excessive heatwaves, moving your containers indoors can help protect your precious herbs from harm.
Consider these points:
- Adequate sunlight ensures optimal growth and flavor development.
- Partial shade shields basil from potentially damaging afternoon sun exposure.
Transplanting Basil Seedlings
When transplanting basil seedlings, it's crucial to choose healthy and robust ones. Look for seedlings with no signs of disease or pests. Opt for compact and bushy seedlings over leggy ones as they tend to establish themselves better in a new environment. Select seedlings with uniform growth and vibrant green foliage, indicating their overall health.
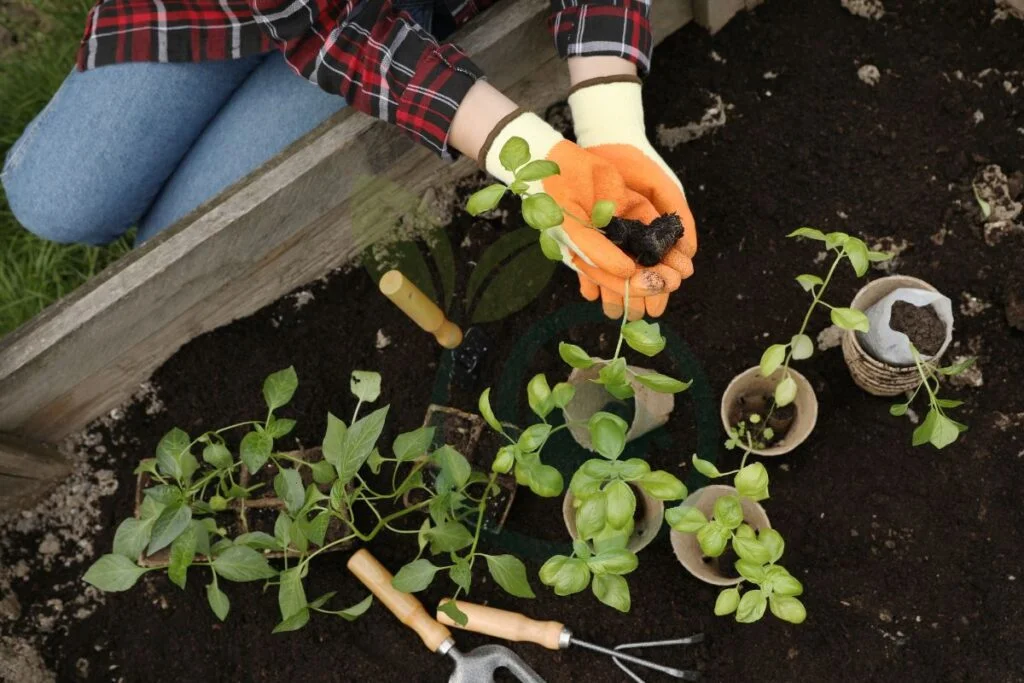
Handle the basil seedlings carefully when preparing them for transplantation to avoid damaging their delicate roots. If the roots appear root-bound in their nursery containers, gently tease them out before planting. This will encourage the roots to grow outward into the soil rather than continuing to circle around inside the pot. Trim any excessively long or damaged roots before transplanting to promote healthy growth post-transplantation.
Spacing Guidelines
When transplanting basil into a garden bed or container, ensure proper spacing between plants is maintained. Space basil plants 12 to 18 inches apart from each other to allow sufficient room for air circulation and future growth expansion. Adequate spacing also helps prevent issues such as overcrowding that can lead to poor airflow and potential disease development among the plants.
To prepare for transplanting your basil seedlings, dig holes slightly larger than the root ball of each plant you are planning on planting in your garden bed or container. Ensure that both width and depth are taken into account when digging these holes - they should be just big enough so that all of a plant's roots can comfortably fit within without being cramped.
Basil Transplanting Techniques
After positioning the basil plant in the hole and backfilling it with soil, it's crucial to water the newly transplanted basil thoroughly. This step helps to settle the soil around the roots and provides essential moisture for the plant's initial growth.
Once you have placed your basil plants in their new location and gently filled in the holes with an amended soil mixture, it’s time to give them a good drink of water. Water is vital for helping your transplanted basil adjust to its new environment. It also aids in removing air pockets around the roots and ensures that they receive adequate moisture during their establishment period.
It's important not to overlook this step as watering plays a significant role in ensuring successful transplantation. Immediately after planting, use a watering can or garden hose with a gentle spray attachment to thoroughly moisten the soil around each newly transplanted basil plant. This will help prevent transplant shock and support healthy root development.
Maintaining Optimal Moisture Levels
During this establishment phase, maintaining consistent moisture levels is key for promoting healthy growth in your transplanted basil plants. While it’s essential to keep the soil consistently moist, be mindful not to overwater as this can lead to waterlogged conditions that may harm your plants.
To ensure optimal moisture levels, check on your newly transplanted basil regularly. Stick your finger into the soil near each plant – if it feels dry about an inch below the surface, then it’s time to water again. However, if there is still some moisture present at that depth, hold off on watering until it begins drying out.
By monitoring and adjusting your watering frequency based on these simple checks, you can help prevent both underwatering and overwatering issues during this critical period.
Benefits of Proper Soil Backfilling
Properly backfilling with amended soil mixture followed by thorough watering offers several benefits:
- It promotes quick establishment of transplanted basil by providing necessary nutrients from amended soil.
- Thorough watering helps eliminate air pockets around roots which could cause damage.
- Consistently moist but not waterlogged conditions encourage healthy root development without stressing or drowning plants.
Caring for Transplanted Basil
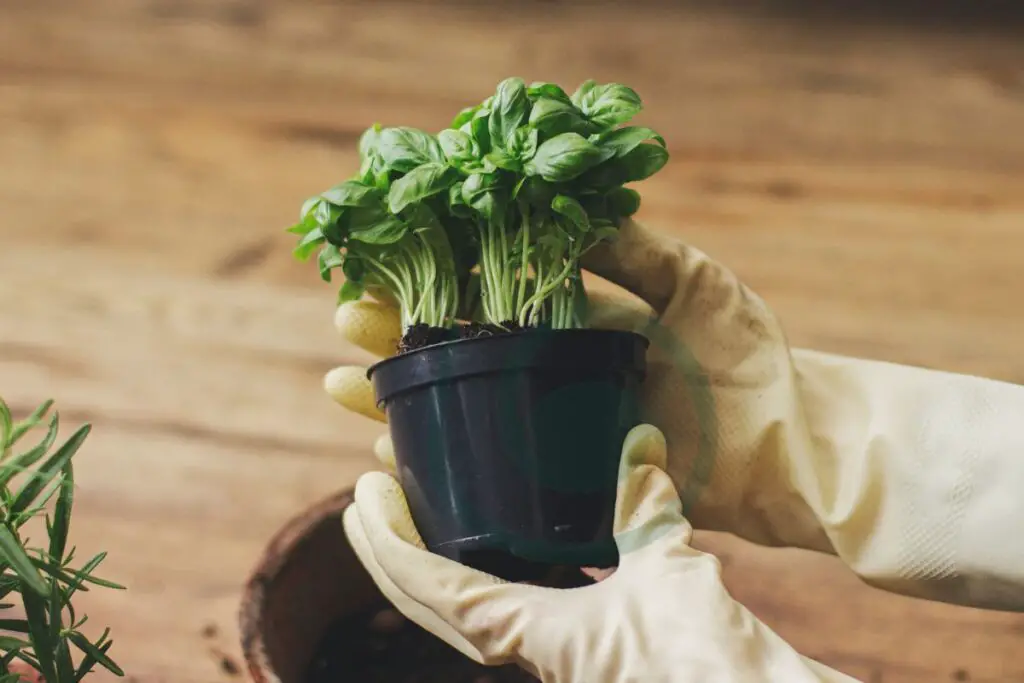
Post-Transplant Watering
After transplanting basil, it's crucial to establish a consistent watering routine. Apply a layer of organic mulch around the plants to help retain moisture in the soil and prevent weed growth. Mulch also plays a vital role in regulating soil temperature, especially during hot weather, and helps prevent erosion around the plants.
When watering transplanted basil, ensure that the soil is consistently moist but not waterlogged. Overwatering can lead to root rot, while underwatering can cause stress on the plant. The mulch will aid in retaining moisture, reducing the frequency of watering needed.
Mulching Benefits
In addition to conserving moisture and suppressing weeds, organic mulch offers several other benefits when caring for transplanted basil. It acts as an insulator for the roots during extreme temperatures, keeping them cool in hot weather and providing warmth during cooler periods.
Furthermore, organic mulch gradually breaks down over time, enriching the soil with essential nutrients that benefit basil growth. This natural process contributes to overall soil health and fertility without relying solely on artificial fertilizers.
Fertilization Schedule
Feeding transplanted basil with a balanced organic fertilizer every 4 to 6 weeks is essential for promoting healthy growth throughout the growing season. However, it's crucial to avoid over-fertilizing as this can result in excessive leaf production at the expense of flavor development in the leaves.
Balanced organic fertilizers provide essential nutrients such as nitrogen, phosphorus, and potassium without causing nutrient imbalances or harm to beneficial microorganisms present in the soil ecosystem.
Propagating Basil Cuttings
When selecting stems for propagating basil cuttings after transplanting, choose healthy non-flowering stems free from any signs of disease or pest infestation. Opt for sturdy stems that exhibit vigorous growth and are devoid of any physical damage.
Propagating Basil from Cuttings
Cutting Selection
To propagate basil from cuttings, you can choose between water propagation or directly planting the cuttings in potting mix for rooting. When using water propagation, make sure to change the water regularly and keep it at a consistent level to support root growth. For direct planting, maintain consistent moisture levels during rooting by misting the cutting and covering it with a plastic bag to create a humid environment.
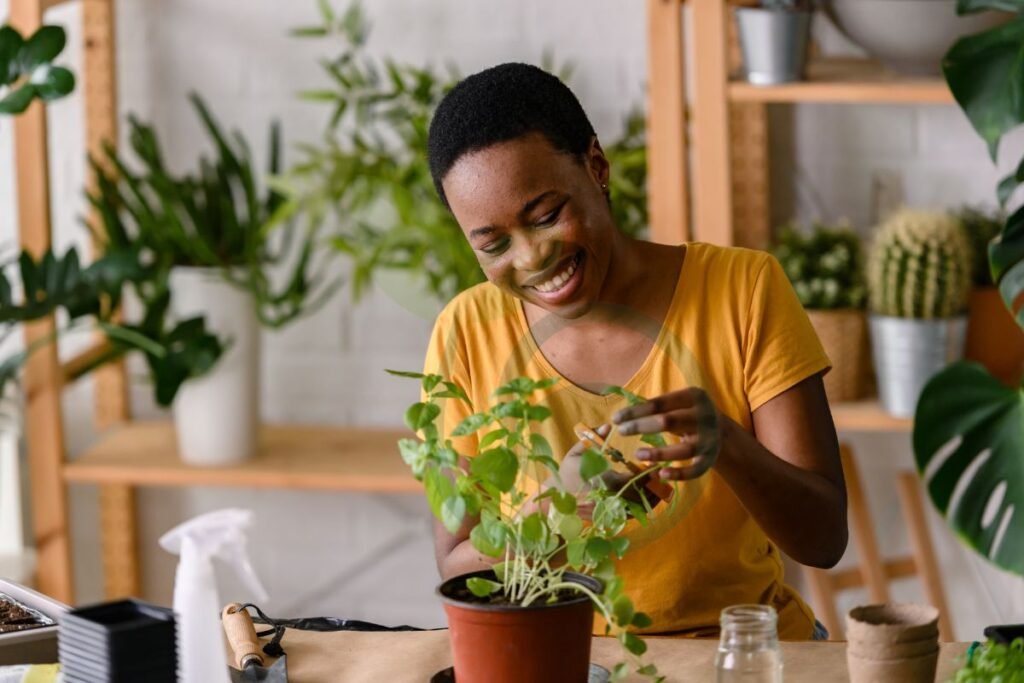
When selecting basil cuttings for propagation, opt for healthy stems that are free from diseases or pests. Choose sections of the stem that have not flowered yet as they tend to root more successfully.
Rooting Methods
Once roots develop on your basil cuttings, plant them in individual pots filled with well-draining potting mix. Ensure that the soil is moist but not waterlogged to prevent rotting of newly formed roots. To maintain adequate humidity levels, cover the planted cuttings with a plastic dome or bag initially. This will help create a greenhouse-like environment conducive to further root development.
It's important to note that maintaining high humidity levels is crucial during this stage as it prevents excessive moisture loss through transpiration while new roots are still establishing themselves in the soil.
Planting Cuttings
Indoor basil plants require at least 6 hours of direct sunlight daily near south-facing windows or under grow lights for optimal growth. If you're using artificial lighting conditions, rotate potted basil plants regularly so all sides receive equal exposure and promote even growth.
Remember that proper care after transplanting is essential for ensuring successful establishment and continued healthy growth of your propagated basil plants.
Indoor Basil Transplantation
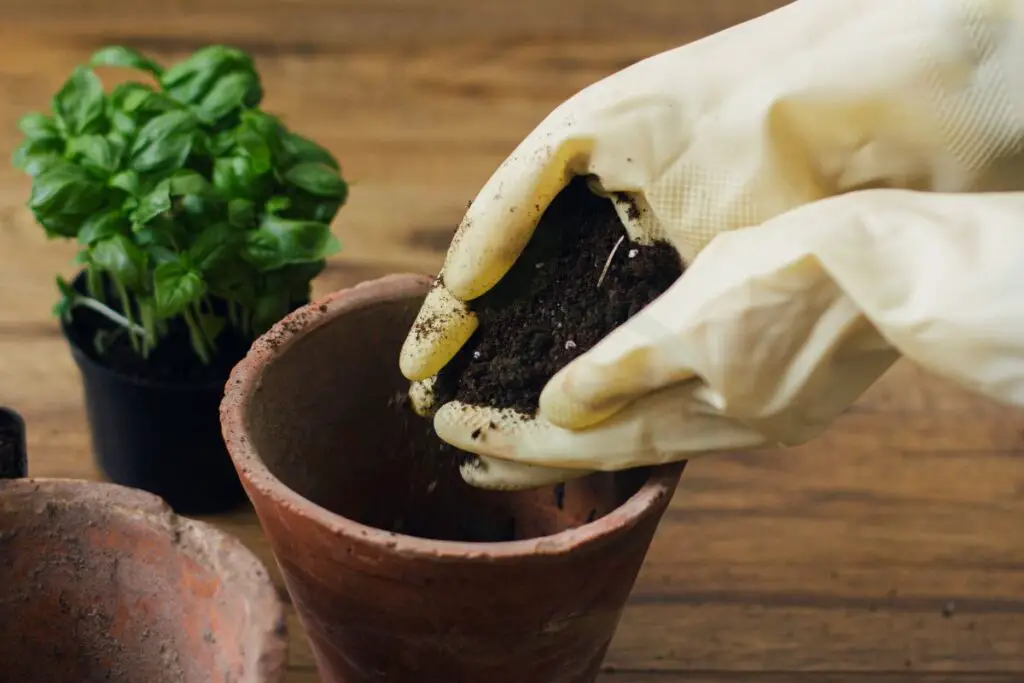
Lighting Conditions
Maintain indoor temperatures between 65°F and 85°F for optimal growth of potted basil plants. Ensure that your basil receives at least six hours of direct sunlight each day, either from a sunny windowsill or by using grow lights. If you're transplanting outdoor basil to an indoor environment, protect it from frost by covering the plant with row covers or cloches when necessary.
When propagating basil from cuttings, it's crucial to provide adequate lighting conditions for the new transplants. Whether you're growing them indoors or outdoors, ensure they receive enough direct sunlight daily. If natural light is insufficient, consider using artificial grow lights to supplement their light requirements.
Temperature Control
Regularly pinch off flower buds to encourage continuous leaf production in established basil plants. This practice will prevent the plant from diverting its energy into flowering and seed production rather than leaf growth. Monitor moisture levels closely; ensure that both outdoor and indoor basil receive adequate water without becoming waterlogged.
When caring for newly transplanted basil cuttings indoors or outdoors, remember to remove any flower buds as soon as they appear. By doing so, you'll promote continuous leaf growth instead of allowing the plant to focus on flowering and producing seeds prematurely.
Ongoing Care
Watch out for common pests such as aphids, whiteflies, and spider mites on indoor and outdoor basil plants. Regularly inspect your plants for any signs of pest infestation and take appropriate measures promptly if any are found. Prevent fungal diseases by avoiding overhead watering; instead, water directly at the base of the plant while promoting good air circulation around your plants.
After transplanting your propagated basil cuttings into their new environment—whether it's indoors or outdoors—be vigilant against common pests like aphids and whiteflies that can damage your plants. Avoid overhead watering which can lead to fungal diseases; instead opt for watering at the base of the plant while ensuring proper air circulation around them.
Addressing Common Concerns
Pests and Diseases
When transplanting basil, it's crucial to be mindful of potential pests and diseases that can affect the plant. Keep an eye out for common pests like aphids, spider mites, and whiteflies. These tiny invaders can wreak havoc on your basil plants by sucking sap from the leaves or transmitting diseases. To prevent infestations, consider using natural remedies like neem oil or insecticidal soap. Maintaining good air circulation around the plants can help deter these pests.
Another important aspect is disease prevention. Fusarium wilt and downy mildew are among the most prevalent diseases affecting basil. To minimize the risk of infection, ensure proper spacing between plants to promote airflow and reduce humidity levels around them. Also, avoid overhead watering as this can lead to moisture accumulation on foliage which creates a favorable environment for disease development.
Watering Issues
One of the key factors in successful basil transplantation is understanding watering issues. Basil requires consistent moisture but does not tolerate waterlogged conditions well. Adjust watering frequency based on environmental conditions such as temperature and humidity levels to prevent overwatering or underwatering issues.
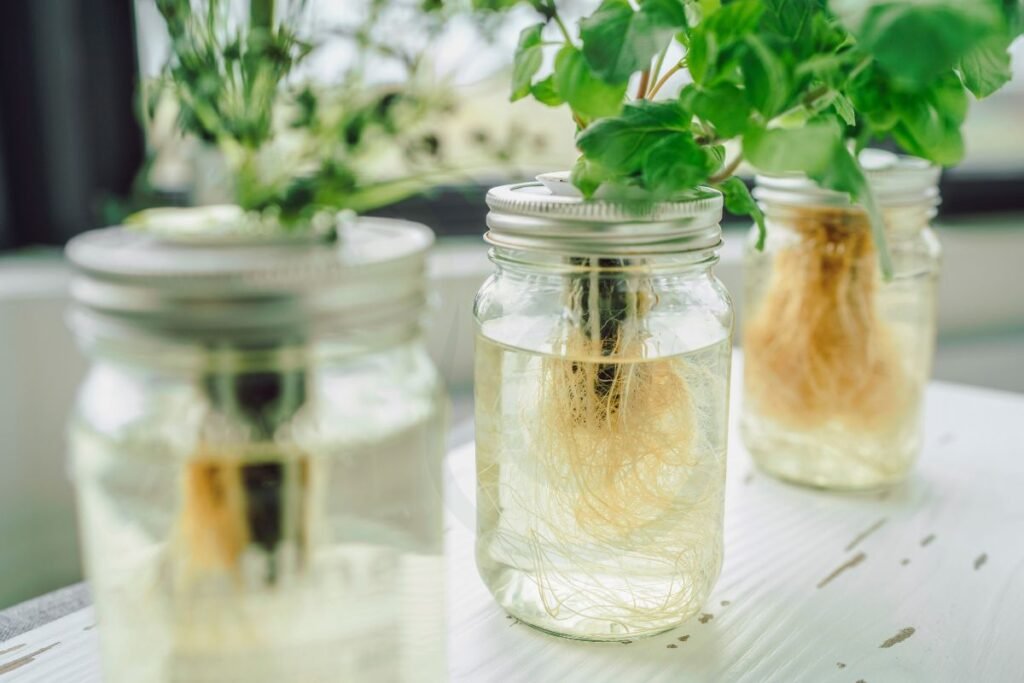
For outdoor transplanted basil, providing a layer of mulch around the base of the plant helps retain soil moisture while reducing evaporation rates during hot weather spells.
Indoor transplanted basil should be placed in pots with drainage holes to allow excess water to escape easily without causing root rot.
Pruning Practices
Regularly engaging in appropriate pruning practices plays a significant role in ensuring healthy growth for your transplanted basil plants. By removing top growth regularly through pruning techniques both indoors and outdoors promotes bushier growth patterns while encouraging new leaf production.
When harvesting fresh leaves frequently from your indoor potted basils you're effectively stimulating new growth while preventing overcrowding which could potentially attract pests or create ideal conditions for disease development if left unmanaged.
Final Remarks
You've now mastered the art of transplanting basil! From understanding the process to caring for your transplanted basil, you're well-equipped to ensure your basil plants thrive. Whether you're venturing into container gardening or tending to indoor basil, these techniques will set you up for success. Remember, just like any new endeavor, practice makes perfect. Don't be afraid to get your hands dirty and experiment with different methods to find what works best for you and your basil babies. Happy transplanting!
Frequently Asked Questions
How do I prepare basil for transplantation?
To prepare basil for transplantation, start by selecting a healthy and well-established plant. Water the basil thoroughly a day before transplanting to ensure it's well-hydrated. Gently loosen the soil around the roots and carefully lift the plant from its current container.
What is the best time to transplant basil seedlings?
The best time to transplant basil seedlings is when they have developed at least two sets of true leaves. This usually occurs around 3-4 weeks after germination. Transplanting at this stage allows the seedlings to establish themselves in their new environment more effectively.
Can I grow basil indoors after transplanting?
Yes, you can definitely grow basil indoors after successful transplantation. Ensure that your indoor location receives plenty of sunlight or use artificial lighting if necessary. Maintain proper watering and drainage practices to keep your transplanted indoor basil healthy and thriving.
How often should I water transplanted basil?
After transplanting, water your basil regularly but avoid overwatering as it can lead to root rot. Check the moisture level of the soil with your finger – if it feels dry about an inch below the surface, it's time to water again.
Are there any common concerns when transplanting basil?
Some common concerns when transplanting basil include wilting due to shock, inadequate root development post-transplantation, or susceptibility to pests and diseases during this vulnerable period. However, with proper care and attention following transplantation guidelines can help mitigate these concerns.
Image Source: Paid image from CANVA

