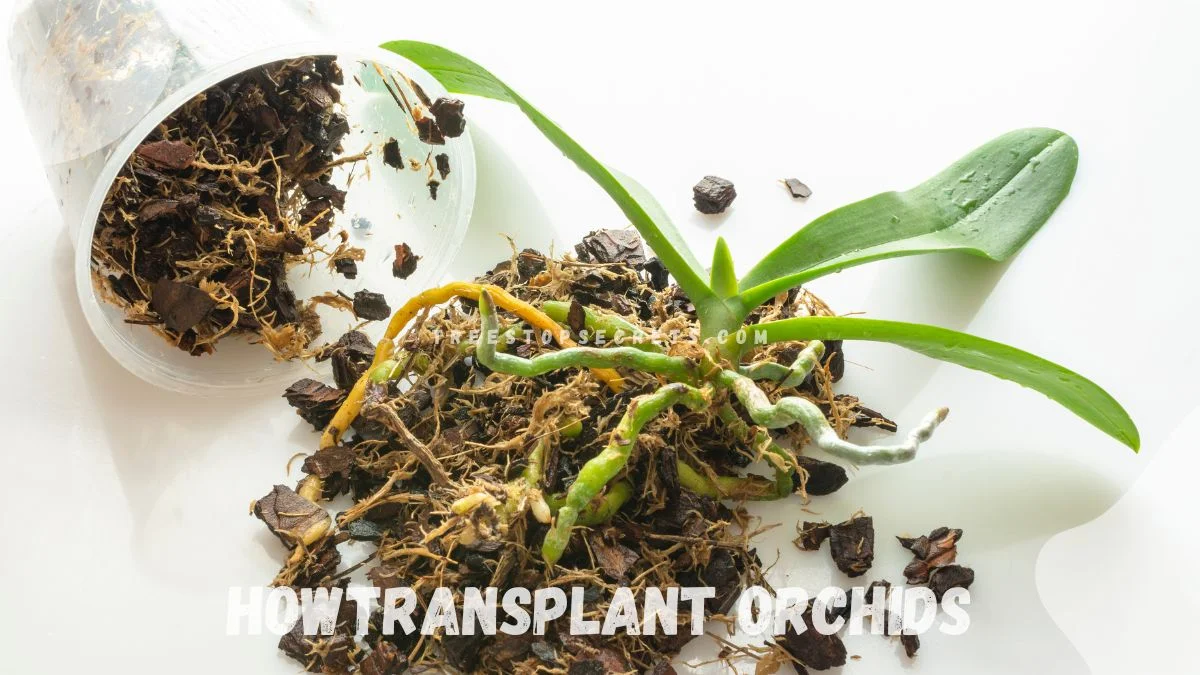
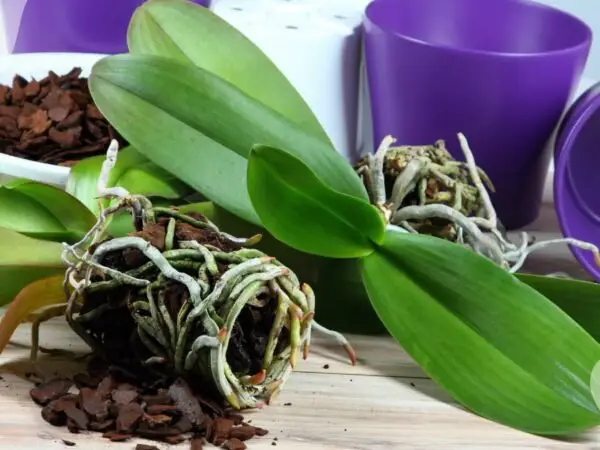
Are you wondering how to transplant orchids successfully? I can guide you through the process to ensure your orchids thrive in their new environment. Transplanting orchids can seem daunting, but with the right knowledge and steps, you can handle it with confidence. I'll provide you with a straightforward approach to repotting your orchids, including when and how to do it, the materials you'll need, and the specific steps to follow. By the end, you'll feel equipped to give your orchids the best care possible as they transition to their new homes.
To transplant orchids, start by choosing the right time, typically after blooming. Prepare a suitable pot with drainage and use orchid-specific potting mix. Gently remove the orchid from its current pot and shake off old potting material. Trim any dead or rotten roots. Place the orchid in the new pot, spread the roots evenly, and fill in with fresh potting mix, ensuring the plant is stable but not deeply buried. Water sparingly initially, then resume regular care. Transplanting is crucial every 1-2 years to maintain orchid health and promote vigorous growth.
Ready to become an orchid transplanting pro? There's more to explore, including choosing the best potting mix, handling different orchid species, and post-transplant care tips. Follow my detailed guidance for all these insights and more.
Key Takeaways
- **Transplanting orchids requires careful planning and execution to ensure the plant's health and growth.
- **Organize your transplanting process by preparing all necessary materials and finding a suitable new pot for your orchid.
- **When uprooting the orchid, handle the roots gently to avoid damage and provide a smooth transition to its new environment.
- **Repot the orchid using fresh potting mix, ensuring proper drainage and support for healthy root growth.
- **Expert advice can offer valuable insights and tips on successfully transplanting orchids, guiding you through any challenges you may encounter.
- After repotting orchids, maintain consistent care by monitoring light, water, and temperature conditions to help the orchid adapt and thrive in its new home.
Quick Overview
Preparing for Transplant
Before starting the transplant process, gather all necessary supplies such as a new pot, fresh potting mix, and pruning shears. Choose a well-lit and clean workspace to ensure successful repotting without any disturbances. Prepare the new pot by cleaning it thoroughly with water and mild soap to prevent any contamination that could harm the orchid.
Uprooting Basics
Carefully remove the orchid from its current pot by gently squeezing the sides of the pot to loosen the roots. Avoid damaging the delicate roots during this process. Gently shake off excess soil or compost from the roots to expose them for inspection. Check the roots for any signs of damage, rot, or pests before proceeding with the transplant to ensure the orchid's health.
Choosing the Right Pot
Select a pot that is one size larger than the current pot to provide ample room for growth and expansion of the root system. Ensure that the pot has proper drainage holes at the bottom to allow excess water to escape easily and prevent waterlogging which can lead to root rot. Consider the material of the pot; clay pots provide good airflow to the roots while plastic pots retain moisture better.
Aftercare Tips
Place the newly transplanted orchid in a location with indirect sunlight to aid in its recovery from the transplant shock. Avoid watering the orchid immediately after transplanting to prevent root rot as disturbed roots need time to heal. Monitor the orchid closely in the following weeks for any signs of stress such as wilting leaves or dehydration, adjusting care accordingly.
Organizing Your Transplant
Gathering Supplies
When transplanting orchids, it's vital to have the right supplies, like a pot, on hand. First, get a fresh bark mix that is chunky and loose, ideal for repotting. Having sterilized pruners or a sharp pruning knife is crucial for trimming roots effectively. Don't forget to wear gloves to protect your hands throughout the transplant process.
Timing the Transplant
Timing is key when it comes to transplanting orchids. In spring, when new growth starts to emerge from dormancy, it's a good time to evaluate the need for repotting. To avoid root overcrowding, consider repotting your orchids every year or two. For newly purchased orchids or those showing signs of root rot after blooming, immediate repotting might be necessary.
Uprooting the Orchid
Removing the Orchid
When removing an orchid from its pot, use a gentle massaging motion to loosen the rootball carefully. Soaking stiff and dry roots in water can help make them more pliable for untangling. Handle the orchid and pot with care to prevent any damage to its delicate roots.
- Be gentle when loosening the rootball.
- Soak dry roots in water before untangling.
- Handle the orchid delicately to avoid root damage.
Root Inspection
During root inspection, check for any black, hollow, or soggy areas on the roots, as these indicate damage. Trim away any damaged roots using sterilized tools to encourage healthy growth. It's essential to remove old compost or moss from the roots to prevent disease and decay.
- Look for black, hollow, or soggy areas on the roots.
- Trim damaged roots with sterilized tools.
- Remove old compost or moss to prevent disease.
Repotting the Orchid
Pot Selection
When repotting orchids, choose a pot that has proper drainage holes to prevent water from accumulating, which can lead to root rot. Opt for a transparent pot as it allows you to easily monitor the roots' growth and health. Consider the pot size based on the orchid's current root system and growth pattern, ensuring it has enough space to grow comfortably.
Potting Mix Prep
To prepare the bark mix for repotting, ensure it is fresh, chunky, and loose to provide adequate aeration for the roots. Carefully work the bark mix around the roots to offer stability and support to the plant. Avoid compacting the mix too tightly as it can hinder proper drainage and airflow essential for healthy root development.
Planting the Orchid
When planting the orchid in the new pot, make sure to spread out the roots evenly to encourage healthy growth. Gently pack the bark mix around the roots to secure the plant in place without damaging them. After planting, water the orchid thoroughly to help it adjust to its new environment and promote new growth.
Expert Q&A Highlights
Best Time to Repot
When repotting orchids, spring is the ideal time as they are actively growing. Avoid repotting during dormancy to prevent stress. Keep an eye on signs of distress post-repotting for successful acclimatization.
Selecting Pots and Mix
Opt for pots made of breathable materials like clay or plastic to ensure proper airflow. Choose a potting mix that drains effectively to prevent waterlogging and root rot. Consider the pot size based on the orchid's root system and growth patterns.
Care After Transplant
Watering Schedule
Establish a regular watering schedule based on the orchid's specific needs. Adjust frequency according to season and humidity levels. Overwatering can cause root suffocation and fungal infections.
- Pros:
- Prevents dehydration
- Supports healthy growth
- Cons:
- Risk of overwatering
- Root rot potential
Light and Temperature
Place orchids in bright, indirect light for optimal growth. Maintain temperatures between 60-80°F (15-27°C). Direct sunlight can lead to leaf burn and heat stress.
- Consistent light exposure
- Ideal temperature range
Fertilization Routine
Develop a fertilization schedule with balanced orchid fertilizer. Apply at half-strength during active growth. Avoid fertilizing newly transplanted orchids until fully acclimated.
- Key Information:
- Balances nutrient intake
- Supports healthy blooming
Summary
You've learned the essential steps to successfully transplant your orchids, ensuring they thrive in their new environment. From organizing the transplant to caring for your orchid post-transplant, you now have the knowledge to support healthy growth. Remember to handle your orchid with care during the process and provide the necessary post-transplant care to promote flourishing blooms.
Take action today by applying these expert tips and techniques to transplant your orchids confidently. Your orchids will thank you with vibrant colors and robust blooms, rewarding your efforts with their beauty and grace.
Frequently Asked Questions
How do I know when to transplant my orchid?
Transplant your orchid when you notice overcrowding of roots or the potting mix breaks down. Look for roots growing over the pot's edge or yellowing leaves. Spring is generally the best time for transplanting.
Can I use regular soil to repot my orchid?
No, regular soil is too dense for orchids and can lead to root rot. Use a specialized orchid potting mix that provides good drainage and aeration for healthy root growth.
How often should I water my newly transplanted orchid?
After transplanting, water your orchid lightly and allow excess water to drain out. Check the moisture level every 5-7 days, adjusting based on the plant's specific needs and environmental conditions.
Should I fertilize my orchid right after transplanting?
Avoid fertilizing your orchid immediately after transplanting to prevent stressing the plant. Wait at least 4-6 weeks before applying a diluted fertilizer specifically formulated for orchids.
How can I ensure successful recovery for my transplanted orchid?
Place your orchid in a warm, humid environment with indirect sunlight. Monitor its condition closely, ensuring proper watering and humidity levels. Avoid moving or disturbing the plant unnecessarily during the recovery period.
Image Source: Paid image from CANVA


