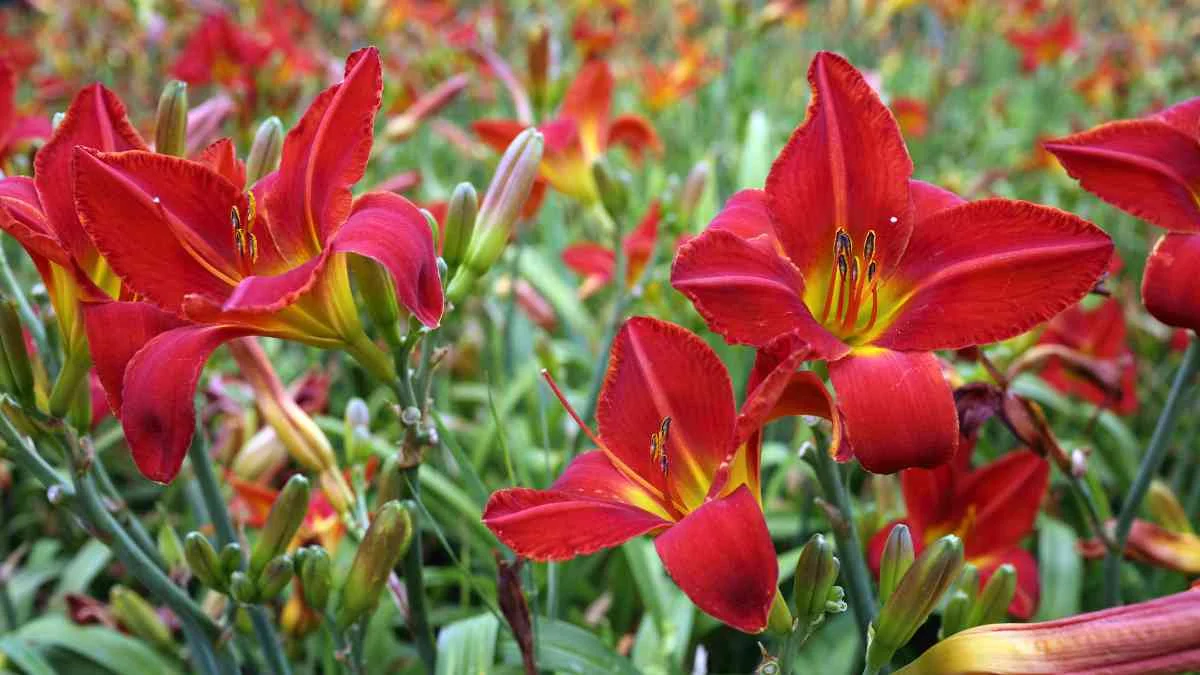
Where is the best spot to plant daylilies for a vibrant garden? Seeking the ideal location to replant fragrant daylilies in garden soil and enhance your outdoor space? Discover the secrets to successful daylily planting that will have your garden blooming with beauty in no time. Whether you're a seasoned gardener or just starting, finding the perfect spot for your daylilies is crucial for their growth and overall appearance. Join us as we explore the optimal planting conditions and unleash the full potential of your daylily garden.
Key Takeaways
- Choose a sunny spot: Plant daylilies in a location that receives at least 6 hours of sunlight daily for optimal growth.
- Ensure well-draining soil: Daylilies, also known as daylily, prefer soil that drains well to prevent waterlogged roots and promote healthy development.
- Plant at the right depth: When planting daylilies, position the crown (where the roots meet the foliage) just below the soil surface.
- Water consistently: After planting, maintain regular watering to keep the soil evenly moist, especially during dry spells.
- Divide and mulch daylilies: Divide daylilies every few years to rejuvenate growth and apply a layer of mulch to retain moisture and suppress weeds.
- Monitor for pests and diseases: Regularly check your daylilies for signs of pests or diseases and take prompt action to prevent damage.
Understanding Daylilies
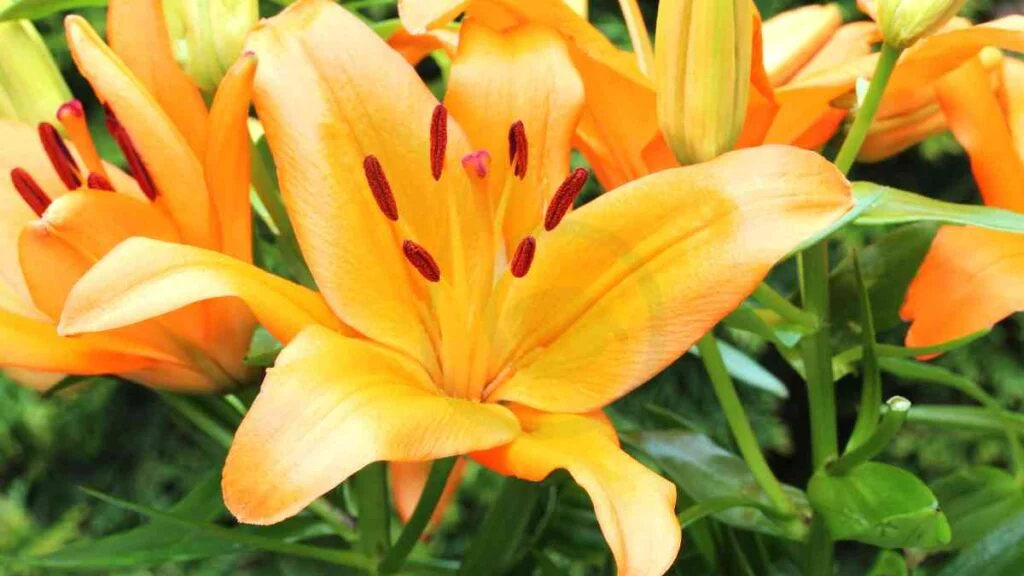
Choosing Varieties
When planting daylilies, choose varieties based on bloom time, color, and height. Incorporate early, mid-season, and late-blooming types for continuous color. Select ones that match your garden's color scheme.
Growth Requirements
Ensure well-draining soil to prevent waterlogging around daylilies. Leave ample space between plants for optimal growth. Daylilies thrive in USDA hardiness zones 3-9.
Seasonal Care
After blooming, prune daylilies to promote new growth and flowering. In fall, remove dead foliage to prevent disease spread. Mulch daylilies during winter to safeguard against frost.
Ideal Locations for Daylilies
Light Conditions
Plant daylilies in areas with at least six hours of full sun daily. Avoid deep shade to ensure optimal flowering. Consistent sunlight is crucial for vibrant blooms.
Soil and Water
Plant daylilies in well-draining soil to prevent root rot. Water deeply but infrequently for healthy roots. Overwatering can lead to fungal diseases.
Temperature and Humidity
Daylilies thrive in various temperature ranges but prefer moderate climates. Adequate air circulation is essential to prevent humidity-related diseases. Protect from extreme temperatures for plant health.
Preparing to Plant
Selecting a Site
When planting daylilies, choose a site with good air circulation to prevent fungal issues. Consider the garden layout and plant daylilies near other perennials for a diverse ecosystem. Ensure there is enough space for daylilies to spread and thrive.
Soil Preparation
Prepare the soil by adding compost or organic matter to improve drainage. Test the soil pH to ensure it is suitable for daylilies' growth. Clear weeds and debris from the planting site to minimize competition.
Timing
For optimal results, plant daylilies in early spring or fall when temperatures are moderate. Avoid extreme weather conditions during planting. Aim for cooler temperatures to reduce transplant shock and promote healthy growth.
Plant Daylily Planting Steps
Digging Holes
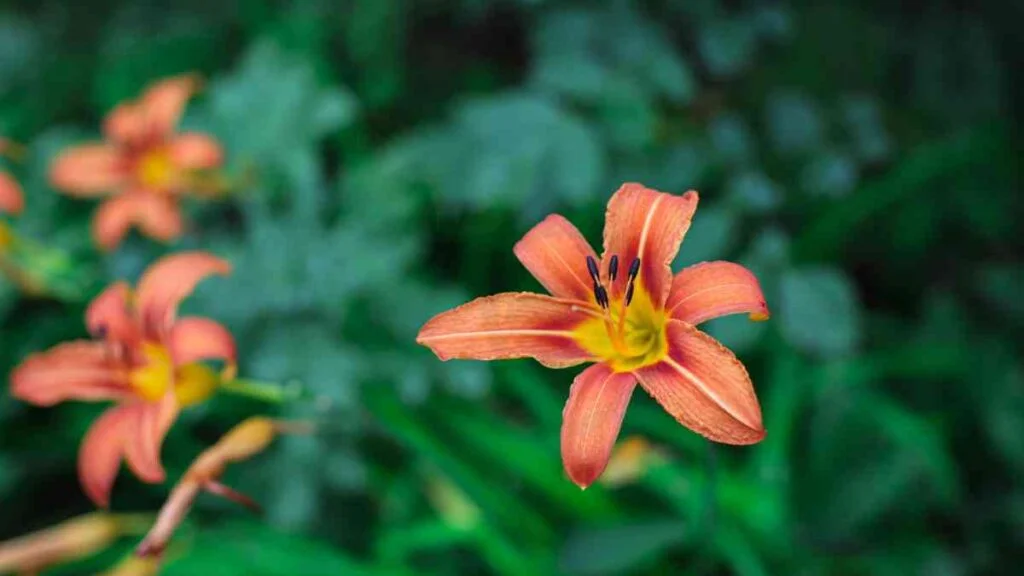
When planting daylilies, dig holes that are twice as wide as the root ball. This spacing allows ample room for growth. Ensure the depth of the hole matches the container depth to avoid root compression. Loosening the soil at the bottom promotes healthy root development.
Planting Technique
Position the daylilies centrally within the hole before backfilling with soil. Firmly press the soil around the roots to eliminate air pockets that can hinder growth. Adequately watering the newly planted daylilies aids in settling the soil and supporting initial growth.
Watering After Planting
Immediately water daylilies after planting to minimize transplant shock, ensuring a smooth transition into their new environment. Sustain regular watering in the initial weeks post-planting to establish healthy root systems. Monitor soil moisture levels diligently to prevent issues related to under or overwatering.
Daylily Care Post-Planting
Watering Needs
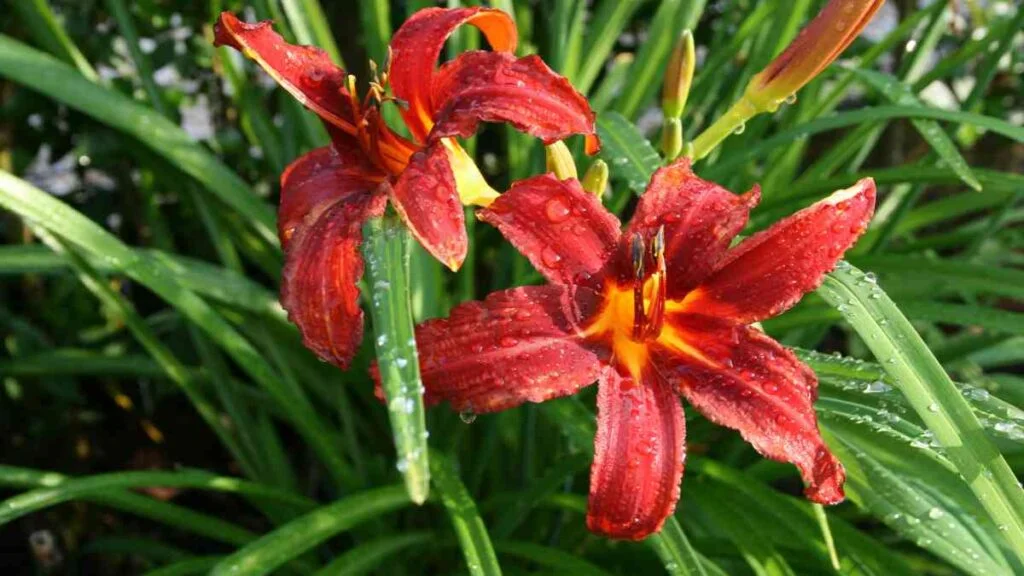
Daylilies require deep watering once a week, especially during dry spells to ensure healthy growth. Adjust the watering frequency depending on rainfall and soil moisture levels. To efficiently water daylilies, consider using a soaker hose or drip irrigation system.
Feeding Tips
For optimal growth, fertilize daylilies with a balanced fertilizer in early spring. Boost blooming by applying a phosphorus-rich fertilizer. Be cautious of over-fertilizing as it can result in excessive foliage growth.
Pest Prevention
Regularly inspect daylilies for aphids, thrips, or spider mites which can damage the plants. Combat these pests using insecticidal soap or neem oil. To naturally manage pest populations, attract beneficial insects like ladybugs.
Seasonal Maintenance
Deadheading Flowers
- Remove spent flowers to promote continuous blooming.
- Cut the flower stem back to the base when deadheading daylilies.
- This practice prevents seed formation and redirects plant energy towards new blooms.
Dividing Plants
- Rejuvenate overcrowded clumps by dividing daylilies every 3-5 years.
- Carefully lift and separate rhizomes with a sharp knife for healthy division.
- Replant divided sections in prepared soil, ensuring they are well-watered post-transplanting.
Winter Care
- In late fall, it's crucial to cut back daylily foliage to prevent disease overwintering.
- Provide insulation against freezing temperatures by mulching with straw or leaves.
- To prevent frost heaving, ensure daylilies are adequately watered before winter sets in.
Troubleshooting Common Issues
Addressing Pests
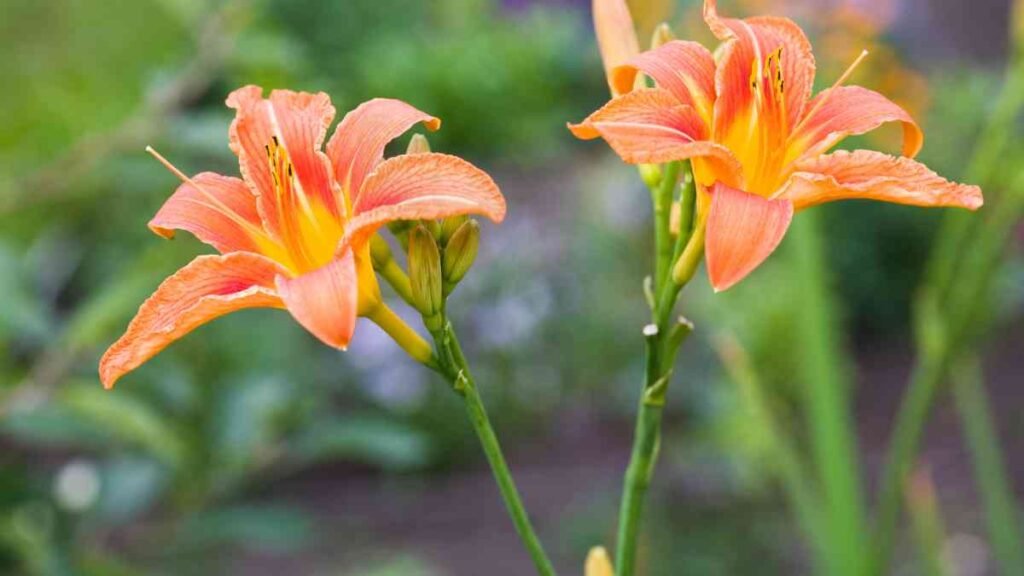
Daylilies can be prone to pests such as rust, which can be controlled by removing infected leaves promptly. To improve air circulation around the plants, ensure adequate spacing between them. If rust persists despite cultural practices, consider treating daylilies with fungicides. Quarantine any infected daylilies to prevent the spread of fungal diseases to healthy plants.
Managing Diseases
It's crucial to monitor daylilies regularly for signs of common diseases like leaf streak, crown rot, and botrytis blight. To prevent fungal diseases like root rot, focus on improving soil drainage by incorporating organic matter into the soil. In case of infection, promptly remove and destroy any infected plant parts to prevent the disease from spreading to other plants in the garden.
Fixing Water Problems
Waterlogged soil can pose a threat to daylilies, leading to issues like root rot. To address this problem, incorporate organic matter into the soil to improve drainage and prevent waterlogging. If the planting site is prone to standing water, consider installing a proper drainage system to ensure excess water can drain away effectively. Adjust watering practices accordingly to avoid water stress or root rot in daylilies.
Enhancing Daylily Growth
Fertilization Strategies
Daylilies benefit from a slow-release fertilizer that provides nutrients gradually over time, promoting steady growth. This method ensures a consistent nutrient supply without the risk of overfeeding. Applying fertilizer in early spring jumpstarts the growth process, while a second application after flowering further supports optimal development. Opt for a fertilizer with a higher middle number, such as 10-20-10, to encourage more prolific blooming.
Mulching Benefits
Mulching daylilies with organic materials offers various advantages, including moisture retention and weed suppression. Organic mulch helps regulate soil temperature, protecting the roots from extreme conditions. It is essential to refresh the mulch annually to maintain its effectiveness and appearance, ensuring that daylilies continue to thrive in a healthy environment.
- Pros:
- Retains soil moisture
- Suppresses weed growth
- Regulates soil temperature effectively
Sunlight Optimization
To maximize daylily blooming potential, position them in areas with maximum sunlight exposure. Ensuring that daylilies receive at least six hours of direct sunlight daily is crucial for their growth and flowering. Rotate the plants periodically to guarantee all sides receive adequate sunlight exposure, promoting uniform development. Regularly monitor changes in sunlight patterns throughout the day to optimize plant growth based on seasonal variations.
- Position in sunny areas
- Rotate for even sunlight exposure
- Monitor sunlight patterns
Closing Thoughts
By now, you have a solid grasp of daylilies and how to ensure their optimal growth. Choosing the right location, preparing the soil adequately, planting correctly, and providing proper care are all crucial for vibrant daylilies in your garden. Remember to stay on top of seasonal maintenance and troubleshoot any issues promptly to enjoy healthy blooms year after year.
Now that you are equipped with the knowledge to cultivate stunning daylilies, it's time to put your newfound expertise into action. Get your hands dirty, plant those daylilies, and watch as your garden transforms into a colorful paradise. With the tips and tricks you've learned, there's no doubt that your daylilies will thrive under your care. Happy gardening!
Frequently Asked Questions
Where should I plant daylilies for optimal growth?
Daylilies thrive in well-drained soil and full sun. Choose a location with at least 6 hours of sunlight daily. Avoid areas prone to waterlogging to prevent root rot.
How do I prepare the soil before planting daylilies?
Loosen the soil to a depth of 12 inches and mix in compost or organic matter for nutrients. Ensure good drainage by amending heavy clay soils with sand or perlite.
When is the best time to plant daylilies?
The ideal time to plant daylilies is in early spring or fall when temperatures are cooler. This allows the roots to establish before extreme weather conditions.
How often should I water my daylilies after planting?
Water newly planted daylilies regularly, keeping the soil moist but not waterlogged. Once established, water deeply once a week during dry spells, adjusting based on rainfall.
What are common issues that may affect daylilies' growth?
Common issues like aphids, spider mites, and fungal diseases can impact daylily growth. Regularly inspect plants for signs of pests or diseases and take prompt action using appropriate treatments.
Image Source: Paid image from CANVA

