Discovering orchid roots growing out of their pot can be both surprising and concerning for plant owners. While it may seem alarming, this phenomenon is a natural behavior for orchids, flowering plants that often indicates the need for repotting, watering, and better care. Understanding why orchid roots escape their containers is essential to ensure the health and vitality of your plant. In this post, we will delve into the reasons behind this behavior, how to address it, and the best practices for maintaining healthy orchids.
Key Takeaways
- Recognizing the Need for Repotting
- Check for overcrowded roots or roots growing out of the pot as signs that your orchid needs repotting.
- Preparing for Repotting
- Gather the necessary materials like fresh potting mix and a new container before starting the repotting process.
- Step-by-Step Repotting Guide
- Carefully repot orchids by removing the orchid from its current pot, trim any dead roots, and place it in the new container with fresh medium.
- Aftercare Essentials
- Provide proper care post-repotting, including adequate watering, light, and monitoring for any issues.
- Understanding Air Roots
- Learn about air roots and their role in orchid health to better care for your plant during repotting.
- Troubleshooting Common Issues
- Address common problems like root rot or wilting post-repotting by adjusting care practices accordingly.
Recognizing the Need for Repotting
Root Overflow
When white roots start emerging from the drainage holes, it's a clear sign of overcrowding. Crowded roots pushing out of the pot indicate a need for repotting. Examine tightly tangled roots closely for any signs of congestion.
Slowed Growth
If you notice a decrease in leaf size or number, it could be due to root congestion. Monitor how often new growths appear - a lack of them might signal issues. Keep an eye out for any discoloration or wilting of leaves, which can indicate stress.
Timing Insights
Consider repotting your orchid's root during its dormant period to minimize shock. Wait until after the plant has finished blooming before repotting to avoid disrupting flowering. Avoid repotting during the active growth phase to prevent stunting root growth.
Preparing for Repotting
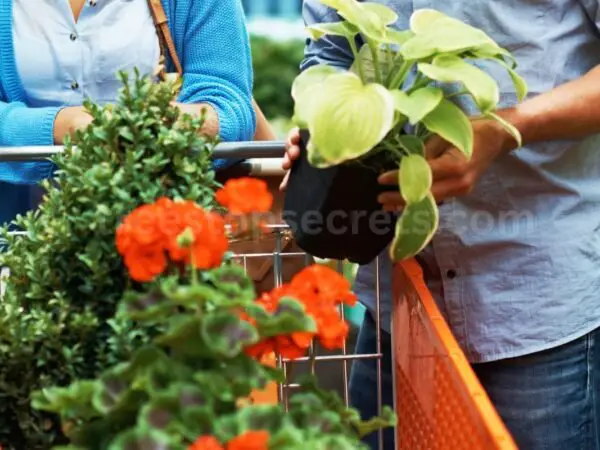
Gathering Supplies
When preparing to repot your houseplant, ensure you have the necessary tools, materials, and root ready. For tools, gather scissors or pruners to trim roots effectively. Have a suitable potting tool on hand for the repotting process. Create a clean workspace to facilitate smooth repotting activities.
Materials are equally important when repotting your floral plant. Make sure you have fresh orchid potting medium available for the repotting process. Check for containers that are suitable for repotting your orchid plant with healthy root growth. It's essential to have appropriate drainage materials ready to promote healthy root growth.
Choosing the Right Time
Timing is crucial when it comes to repotting your orchids. Repot them in the morning to allow ample recovery time during the day. Avoid repotting during extreme temperature conditions as this can shock the plant. Select a day when your orchid is not under stress to ensure successful repotting without additional strain.
Step-by-Step Repotting Guide
Orchid Removal
When repotting your orchid, gently remove it from the current pot to avoid damaging the delicate roots. Hold the orchid close to the roots to ensure they remain intact. Carefully shake off any excess potting medium clinging to the roots.
Root Pruning
To promote healthy growth, trim off any dead or rotting roots before repotting. Prune the roots strategically to stimulate new growth and enhance overall plant health. It's essential to ensure that the roots are in good condition before proceeding with repotting.
Pot Selection
When selecting a new pot for your orchid, opt for one that is slightly larger, around 1-2 inches, than the current pot. Ensure the new pot has adequate drainage holes to prevent waterlogging, which can harm the roots. Consider the material of the pot as well; choose one that provides proper aeration for the roots.
Repotting Process
During the repotting process, gently loosen the root ball to encourage healthy root development. Place the orchid carefully in its new pot, ensuring that the roots are spread out evenly. After repotting, water the orchid thoroughly to help it adjust to its new environment.
Aftercare Essentials
Immediate Care Tips
After repotting, provide indirect light to the orchid to aid in its recovery process. Keep an eye out for signs of stress, such as wilting leaves or yellowing. Avoid fertilizing immediately after repotting to prevent shock.
- Pros:
- Indirect light promotes growth.
- Monitoring helps detect issues early.
- Cons:
- Overexposure to light can harm the plant.
- Stress signs may not be immediate.
Watering Adjustments
Adjust the watering schedule based on the new potting medium used. Let the potting mix slightly dry between waterings to prevent root rot. Ensure thorough watering without causing waterlogging.
- Modify watering frequency post-repotting.
- Allow slight drying between waterings.
- Water thoroughly to avoid waterlogging.
Light and Temperature
Ensure your orchid gets sufficient indirect light for photosynthesis. Maintain a stable temperature environment post-repotting to aid in recovery. Shield the orchid from direct sunlight to prevent leaf burn.
- Key Information:
- Indirect light is crucial for orchid health.
- Consistent temperatures foster growth.
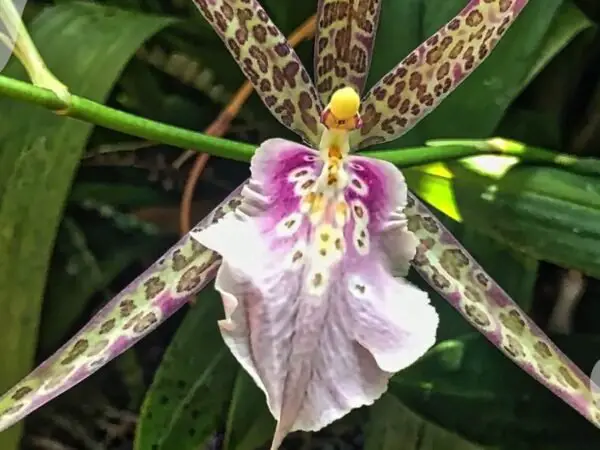
Understanding Air Roots
Air roots are essential for orchids as they help in nutrient absorption and provide additional support to the plant. These roots grow outside the pot, seeking moisture and nutrients from the air.
Identifying Healthy Air Roots
- Look for green, plump air roots on the orchid, indicating good health and active growth.
- Check for air roots that are actively absorbing moisture, a sign of their functionality.
- Ensure air roots are firm and not mushy, which can indicate rot or poor health.
Air Root Care
To ensure your orchid's air roots thrive, follow these care tips:
- Mist air roots regularly to maintain humidity levels around the roots, mimicking their natural environment.
- Provide support for air roots by using stakes or trellises to prevent breakage, especially for longer roots.
- Avoid cutting healthy air roots during repotting unless necessary, as they play a crucial role in the plant's overall health.
Troubleshooting Common Issues
Overwatering Signs
Watch for yellowing or wilting leaves. This indicates that the orchid may be receiving too much water, leading to stress. Check for mold or fungus growth on the potting medium, a clear sign of excessive moisture. Monitor the orchid closely for signs of root rot, which can be fatal if not addressed promptly.
Underwatering Signs
Look for shriveled or wrinkled leaves, which are common indicators of underwatering. Check the potting medium for extreme dryness, as orchids require consistent moisture. Observe any stunted growth or lack of new shoots, which could signal insufficient watering.
Pest Management
Inspect the orchid for common pests post-repotting, such as aphids or spider mites. Treat any pest infestations promptly to prevent damage to the plant. Use organic pest control methods like neem oil to avoid harming the delicate orchid roots and foliage.
FAQs on Orchid Repotting
Best Season for Repotting
When considering orchid repotting, opt for the spring season as it provides the ideal conditions for root growth. Avoid repotting in winter to prevent shock to the plant. Select a season with moderate temperatures to ensure successful repotting.
How Often to Repot
Repot orchids every 1-2 years to promote healthy growth and prevent overcrowding of roots. Regularly inspect the root system for signs such as overcrowding or decay, indicating the need for repotting. When you notice the orchid outgrowing its current container, it's time to consider repotting.
Dealing with Root Rot
Identify root rot by examining the roots; mushy and discolored roots are clear indicators. To address root rot, carefully trim away affected roots using sterilized tools to prevent further spread. Adjust your watering routine by ensuring proper drainage to avoid future occurrences of root rot.
Final Remarks
You now possess the essential knowledge to confidently repot your orchid and nurture it back to health. Recognize the signs, follow the steps diligently, and provide the care your plant deserves. Remember, a well-repotted orchid rewards you with vibrant blooms and robust growth. So, roll up your sleeves, grab your gardening tools, and give your orchid the pampering it needs.
Don't hesitate to share your newfound expertise with fellow orchid enthusiasts. Together, we can create a community of thriving orchids and share the joy of successful repotting. Your actions today will ensure a flourishing tomorrow for your beloved plants.
Frequently Asked Questions
How do I know when my orchid needs repotting?
If you see roots growing out of the pot, overcrowded roots, or the potting medium breaking down, it's time to repot your orchid. Check for yellowing leaves or lack of growth as additional signs.
What is the best time of year to repot my orchid?
The best time to repot orchids is usually after they have finished blooming. This allows them to recover from any stress caused by repotting while preparing for new growth.
Can I reuse the old potting mix when repotting my orchid?
It's not recommended to reuse old potting mix as it may have lost its nutrients and structure. Fresh potting mix provides better aeration and drainage for healthy orchid growth.
Should I trim the roots when repotting my orchid?
Trim only dead, rotted, or dried-up roots during repotting. Healthy roots should be left untouched to support the plant's growth and nutrient absorption.
How often should I repot my orchid?
Orchids generally need repotting every 1-2 years, depending on their growth rate and condition. Monitor your orchid's root system and growth to determine when it needs a new pot.
Image Source: Paid image from CANVA