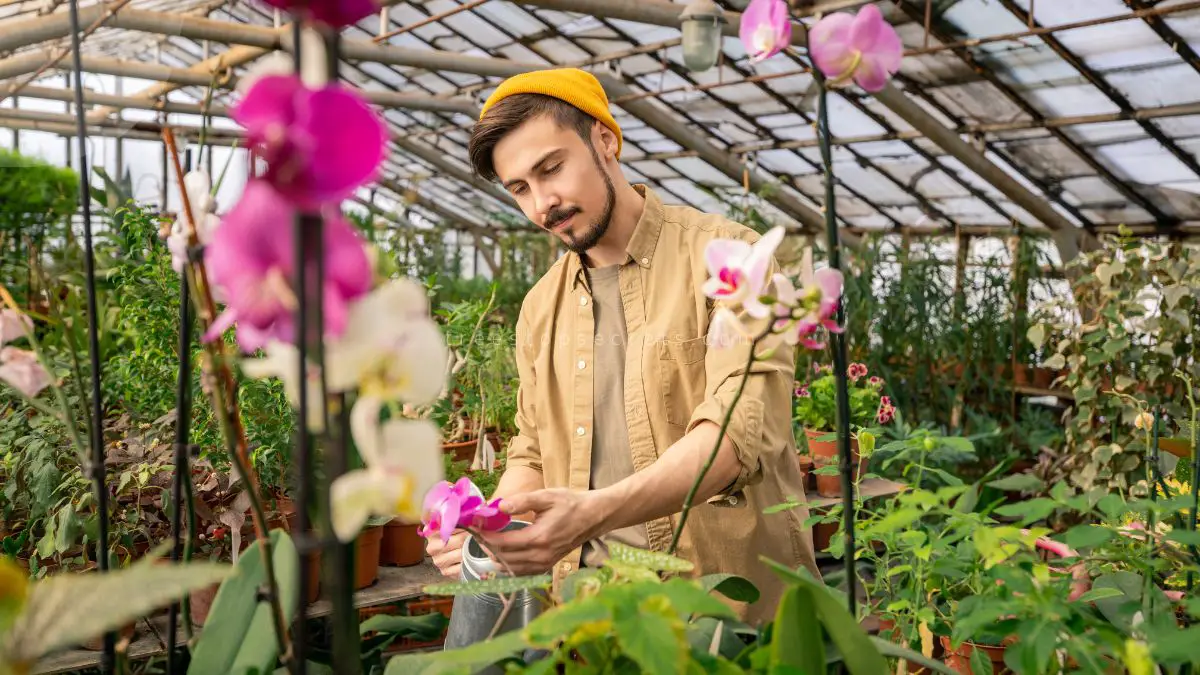
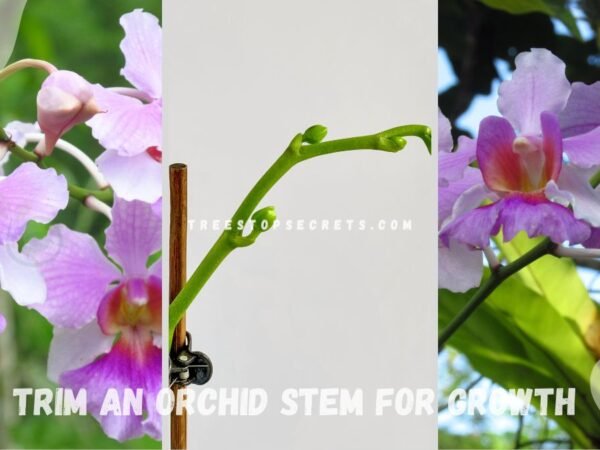
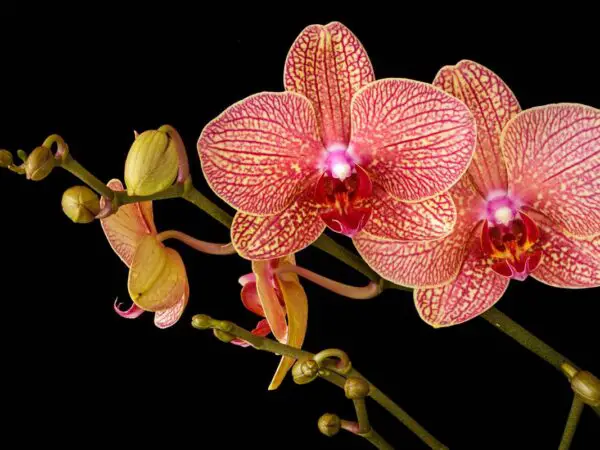
Want to add a touch of elegance to your indoor space with light indoors, plants indoors, flowers indoors, and direct sun indoors? Discover the secrets of cultivating vibrant orchids and other indoor flowering plants right in your home. Unveil the art of nurturing these delicate blooms with our expert tips on how to grow orchids indoors. Delve into the rich history of orchid cultivation, dating back centuries, and learn how to create a thriving environment for these stunning flowers within your own four walls. Elevate your indoor garden game and bring a burst of color and beauty into your living space effortlessly.
Unlock the key to successful orchid care and maintenance, and watch as your indoor oasis flourishes with life and vitality. Dive into our guide and transform your home into a haven of natural beauty with flourishing orchids as your centerpiece.
Key Takeaways
- Consistent Care: Regularly check on your orchids to ensure they have the right amount of light, water, and nutrients.
- Adapt to Their Needs: Understand the specific requirements of your orchid species to provide tailored care for optimal growth.
- Monitor Environment: Maintain suitable temperature and humidity levels to create a conducive environment for your orchids.
- Proper Potting: Use appropriate pots and consider repotting when needed to support healthy root growth.
- Balanced Nutrition: Implement a fertilizing schedule to supply essential nutrients for vibrant blooms and overall health.
- Continuous Learning: Explore advanced care techniques to enhance your orchid-growing skills and expand your knowledge.
Understanding Orchid Basics
Types of Orchids
Orchids come in various types, with Phalaenopsis being one of the most popular for indoor cultivation. This orchid type boasts elegant blooms and is relatively low-maintenance. Cattleya orchids, known for their vibrant colors and large flowers, thrive well indoors but require more light. Dendrobium orchids, with their tall canes and colorful blooms, prefer bright light and cooler temperatures compared to other types. Each orchid type has specific care requirements tailored to its characteristics.
Orchid Growth Conditions
To ensure successful growth indoors, orchids require specific conditions. Consistency is key; maintaining stable conditions such as temperature, humidity, and airflow is crucial. Adequate ventilation prevents issues like fungal infections and rot. Orchids thrive in well-draining potting mixtures that allow air circulation around their roots. Creating a suitable environment involves providing proper air circulation, humidity levels, and temperature control.
Light and Temperature
Light and temperature play pivotal roles in orchid growth. Orchids need indirect sunlight to thrive, avoiding direct exposure that can lead to leaf burns. Different orchid varieties have varying light requirements; for instance, Phalaenopsis prefers medium light intensity, while Cattleya thrives in brighter conditions. Temperature ranges vary across species; generally, orchids prefer daytime temperatures between 70-85°F (21-29°C) and slightly cooler nights around 60-65°F (15-18°C). Adjusting light exposure and temperature levels based on the specific needs of each orchid type is essential for healthy growth.
Water and Humidity
Proper watering techniques are crucial for orchid health. Overwatering can lead to root rot, while underwatering causes dehydration. Water orchids early in the day to allow foliage to dry before nightfall, reducing the risk of fungal diseases. Maintaining optimal humidity levels between 50-70% creates a favorable environment for orchids. Using a humidity tray or humidifier can help regulate moisture levels around the plants. Adjust watering frequency based on factors like potting media and environmental conditions to prevent waterlogged roots or dry soil.
Preparing for Orchid Growth
Choosing the Right Soil
When growing orchids, the soil you choose plays a crucial role in their development. Ideal soil for orchids should be well-draining to prevent root rot. The right soil type varies based on the specific needs of different orchid species.
Selecting a suitable soil mix ensures that your orchids receive adequate aeration and moisture. An ideal mix typically includes materials like bark, perlite, and sphagnum moss. These components help maintain the right balance of moisture and air around the roots.
To determine the best soil type, consider the natural habitat of your orchid species. For example, epiphytic orchids thrive in a mix that mimics their aerial environment. Terrestrial orchids, on the other hand, prefer a more compact soil mix.
Selecting the Perfect Pot
Choosing the right pot is essential for ensuring the healthy growth of your orchids. The pot size should accommodate the plant's roots without excess space. Opt for pots with multiple drainage holes to prevent waterlogging.
The material of the pot also influences orchid growth. Clay pots are excellent for providing aeration to roots, while plastic pots retain moisture better. Consider the watering habits and environment when selecting the pot material.
Select pots that promote healthy root development by allowing for proper drainage and airflow. Avoid pots that are too large, as they can lead to water accumulation, increasing the risk of root rot.
Orchid Potting Mix
An appropriate orchid potting mix consists of components that provide both support and drainage for the plant's roots. A well-draining mix prevents water from pooling around the roots, reducing the risk of fungal infections.
A suitable potting mix typically includes materials like bark chips, perlite, and charcoal. These elements ensure good airflow and drainage within the pot, promoting optimal root health for your orchids.
Creating a custom potting mix allows you to tailor the blend to suit your orchid's specific needs. Experiment with different ratios of components to achieve a mix that provides adequate support while allowing excess water to drain effectively.
Lighting Solutions for Orchids
Ideal Sunlight Exposure
Indoor orchids require adequate sunlight exposure to thrive and bloom. Sunlight is crucial for photosynthesis, the process that enables plants to produce energy. To determine the right amount of sunlight for your indoor orchids, observe their leaves - bright green leaves indicate they are receiving sufficient light.
Optimize sunlight exposure by placing orchids near east or west-facing windows where they can receive indirect sunlight. Avoid direct sunlight as it can scorch the leaves. Rotate your orchids regularly to ensure all sides receive equal light exposure.
Artificial Lighting Options
Using artificial lighting for orchids is beneficial, especially in spaces with limited natural light. Artificial lights provide a consistent light source that can supplement or replace sunlight when necessary. LED grow lights are an excellent choice for indoor orchids due to their energy efficiency and adjustable brightness levels.
Different types of artificial lights suitable for indoor orchids include fluorescent grow lights and high-intensity discharge (HID) lights. Fluorescent lights are cost-effective and emit a balanced spectrum ideal for orchid growth. HID lights, such as metal halide and high-pressure sodium bulbs, offer intense light output suitable for flowering plants like orchids.
Setting up artificial lighting systems involves positioning the lights at an appropriate distance from the orchids to prevent leaf burn. Maintain a consistent lighting schedule, typically 12-14 hours of light per day for optimal growth. Use timers to regulate the lighting duration and ensure your orchids receive adequate light consistently.
Watering Techniques for Orchids
When to Water
Orchids need watering when the potting mix feels dry to the touch. Check the roots for moisture levels. Establish a watering schedule based on the orchid species and its environment. Avoid overwatering by ensuring proper drainage and using pots with drainage holes. Underwatering can be prevented by monitoring the plant's leaves for signs of dehydration.
To prevent overwatering, consider factors like humidity levels, potting medium, and air circulation. Create a routine based on your orchid's specific requirements. Adjust watering frequency depending on the season and growth stage of the plant. Use clear pots to observe root health and moisture levels easily.
How to Water
Water orchids thoroughly but allow excess water to drain away completely. Use room temperature water to avoid shocking the roots. Pour water directly onto the potting mix, avoiding wetting the leaves and crown. Mist the leaves occasionally to increase humidity levels around the plant.
Proper watering techniques are crucial in preventing root rot, a common issue in orchids due to excessive moisture. Ensure that the potting medium is well-draining and aerated to prevent waterlogging. Consider repotting if you notice signs of root rot or poor drainage in the current pot.
- Pros:
- Prevents root rot
- Promotes healthy growth
- Cons:
- Risk of overwatering if not monitored properly
Temperature and Humidity Control
Ideal Temperature Range
Maintaining the ideal temperature range is crucial for successful orchid growth indoors. Orchids thrive in temperatures between 60-80 degrees Fahrenheit, resembling their natural tropical habitat. Fluctuations beyond this range can stunt growth and even lead to wilting or yellowing of leaves. To ensure optimal conditions, consider using a greenhouse or placing orchids near windows where they can receive adequate sunlight without being exposed to drafts.
To prevent temperature shocks, avoid placing orchids near doors or air vents that can cause sudden temperature changes. Utilizing a window unit can help regulate temperatures effectively, providing a stable environment for orchids to flourish. Remember, consistency is key in maintaining the health and vitality of indoor orchids.
Managing Humidity Levels
Humidity control is equally important for the well-being of indoor orchids. Orchids require humidity levels of around 50-70% to thrive, mimicking their natural tropical environment. To increase humidity levels, consider using a humidifier or placing a tray filled with water and pebbles near your orchids. This method helps create a humid microclimate around the plants, promoting healthy growth.
Regular misting of orchids can also aid in maintaining adequate humidity levels. However, be cautious not to overdo it as excessive moisture can lead to fungal infections. Monitoring humidity levels using a hygrometer is recommended to ensure that your orchids are receiving the right amount of moisture for optimal growth.
Fertilizing Your Orchids
Choosing Fertilizer
Fertilizer is essential for orchids as it provides nutrients they need for healthy growth and vibrant flowers. Different types of fertilizers, such as balanced and orchid-specific, cater to varying orchid needs. Select fertilizer with a higher nitrogen content for foliage growth.
- Pros: Enhances plant growth, boosts flower production.
- Cons: Risk of overfertilization leading to root burn.
Fertilizing Schedule
Maintaining a consistent fertilizing schedule is crucial for optimal orchid health. A regular feeding routine ensures that the plants receive essential nutrients on time. Determining the correct frequency and dosage of fertilizer application depends on factors like orchid type, growth phase, and environmental conditions.
- Overfertilization can harm orchids by causing salt buildup in the growing medium.
- Nutrient deficiencies may manifest as yellowing leaves or stunted growth.
Potting and Repotting Orchids
Inspecting Root Systems
Inspect orchid root systems regularly to ensure the plant's health and vitality. Healthy roots are crucial for indoor orchid care.
Identify signs of root health by looking for firm, green roots. Soft or mushy roots indicate issues that need immediate attention. Regularly check for mold or foul odors as these can signify root rot.
To maintain healthy orchids, conduct root inspections every few weeks. Gently remove the plant from its pot to examine the roots. Trim any damaged or dead roots to promote new growth.
Repotting Process
Repot epiphytic orchids when their current pots become crowded or the potting mix breaks down. Repotting allows for fresh nutrients and proper aeration.
Knowing when to repot is essential. Look for overcrowded roots growing over the pot's edges. Repot in spring after flowering when new growth begins.
When repotting, carefully remove the orchid from its current pot, gently shake off old media, and trim any dead roots. Place it in a new appropriate orchid pot with fresh medium.
Ensure a smooth repotting process by handling the plant with care to avoid damaging delicate roots. Use a well-draining potting mix suitable for home orchids to prevent waterlogging.
Advanced Care Techniques
Pruning and Propagating
Pruning orchids is crucial for promoting new growth and maintaining the plant's health. By removing dead or overgrown parts, you stimulate the production of new shoots and flowers.
Propagating orchids through division involves separating a mature plant into smaller sections, each with its own roots. This method allows you to create multiple plants from one original specimen.
To propagate orchids through keiki production, wait for tiny plantlets to form along the flower spike. Once they develop roots, carefully detach them from the parent plant and pot them individually.
Troubleshooting Common Issues
Common issues in orchid care include yellowing leaves, root rot, and pest infestations. Yellowing leaves often indicate overwatering or insufficient light, while root rot can result from excessive moisture.
To address yellowing leaves, adjust your watering schedule and ensure adequate sunlight exposure. For root rot, trim affected roots and repot the orchid in fresh, well-draining medium to prevent further damage.
Pests like aphids or mealybugs can harm orchids. To combat these pests, use neem oil or insecticidal soap to gently remove them from the plant. Regularly inspect your orchids for signs of pest activity.
Troubleshooting common issues in orchids requires patience and attentiveness to the plant's needs. By promptly addressing problems like disease or nutrient deficiencies, you can maintain healthy and thriving orchids.
Final Remarks
In caring for your indoor orchids, you've learned the essential factors like light, water, temperature, and fertilization. By following these steps diligently, you can ensure healthy growth and vibrant blooms for your orchids. Remember to monitor their progress regularly and adjust care as needed to meet their specific requirements. Your dedication will be rewarded with stunning flowers and lush foliage that brighten up your living space.
Now that you have a solid understanding of how to care for orchids indoors, put your knowledge into practice and watch your plants thrive. Don't hesitate to seek further advice or tips from experienced growers to enhance your orchid-growing skills. With patience and attention to detail, you'll create a flourishing orchid haven in your home. Keep nurturing your orchids with love and care to enjoy their beauty for years to come.
Frequently Asked Questions
How important is lighting for indoor orchid growth?
Lighting is crucial for indoor orchids as they need bright, indirect light to thrive. Place them near a window with sheer curtains or use grow lights for optimal growth.
What are the best watering techniques for indoor orchids?
Water orchids thoroughly but allow the roots to dry slightly between waterings. Avoid overwatering as it can lead to root rot. Consider using room temperature water to prevent shock.
When should I repot my indoor orchid?
Repot your orchid when you notice overcrowded roots or the potting mix breaks down. Typically, this is needed every 1-2 years after blooming. Choose a pot that allows for good drainage and airflow.
How do I control temperature and humidity for indoor orchids?
Maintain temperatures between 60-80°F during the day and slightly cooler at night. Orchids prefer humidity levels around 50-70%. Use a humidifier or pebble tray to increase humidity if needed.
Is fertilizing necessary for indoor orchids?
Fertilizing is essential for healthy orchid growth. Use a balanced fertilizer diluted to half strength and apply every 2-4 weeks during the growing season. Reduce frequency during dormant periods to prevent nutrient buildup.
Image Source: Paid image from CANVA


